
Brown And Sticky
Part Five of the Six-Stick Comb-Back

Or stick-y to be precise. You wouldn’t think it was that much of a leap to make the sticks for a chair rather than using dowel. It’s significant in two ways. Firstly the look of the chair is much more refined, and let’s be honest more interesting, if the sticks are made by hand. Secondly though, it adds a significant amount of work to the overall process. It’s enjoyable work, but compared to the speed of cutting a few dowels to length, it is notable. I daresay a more experienced hand does it quicker than me, but I’m in no rush.
Last weekend I took the sticks from straight 3/4” octagons to round(ish) sticks that taper where needed and are straight where they should be. Working life being what it is, I’m only just getting round to writing about it now. I do post more immediate content on my Instagram for those needing up-to-the-minute status. To be honest, the speed I’m going here I could send the updates out on postcards and not lose much immediacy. I have a story highlight on my Instagram homepage, imaginatively named “Six Stick Chair”, which gathers together all my progress shots. I might make it into a video at the end. I believe that’s what the kids do these days. Looking through those images it’s clear I haven’t written on here about all steps in the process, so you’ll have to look at that if you want the full story. In truth I never set out to write step-by-step instructional material, but somehow it seems to tumble out of me when I start to type. That and smutty innuendo, although none of that today.
With 5/8” tenons formed on both ends of the 3/4” octagonal sticks, the shaping process doesn’t really require a great deal of direct measurement. It’s all about achieving a pleasing shape. The short sticks are the easier of the two, so I started with those as foreplay leading to the long sticks. The short sticks need to be round and tapered down to the tenon on both ends. Working the arrises initially adds more sides to the polygon, then quickly the stick becomes rounder as more arrises are removed, rotating as I go. There are more short strokes needed close to the tenon than long strokes, so the taper is formed as the roundness emerges. I didn’t measure the transition points, but in general terms there’s a straight section in the middle that tapers down to the tenon at each end. If you get it right, it’s a graceful shape.
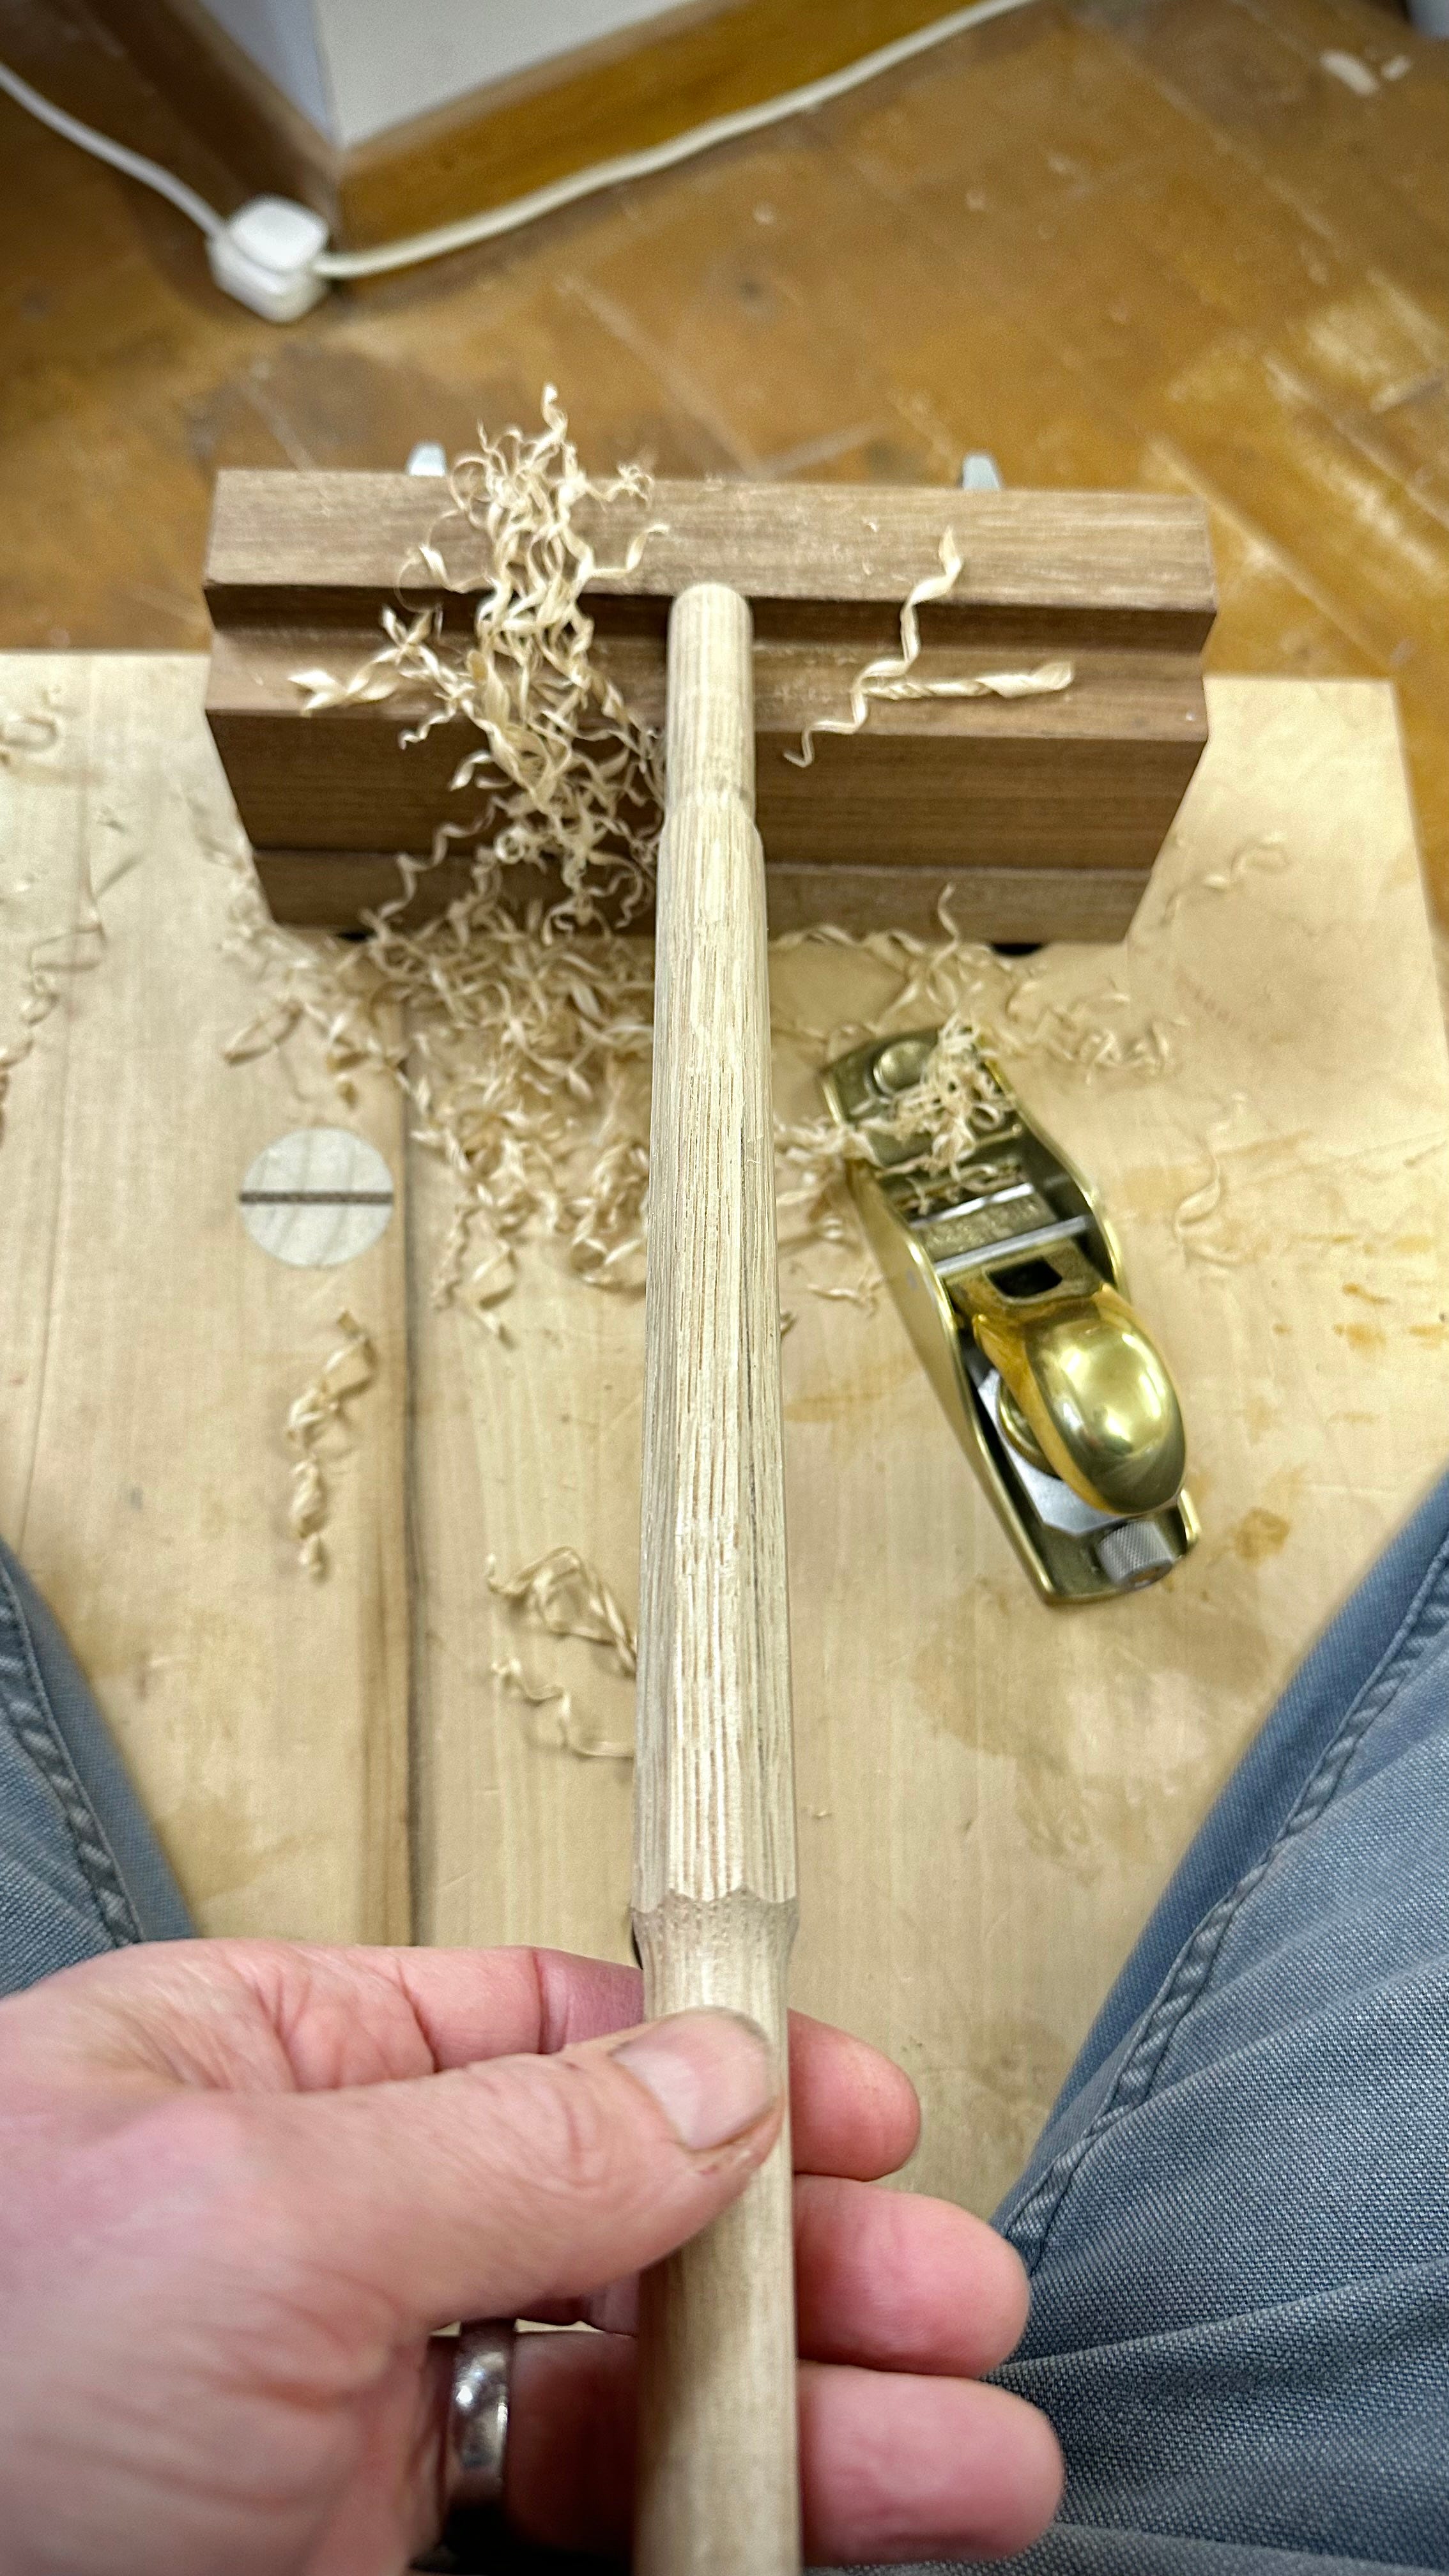
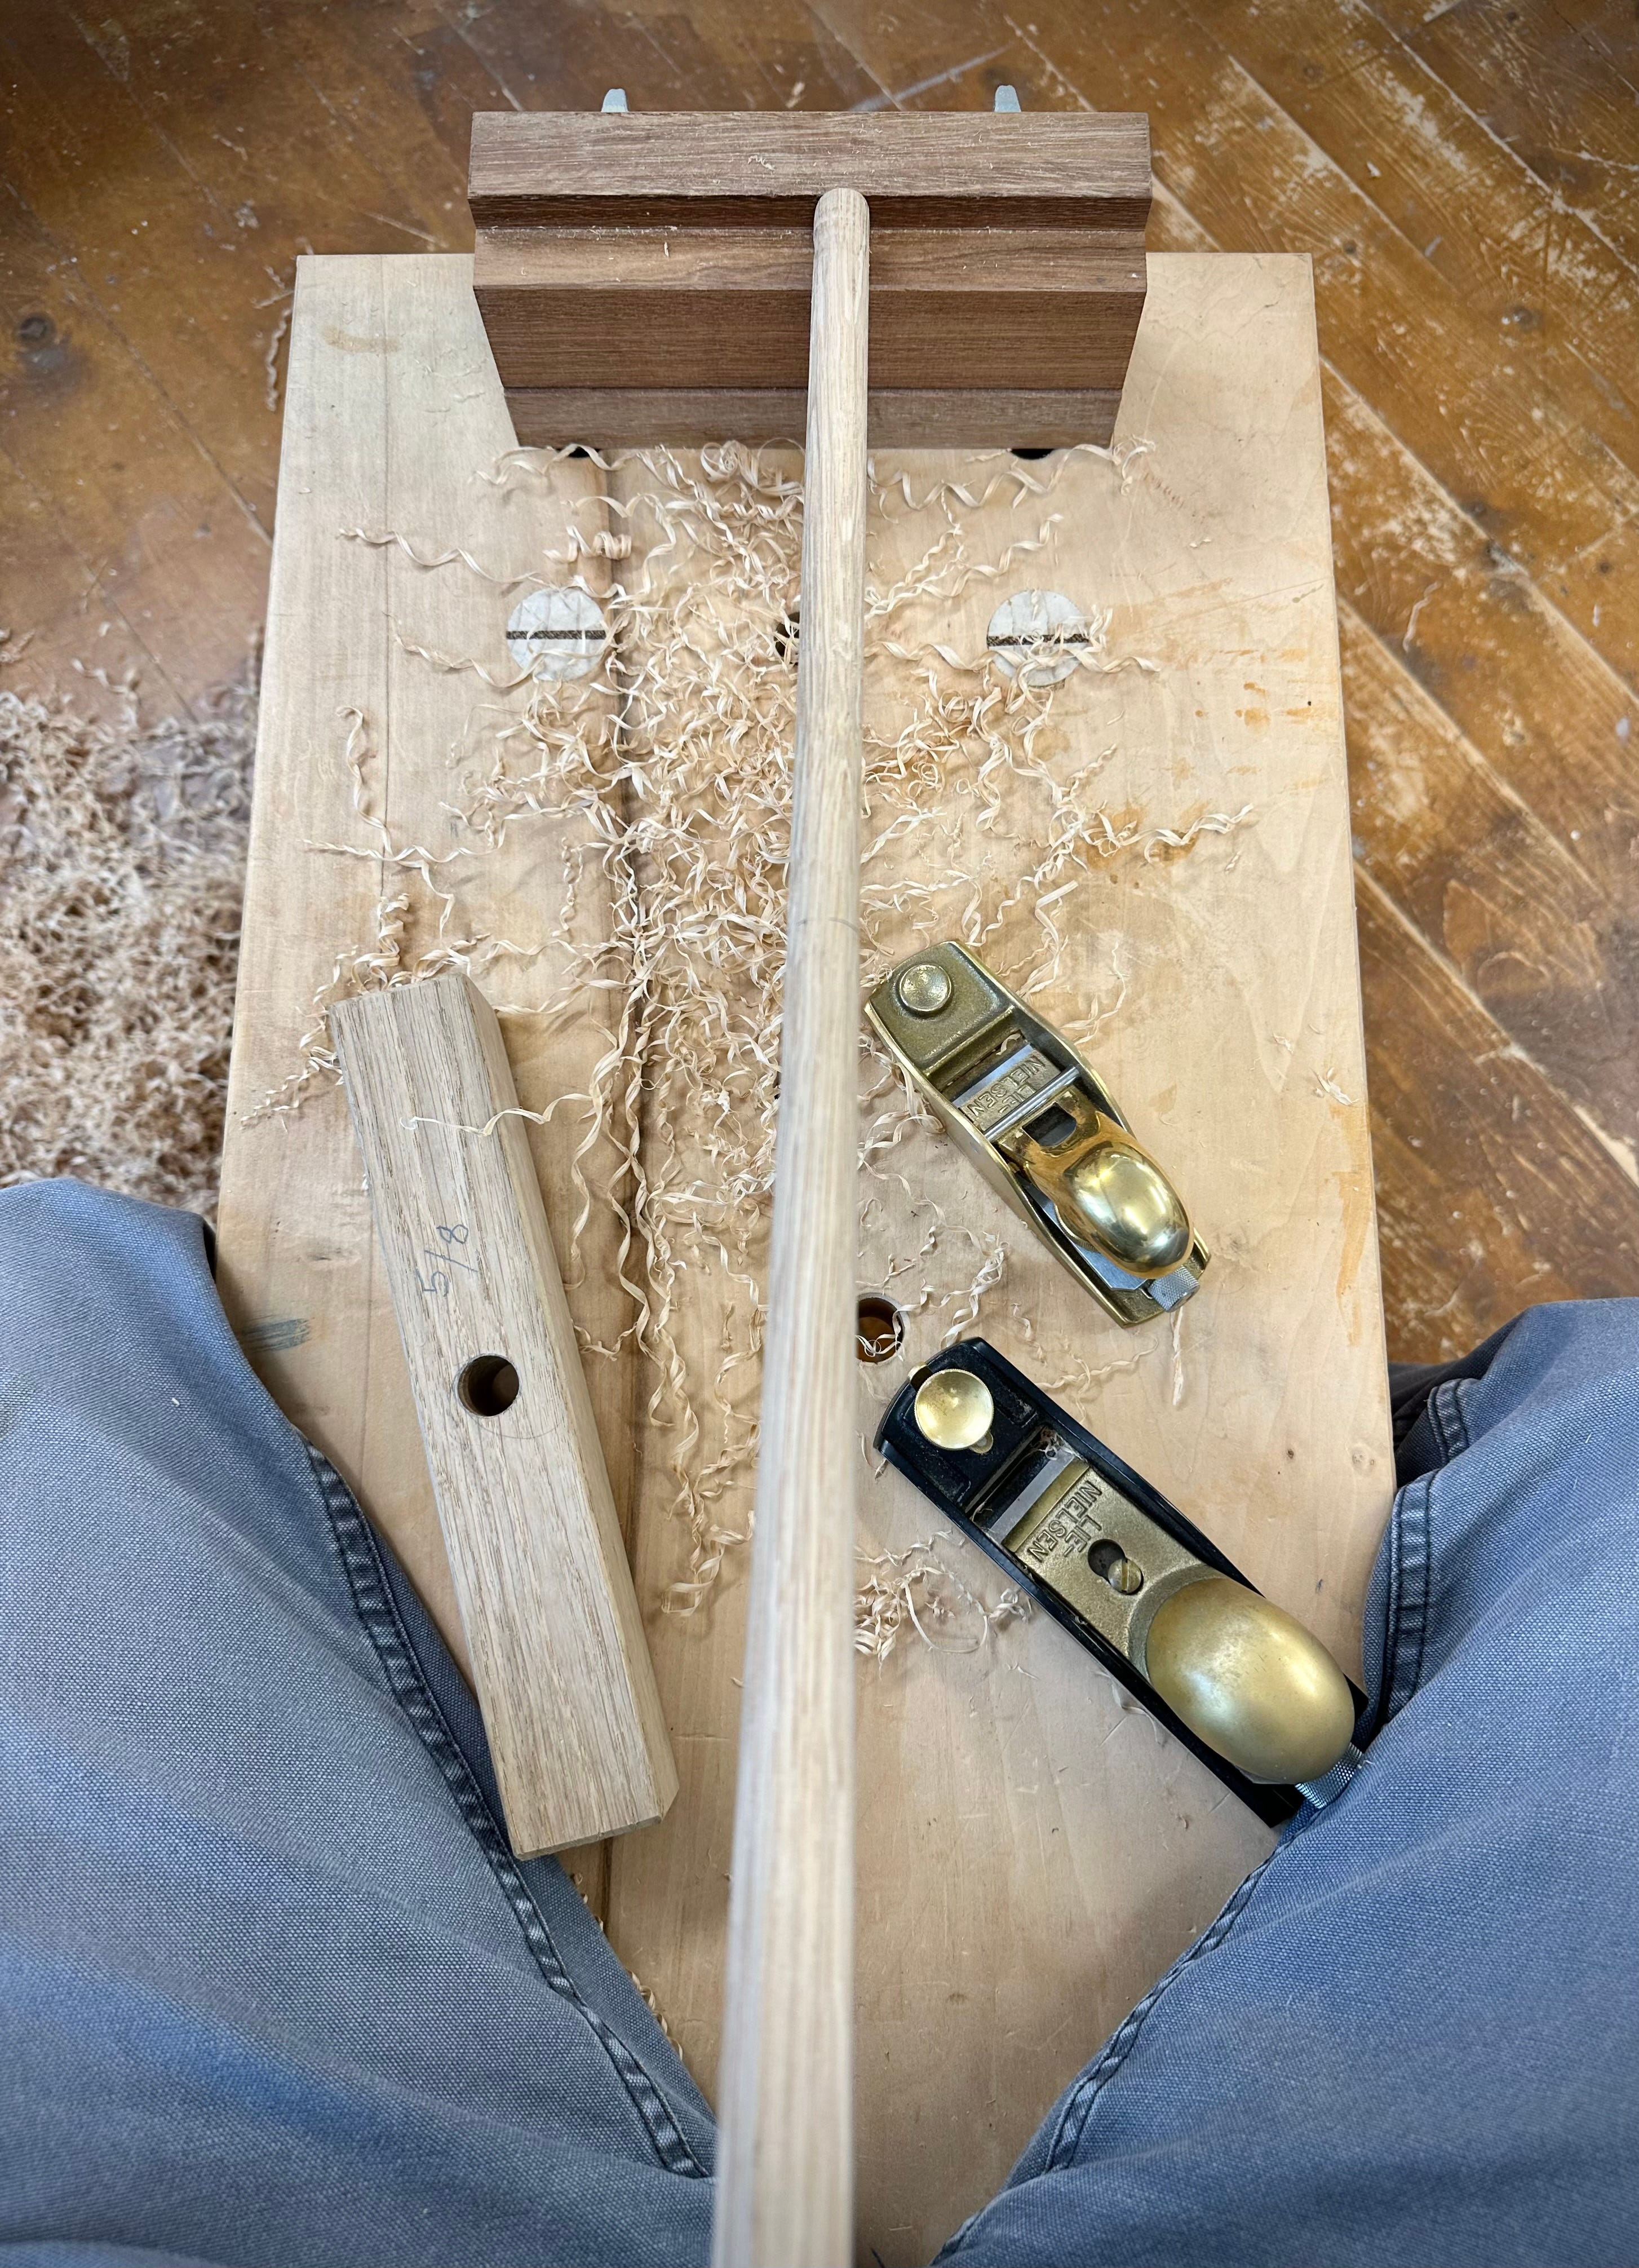
You can see in the image above that I’m working with a block plane. I’ve tried this operation with a jack plane, but I just can’t get on with wielding it one handed. I thought maybe it was familiarity, so I started every single stick on this chair with the No.5 in order to give it the old college try. But it just isn’t happening, so every time I put that down and picked up a block plane, then the process became a joy. I worked mostly with a Lie-Nielsen 102 set for a heavy shaving, and switched to a fine-set 60 1/2 for any areas of tear out, because I can close the mouth tightly to combat tricky grain. The 102 is nice and light and sits in the hand so well that it makes this operation feel really natural to me.
Onto the long sticks, where more precision is needed to get to the right shape. The bottom end of the stick can be treated much the same as the short sticks, tapering down to the tenon. At the top end, the long sticks need to pass through the arm, so must be 5/8” thick all the way from the underside of the arm to the top.
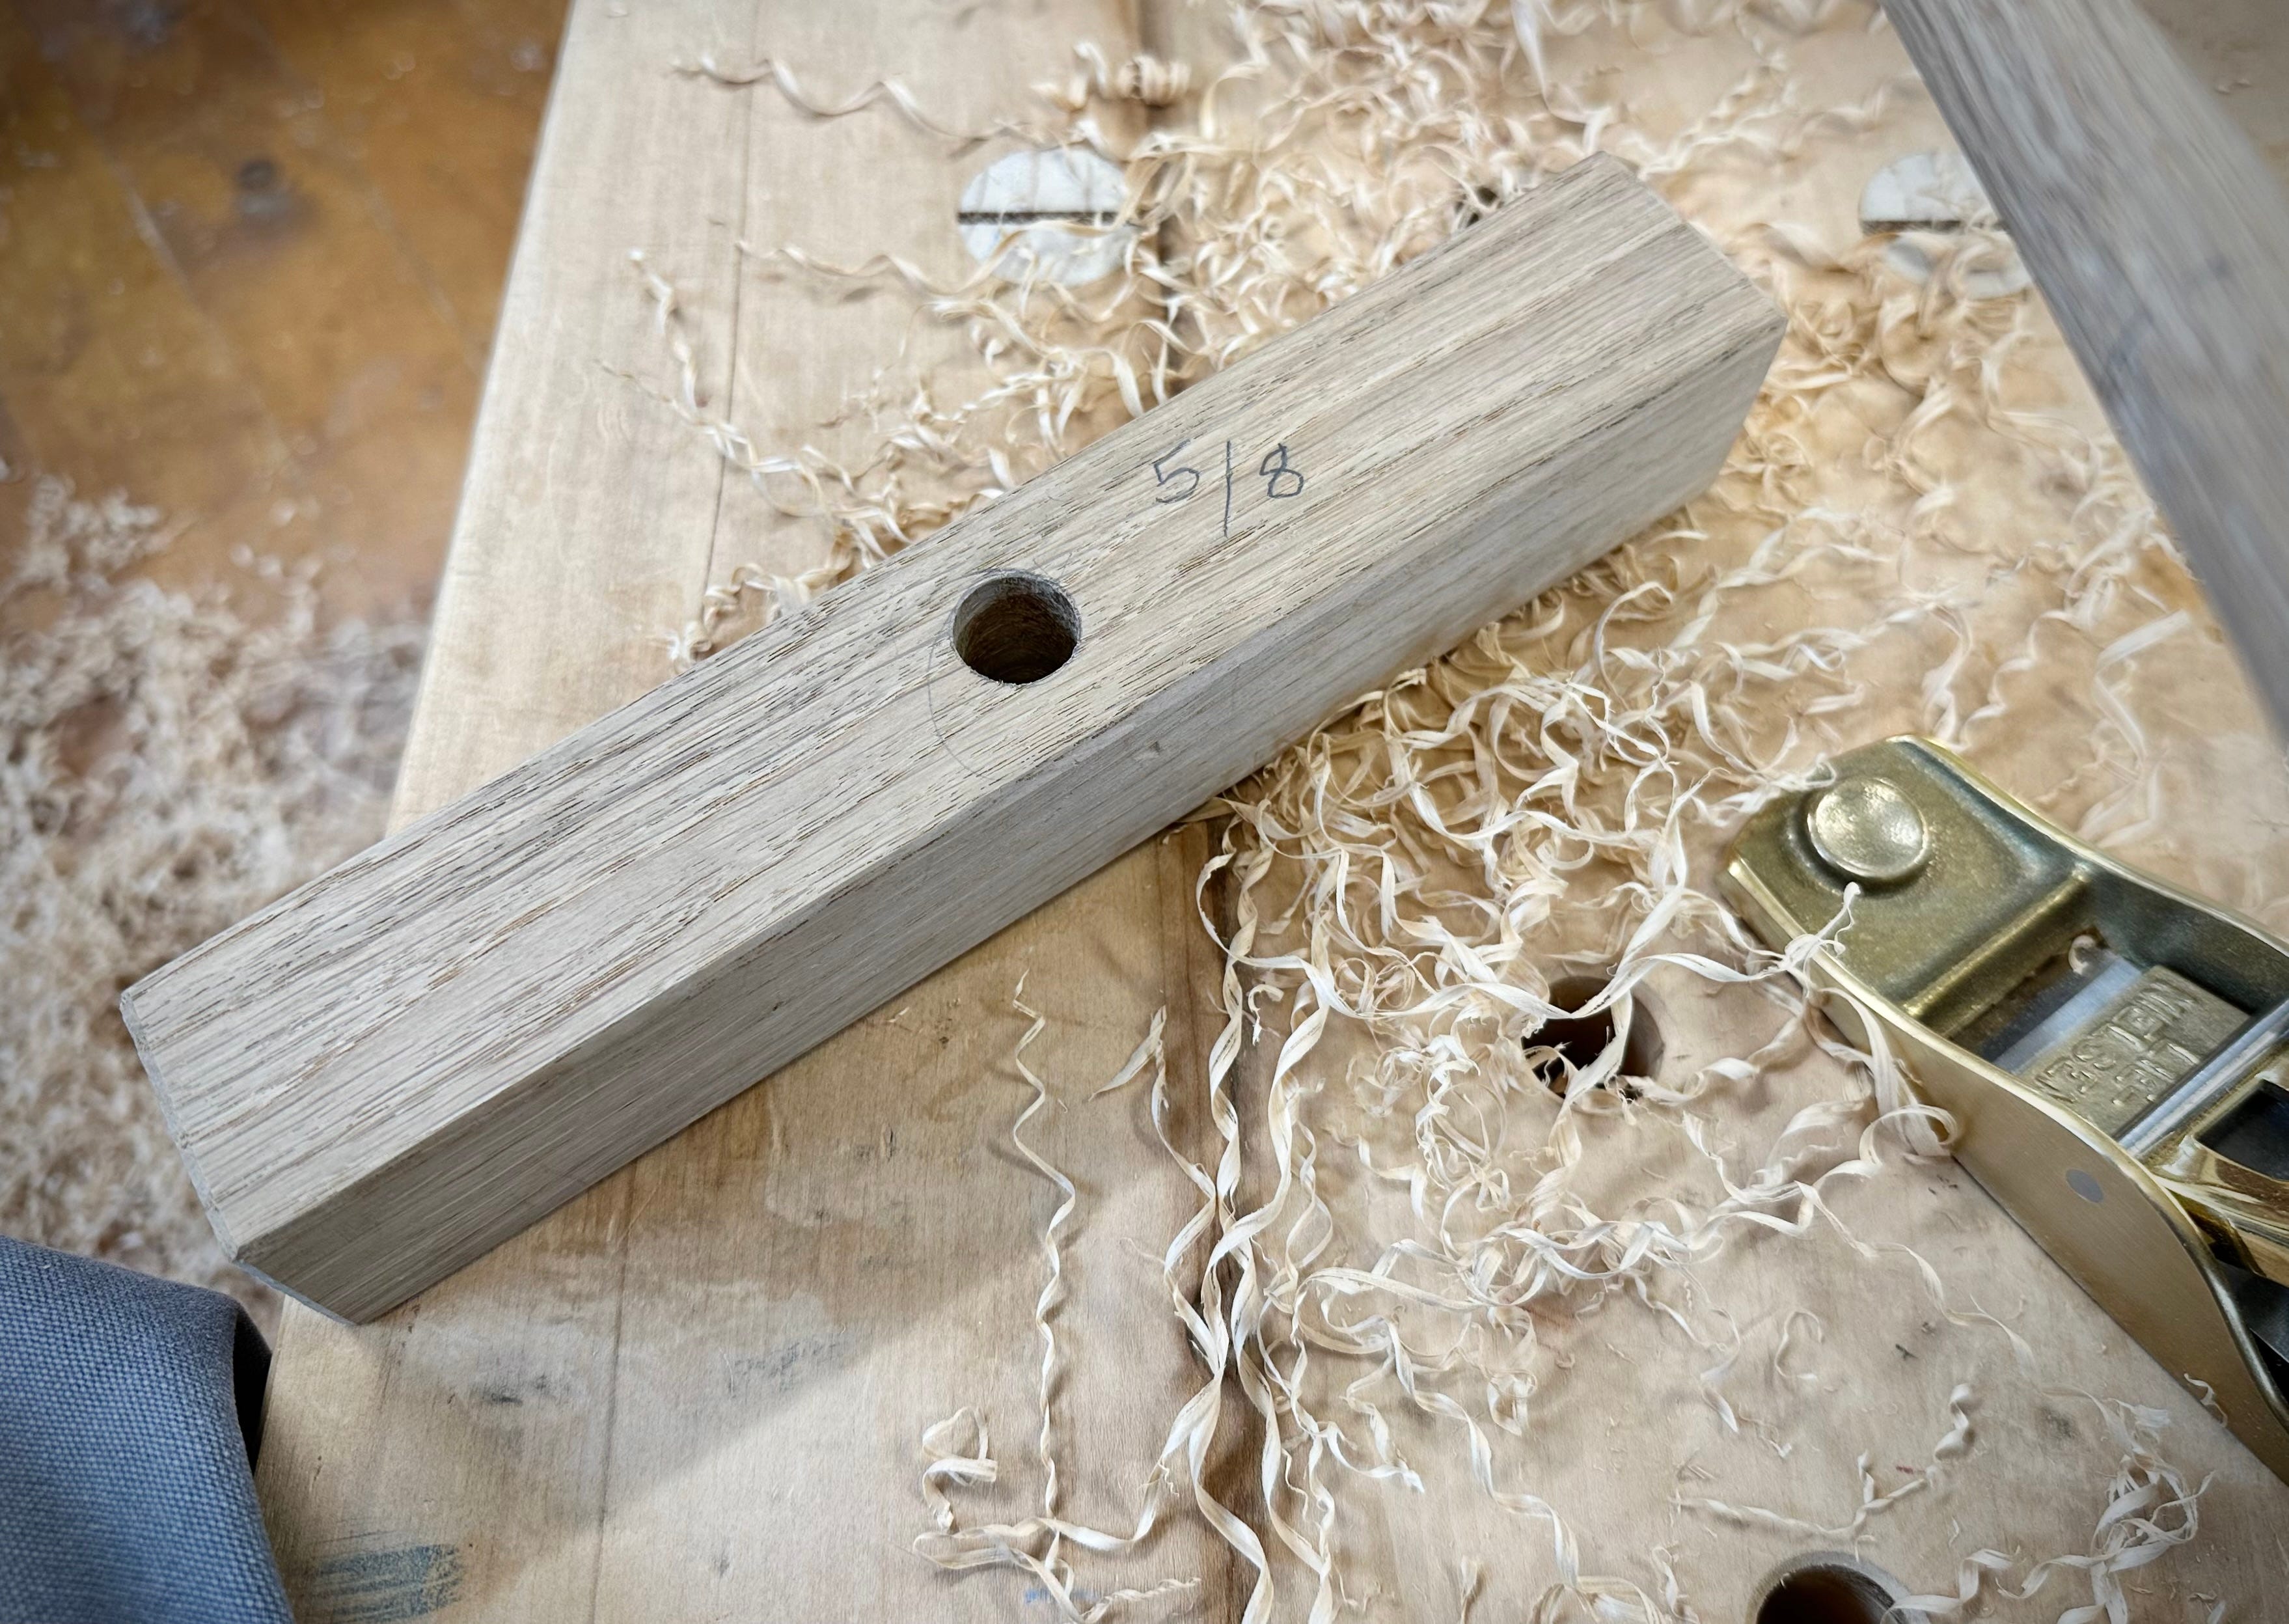
Having a checking block with a 5/8” hole seemed like a good solution, rather than using the arm itself for checking. As I worked, I slid the block onto the stick until it stopped and ran a pencil line around the stick at that point to mark my progress. It’s easy to lose track of where that was if you don’t mark it - unsurprisingly all parts of the stick look much the same. With a mark you can work on the fat side of the line and avoid taking material away from parts that have already passed the go/no go test. I rotate the stick as I work to ensure it retains some sort of concentricity, but I wasn’t obsessively methodical about it, I just tried to “think round” as Chris Williams says.
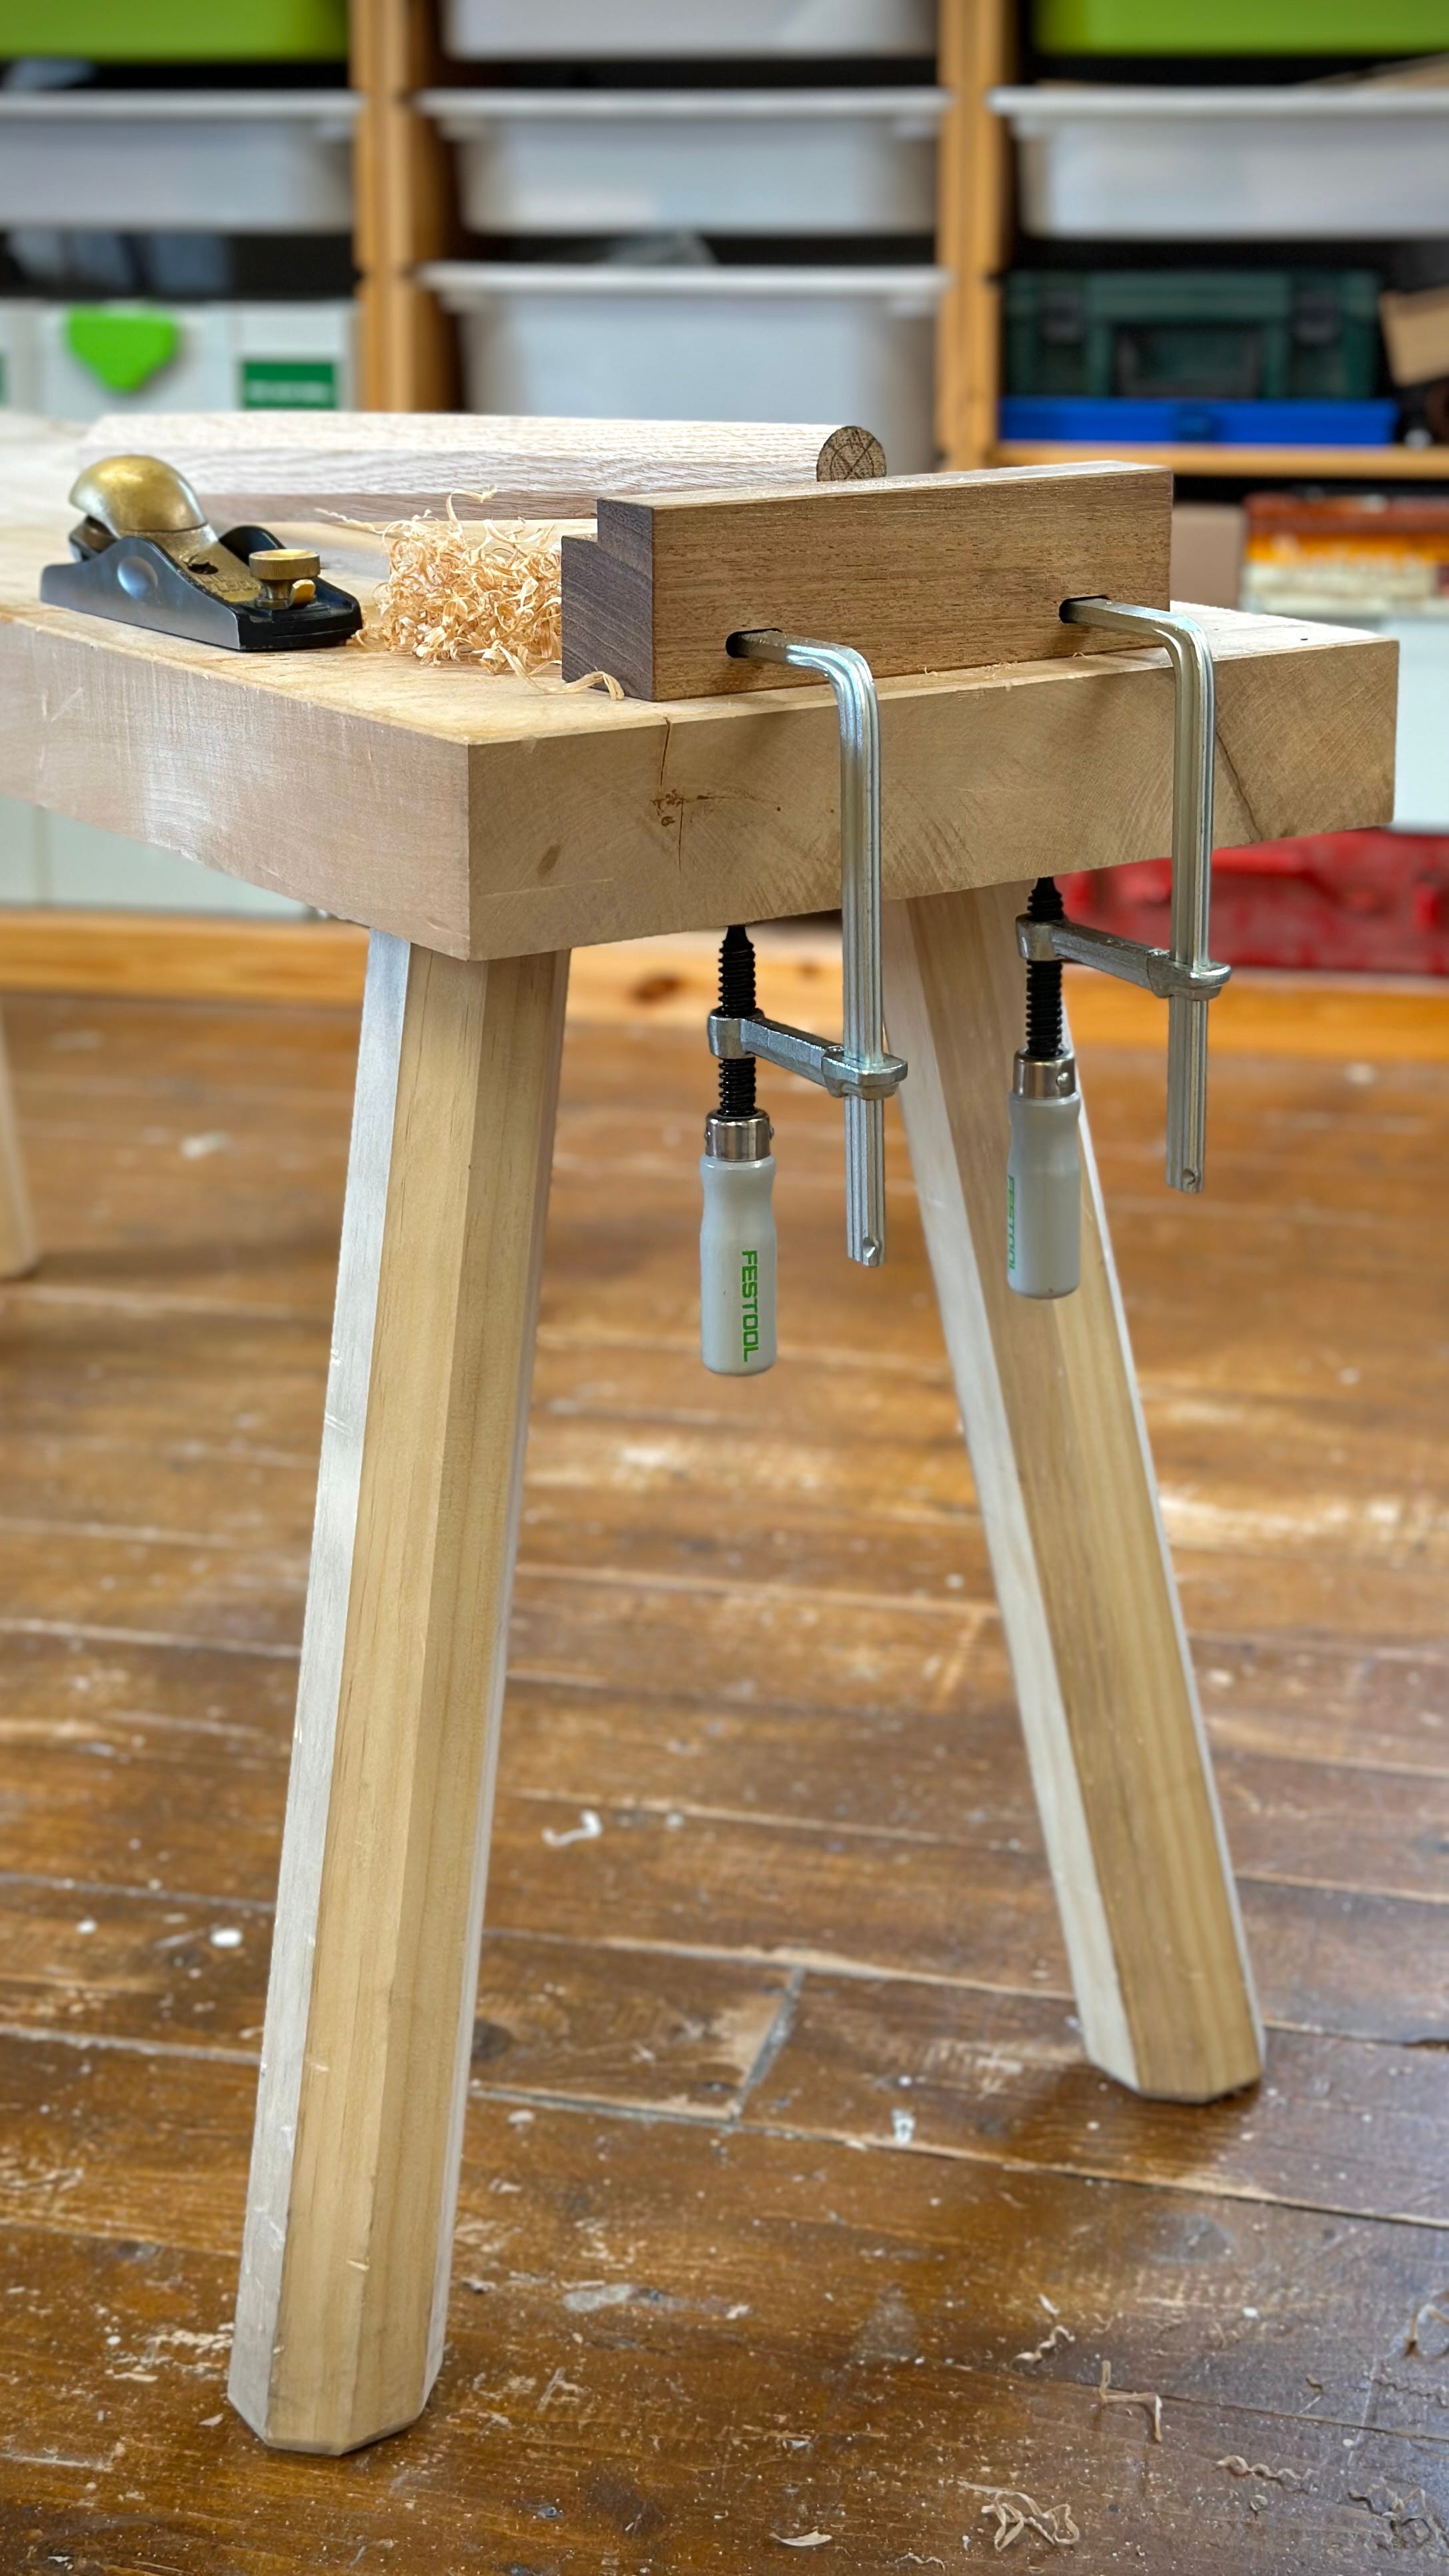
Sat at the low workbench, shaving away at sticks really does feel like chairmaking. Now that might sound ridiculous, because clearly all parts of the process in making a chair are chairmaking. But it’s an operation that is unique to chairs and there feels a very direct connection between the movements of the tool and the resulting shape of the stick. Sat shaving away and “thinking round”, I can honestly say at that moment there is nowhere else in the world I would rather be.
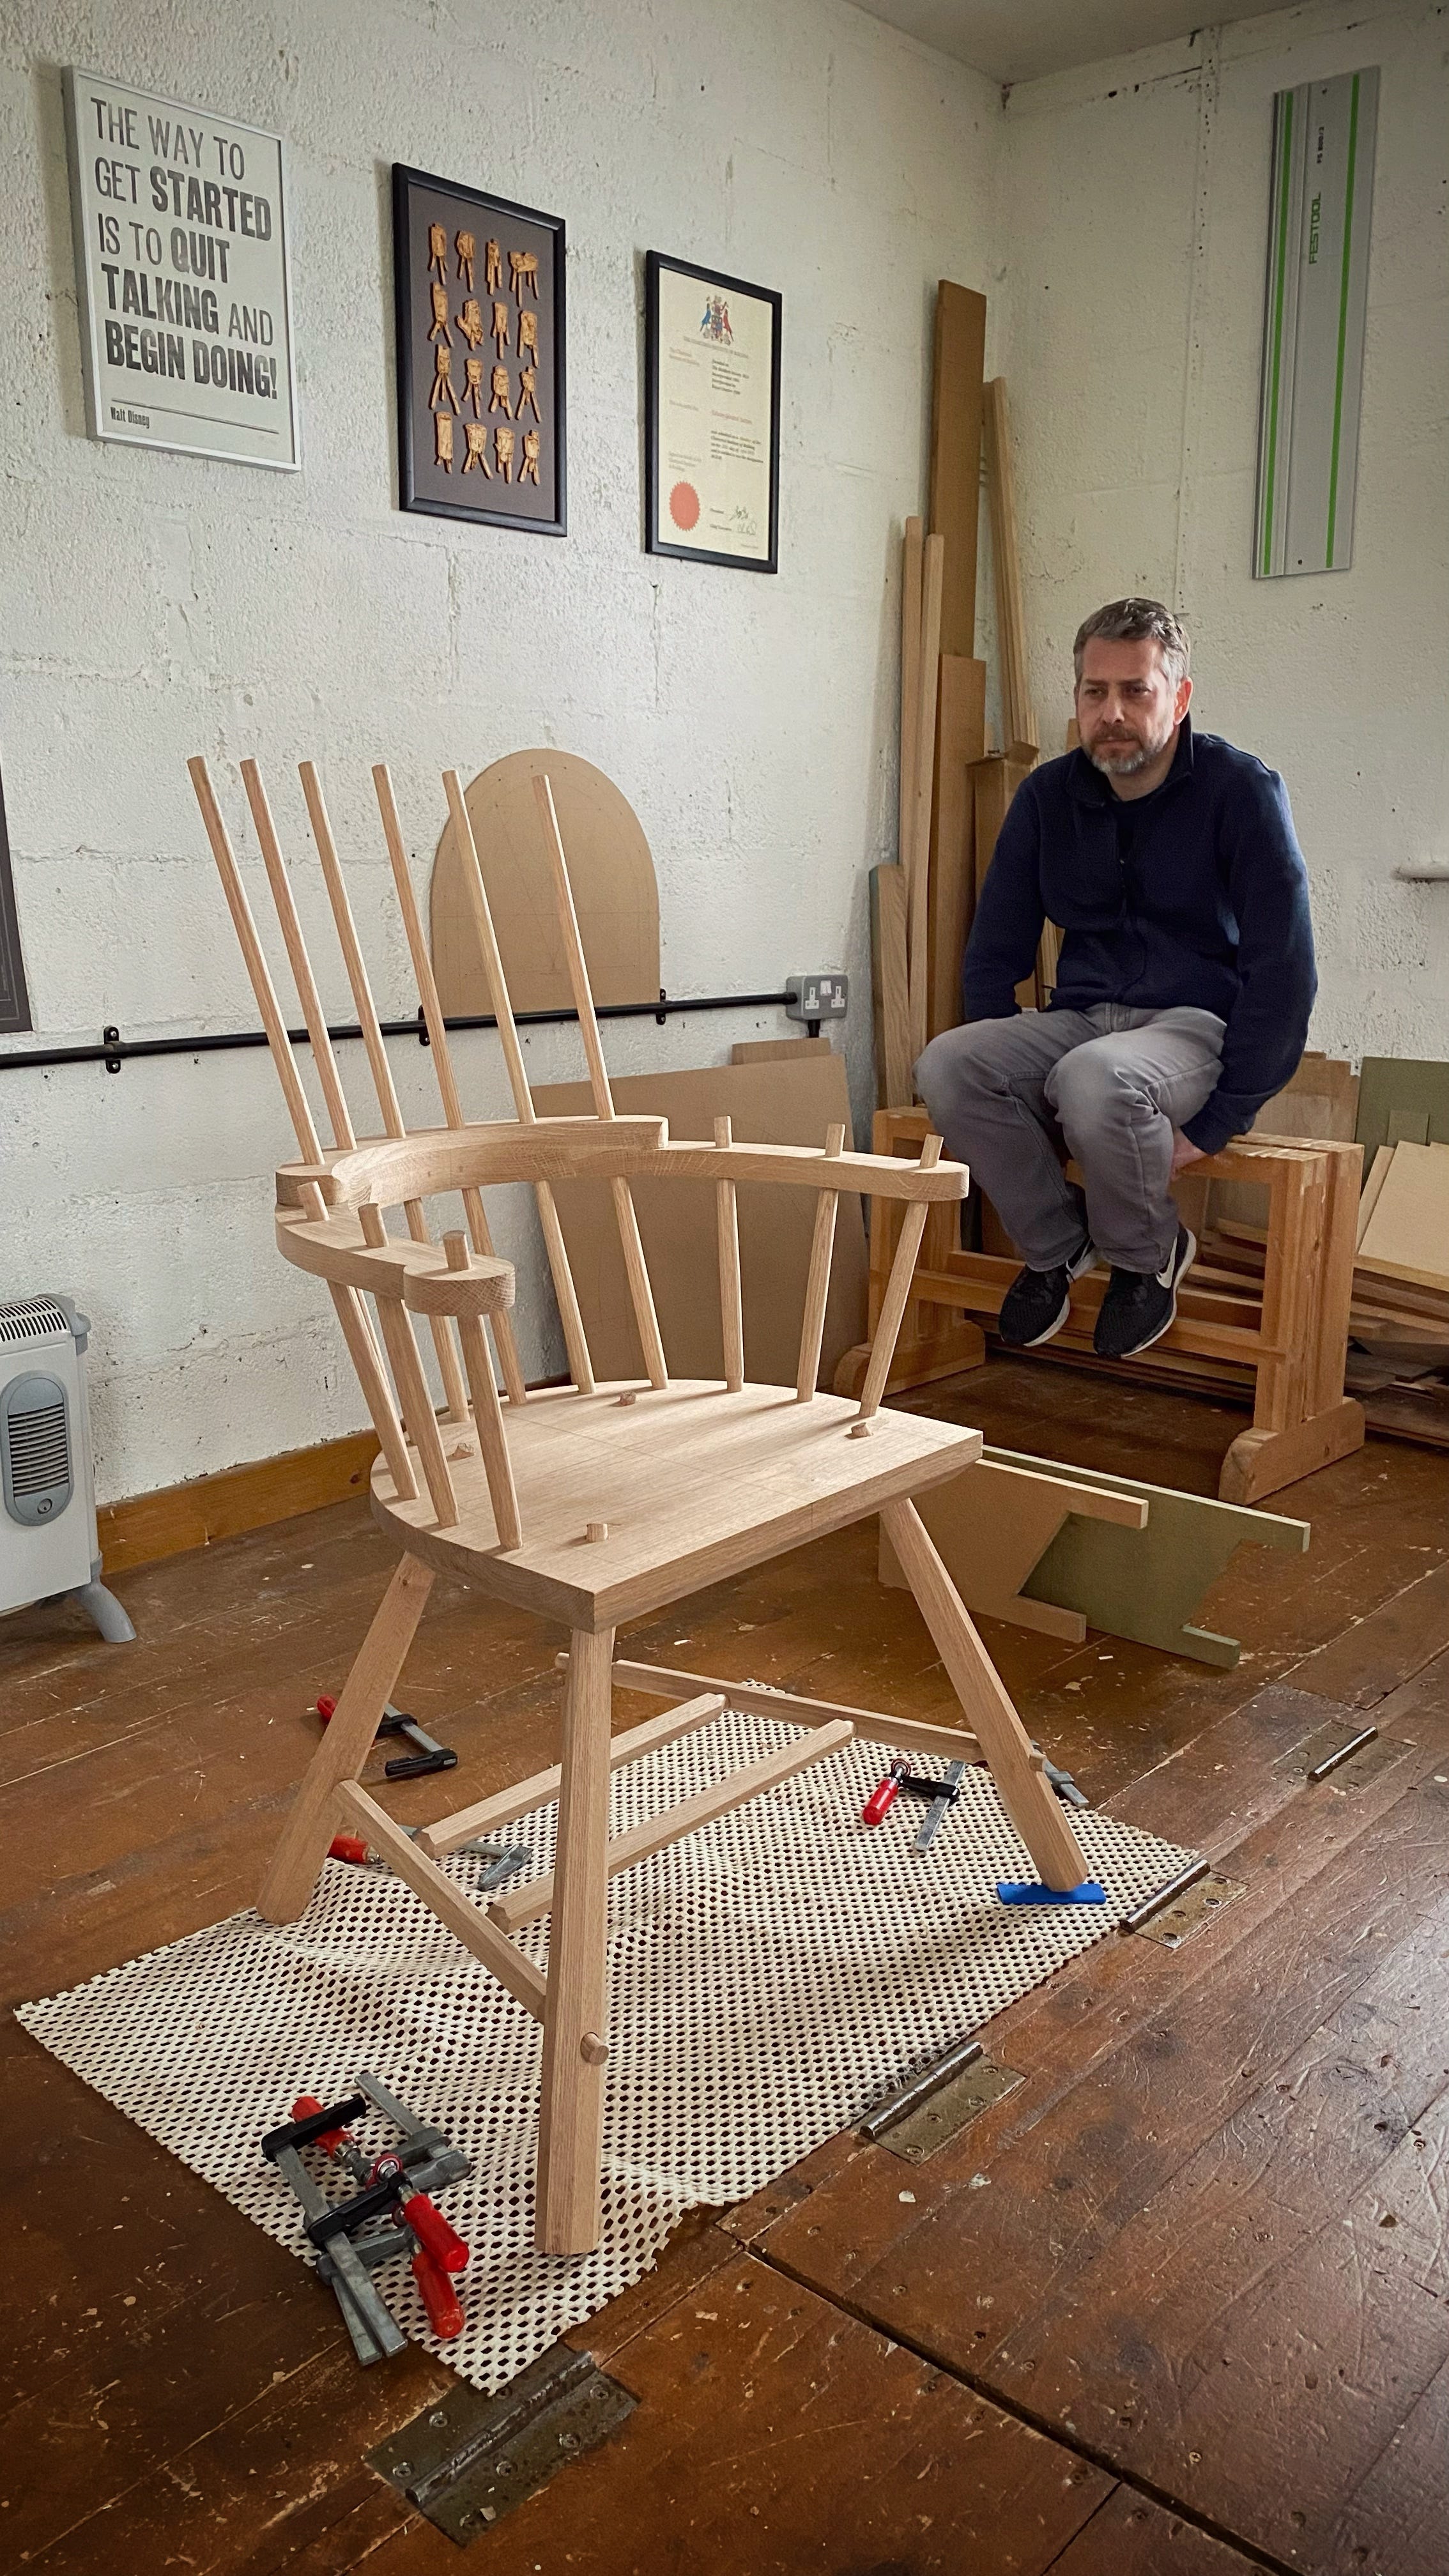
Clear and detailed explanation, thank you. I do like the last photo of you pensively gazing at your nice stick chair handwork.
Cheers,
Michael
The precise explanations offered in this series on the six-stick chairs are very helpful indeed. Like having a conversation (one-sided notwithstanding) to flesh-out details and experience that either did not find a place in other sources on stick chairs, or that you say in a new way that makes the processes more precise. A valuable contribution to the literature on the subject, merci!