


A Nightmare On Oak Street
A rambling self-therapy session

I aim to write with honesty on this blog. I imagine other people might call that over-sharing at times, but it’s honest nonetheless. So here’s the latest dose of that honesty. Outcomes are not always Instagram perfect and processes do not always go according to plan, as you will see. Much like an alien abduction story, I still can’t explain some of what happened here, but I know what I saw.
Late morning on Saturday I decided I would glue up the undercarriage of the chair, which was intended to be a quick pre-lunch job. It’s something I’ve done quite a few times, so I’d got a clear idea of the sequence, the tools needed and the time it would take me. Gluing up chairs can be challenging at times, but generally the bits below the seat are pretty straightforward. It’s the parts from the seat upwards that can sometimes cause problems. Not so on this occasion.
Preparation is key for a glue up, so I laid out everything I’d need on the bench, with the parts marked and arranged in a logical manner so things don’t end up in the wrong places. All the wedges and spares I need are there and the glue is warming in a jug of hot water. One of the complications of gluing up a chair with side and medial stretchers is that you kind of wrestle the parts into an assembly where nothing is together until everything is together. You can’t do a whole lot of sub-assembly, which means the first parts you apply glue to might sit for a little while until they join their mating component. I was using Old Brown Glue, which I’ve worked with before, but never on a chair.
So I glue the side stretchers into the legs, then I apply glue to the leg tenons and mortices, but only seat them loosely in their holes. I glue the medial stretcher tenons and sort of juggle them into position whilst lifting the legs up enough for the tenons to engage their holes in the side stretchers. The whole thing is loosely together, and I know it’ll all tighten up when I get the legs properly seated. I do notice at this point that some of the glue is kind of balling up on the tenons where they’ve moved a little in their mortices and it looks to me like it’s starting to set up. So I up the tempo and try to get things into their final positions. I’m still not panicking at this point. I’ve been here before.
I start striking the legs to seat them in the mortices and they’re not that willing at first. Eventually with firmer strikes, three of them seem to be seating, but the fourth (a front leg) will just not have it. I hope that the glue will grab soon, so I persist with further hammer blows, and eventually it stays in position. Things look OK, so I flip the chair to get the leg wedges in before anything moves. As I wedge the back legs I notice the wedges going in much further than expected, but I keep pounding away until they seem done. I wedge one front leg and as I move to the previously troublesome leg, it pops free from it’s mortice and is loose again. Now I’m starting to panic. I have not been here before, nor do I want to be here this time. Many of the components are smeared with blood from a week-old finger cut that has opened up in the heat of battle. It looks like something bad happened here.
I flip the chair back over so I can re-seat the front leg, and it’s at this point I notice that somehow when I wedged the back legs the action of hammering has forced them partially back out of their mortices. They’re now a good 3/8” out from where they should be. I can’t understand how this is happening, but I hammer them back to where they should be and they seem to stay. I turn my attention to the difficult front leg and strike it with increasing force to try and get it to seat. It does, so I flip the chair back over to get a wedge in it quickly.
And that is when I notice the split. A hairline crack running out along the grain from that problem front leg to the edge of the seat. In the heat of the moment I think I can deal with that later, so I go ahead and wedge the leg. I also glue and hammer home the wedges in the side stretchers and step back to take a look. It doesn’t feel good. I can see that neither of the medial stretchers are tightly fitting any more, probably because the other elements are not quite aligned as originally intended. I’m dubious as to how well the glue has taken on any of the joints, as I could see it balling and wrinkling as things moved about. Where it stood firm and level in dry assembly, the chair now rocks disturbingly on its legs. Now I’m not panicking anymore. A sort of serene resignation has arrived, where I accept the new reality that my work of recent weeks just became firewood.
I rest for a few moments whilst the situation sinks in. As I do, a new mindset starts to emerge. I am not giving up. I’m not going to throw away the work that got me to this point. Clarity arrives as a new realisation dawns on me. This chair needs to come apart. And quickly. I’ve never disassembled a fully wedged up chair before, so this is going to be interesting. Or disastrous.
So I know that hide glue is reversible with heat and water, and I know that Heat + Water = Steam. So I rush to the shed and grab the wallpaper stripper, fill it with water and turn it on. While I’m waiting for steam I start soaking the leg joints joints with hot water, then I direct the steam jet at the joints as soon as I can. Pulling like a Victorian backstreet dentist, I manage to extract the wedges from the two front legs with pliers. This small victory gives me a boost and I start to believe this is possible. At the back, I have little more than 1/8” of wedge showing (these were the ones that went in unexpectedly far) and try as I might, there is no way I can get a good enough grip with the pliers to remove them. A new tactic is needed.
I decide I will have to excavate the wedges, so I take a 1/8” chisel and chop into the wedge from each side, level with where it meets the seat. I can then pry out the upper part of the wedge after a thorough steaming. I take a 3mm drill and drill down into the wedge, with the gap in the tenon keeping the drill on line. After a few holes and a bit of judicious waggling I excavate a slot in the wedge that I think is sufficient. A bit more steam for good measure, then I flip the chair and standing on the underside of the seat I pull one, then the other of the legs free. As I do, the medial stretchers fall away, leaving me with two pairs of legs affixed to a side stretcher.
I need to weigh up whether to leave the leg/stretcher assemblies together or not. I’m feeling victorious after freeing the legs, but I know that bravado might lead to a bad decision, so I switch off the steamer and stop for lunch.
Having weighed matters up over lunch, I am convinced that the whole thing needs to come apart so I can start from scratch to get it all correctly aligned. I work on each stretcher tenon in turn, chopping away the wedge I can see, then drilling the part I can’t. After steaming I pull the tenons from the legs one by one, leaving me with a pile of components, much as I had a few hours ago before this whole nightmare began. Every tenon kerf still has the remnants of wedges in there, which I knock out from the side with an offcut of card scraper and a hammer. Amazingly, other than a few scratches, none of the components are damaged by the ordeal. I steam and clean all the glue surfaces and lay the now fairly soggy parts out to dry. It is done. In the steam I’m dripping with sweat, bleeding and I feel like Bruce Willis at the end of Die Hard. But it is done.
The seat split needs a repair and I decide that an 80mm stainless steel screw across the crack is the best option I’ve got. It’s only a hairline crack so I can’t get any glue in there. I drill in from the front edge of the seat with a counterbore bit, so I can plug over the top of the screw to hide it. The screwhead will be a tight fit in the biggest counterbore size I have with a matching plug cutter, but I figure it will work. As I drive the long screw it makes noises of protest in the oak, even though piloted and waxed. I work it in and out a few times at partial depth, then throw that screw away in case I’ve over-stressed it and start with a new one. I do this 3 times, throwing away the screw each time, then on the fourth screw I decide to go for it. With about 5mm to go, the screw snaps just below the head. Of course it does. Actually I’m content that even without its head the screw will do what I need, as the threaded part extends well either side of the split. But now the head is stuck in the counterbore hole and nothing I try will get it out. As a last resort I contrive to superglue the driver bit into the screw and eventually manage to withdraw it gradually whilst rotating. I cover the hole with a matching plug and call it done.
In common with most alien abductions, I’m afraid there’s little in the way of photographic evidence of these events. I know it all happened, because I’ve come away with the distinct feeling that I was just probed.

FOOTNOTE
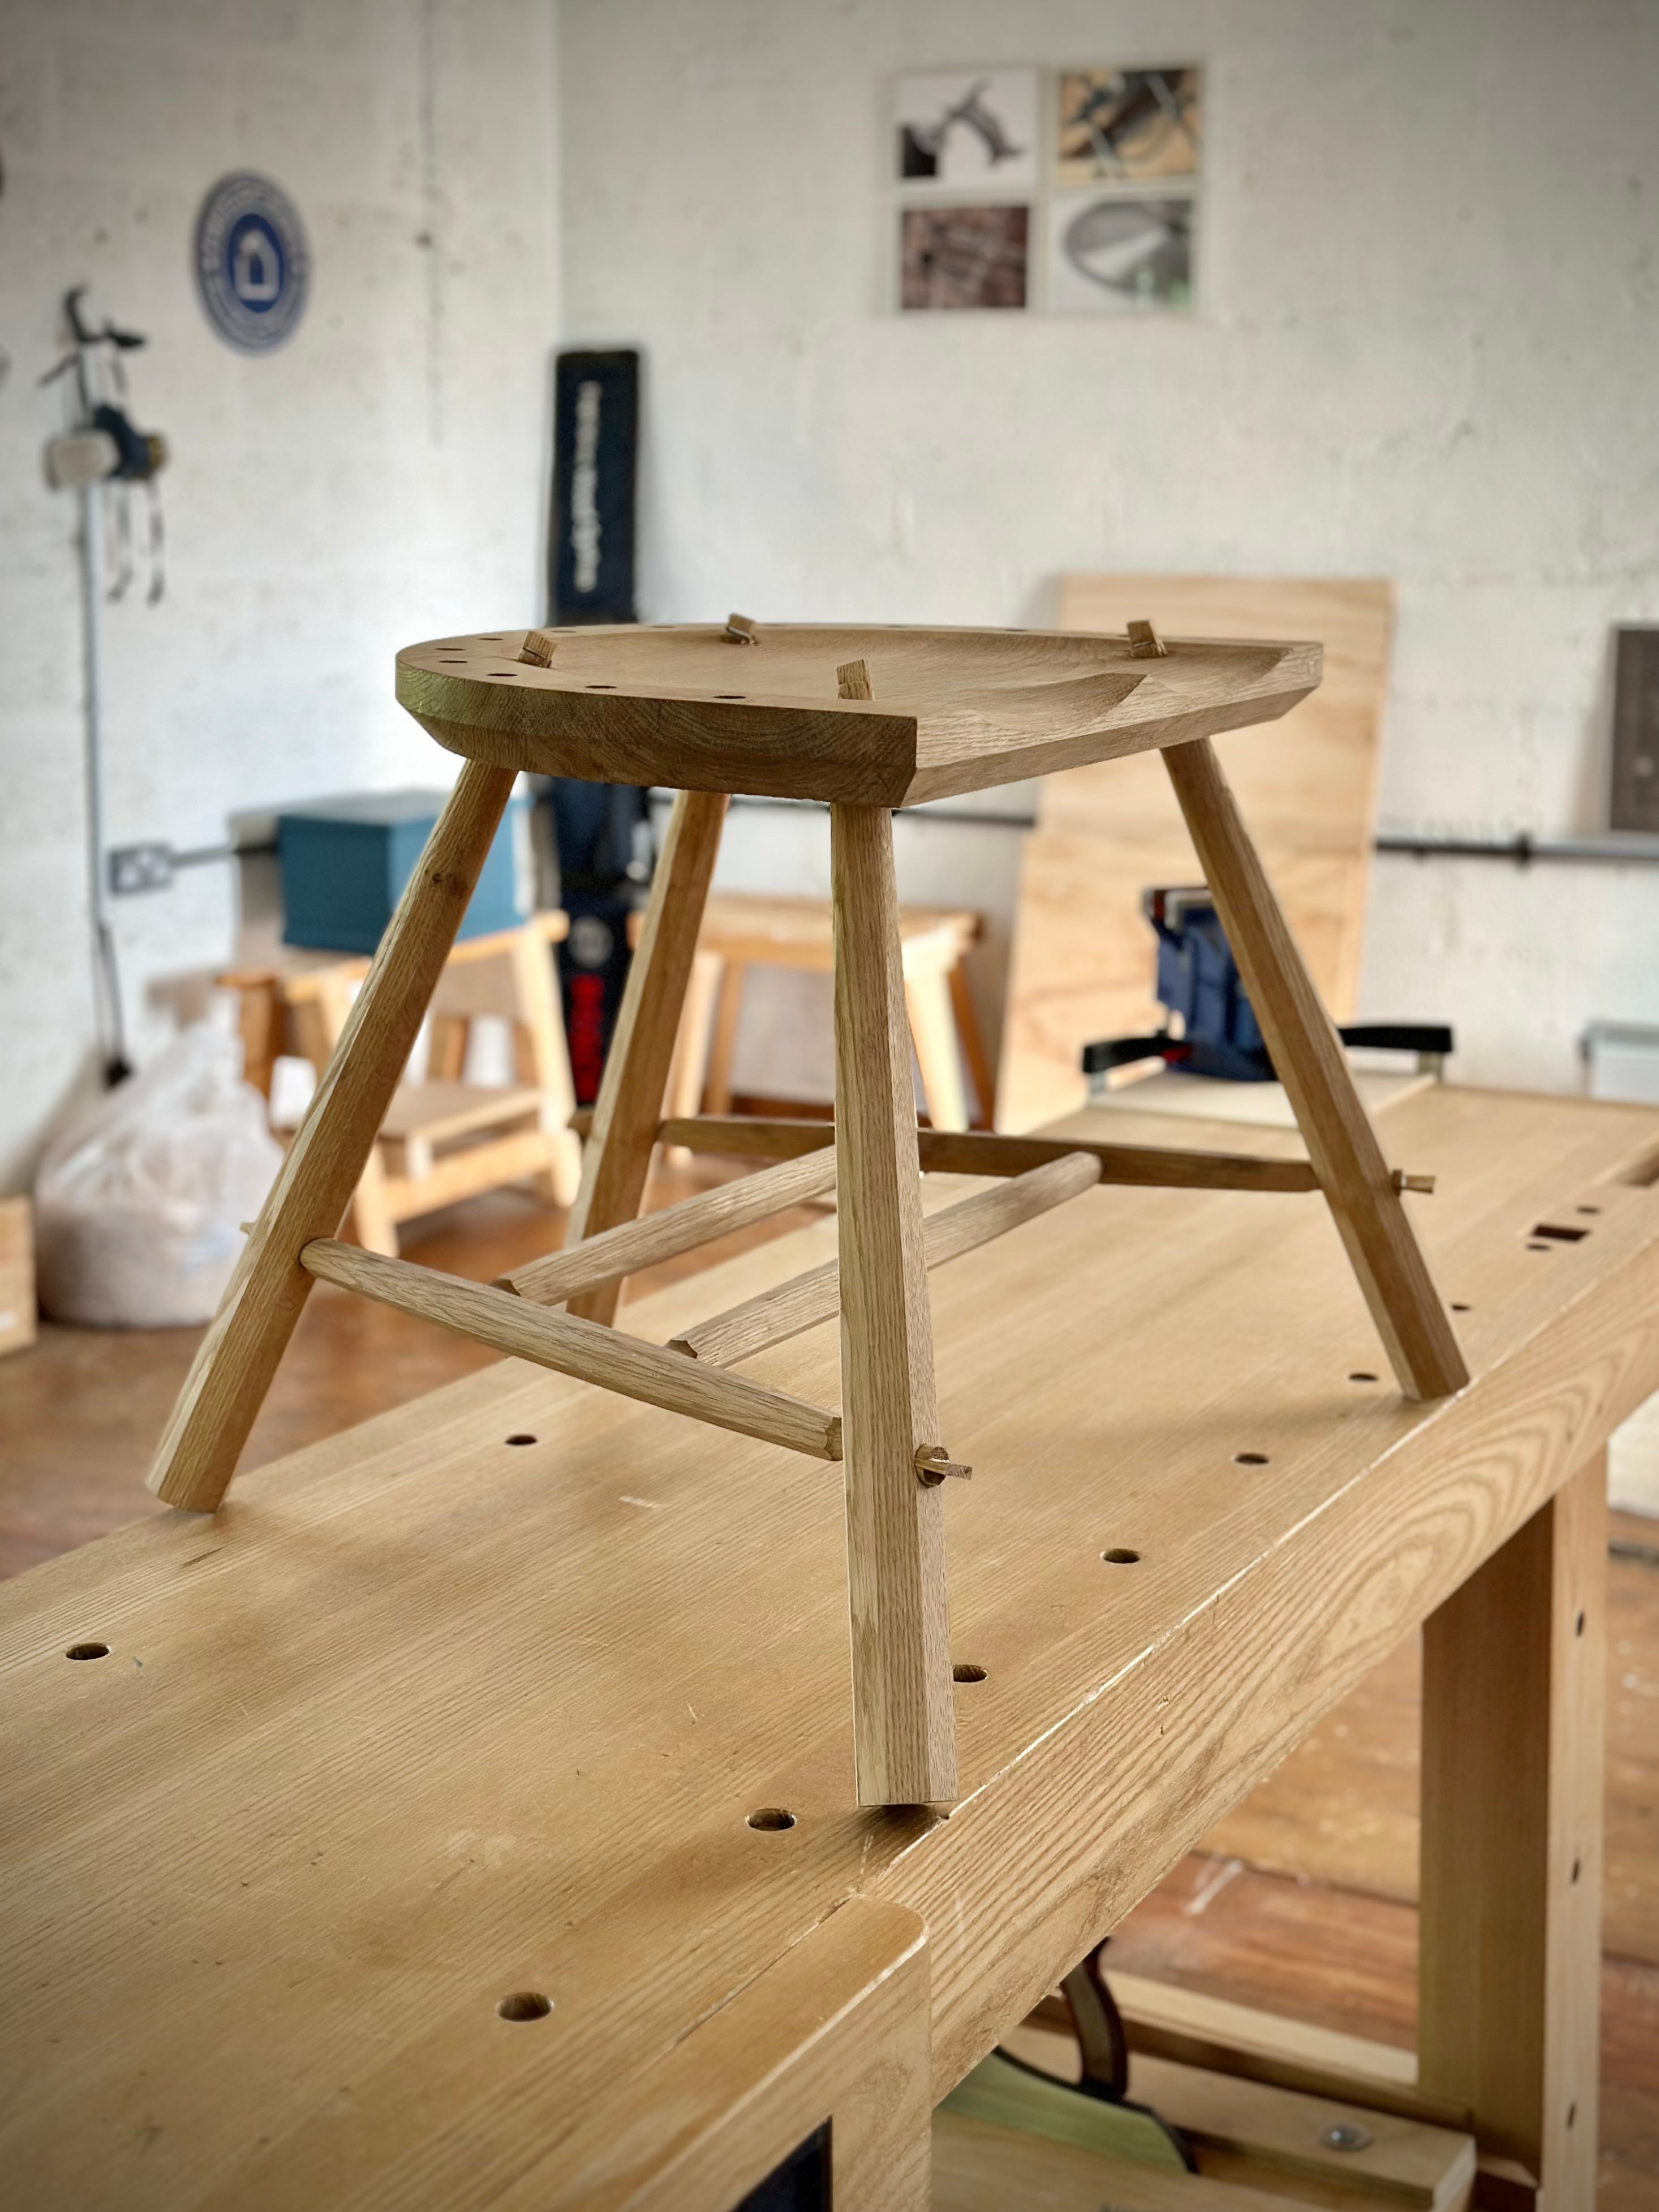
The following day I assembled the chair again, this time with PVA glue. Everything went together as it should. Legs tenons seated. Stretcher tenons aligned. Wedges did what wedges normally do. The chair stands level and steady on it‘s legs. Now I know we’re supposed to use hide glue so future generations can reverse it to repair breakages. Well firstly they should be grateful I gave them a chair to begin with, and secondly they’ll just have to figure it out for themselves. Or buy a new chair from Ikea.
DISCLAIMER
I am not saying here that there is anything wrong with Old Brown Glue. I have no doubt that all my issues are down to the way I did things on this occasion.
When this sort of thing happens it is almost impossible to explain to someone who doesn't use their hands to make things - anything. They just look blank. If they are paying for your efforts all sorts of other shite starts creeping in, almost always unrelated and certainly unhelpful. You worked your way through it and salvaged to good effect but it must have sucked balls at the time. Snapping fixings off really does. Extracting them even more so. I suspect your audience has sympathy because a lot of us have been there at some point... making fine , hand crafted firewood.
Hilarious post! I really enjoy how you express these events in a way that evokes laughter and a sense of recognition.