

Comb My Back

Actually I don’t need someone to comb my back. One of the most obscure items of information included in the results of my recent DNA test was that there’s a 76% chance I have little or no back hair. Although I can’t readily see my back most of the time, I kinda knew I wasn’t descended from Wookies.
The more surprising fact is that I am apparently 10.5% French and/or German. I mentioned this to my Father recently and he casually dropped into the conversation that his maternal Grandmother was of French Huguenot origin. I think you’ll agree that this hitherto unknown (to me) fact rather clarifies matters. The Huguenots were Calvinist Protestants at a time when much of Europe was Catholic. They were persecuted for not following Catholicism and fled to various safe locations where they could live peacefully, including the UK. Bethnal Green in the East End of London was a particular hotspot, and this is where my Great Grandmother hailed from. So it seems I’m a bit Cockney as well as a bit French. Come to think of it, my middle name is Gerard. Maybe I should have read more into that than I had before now.
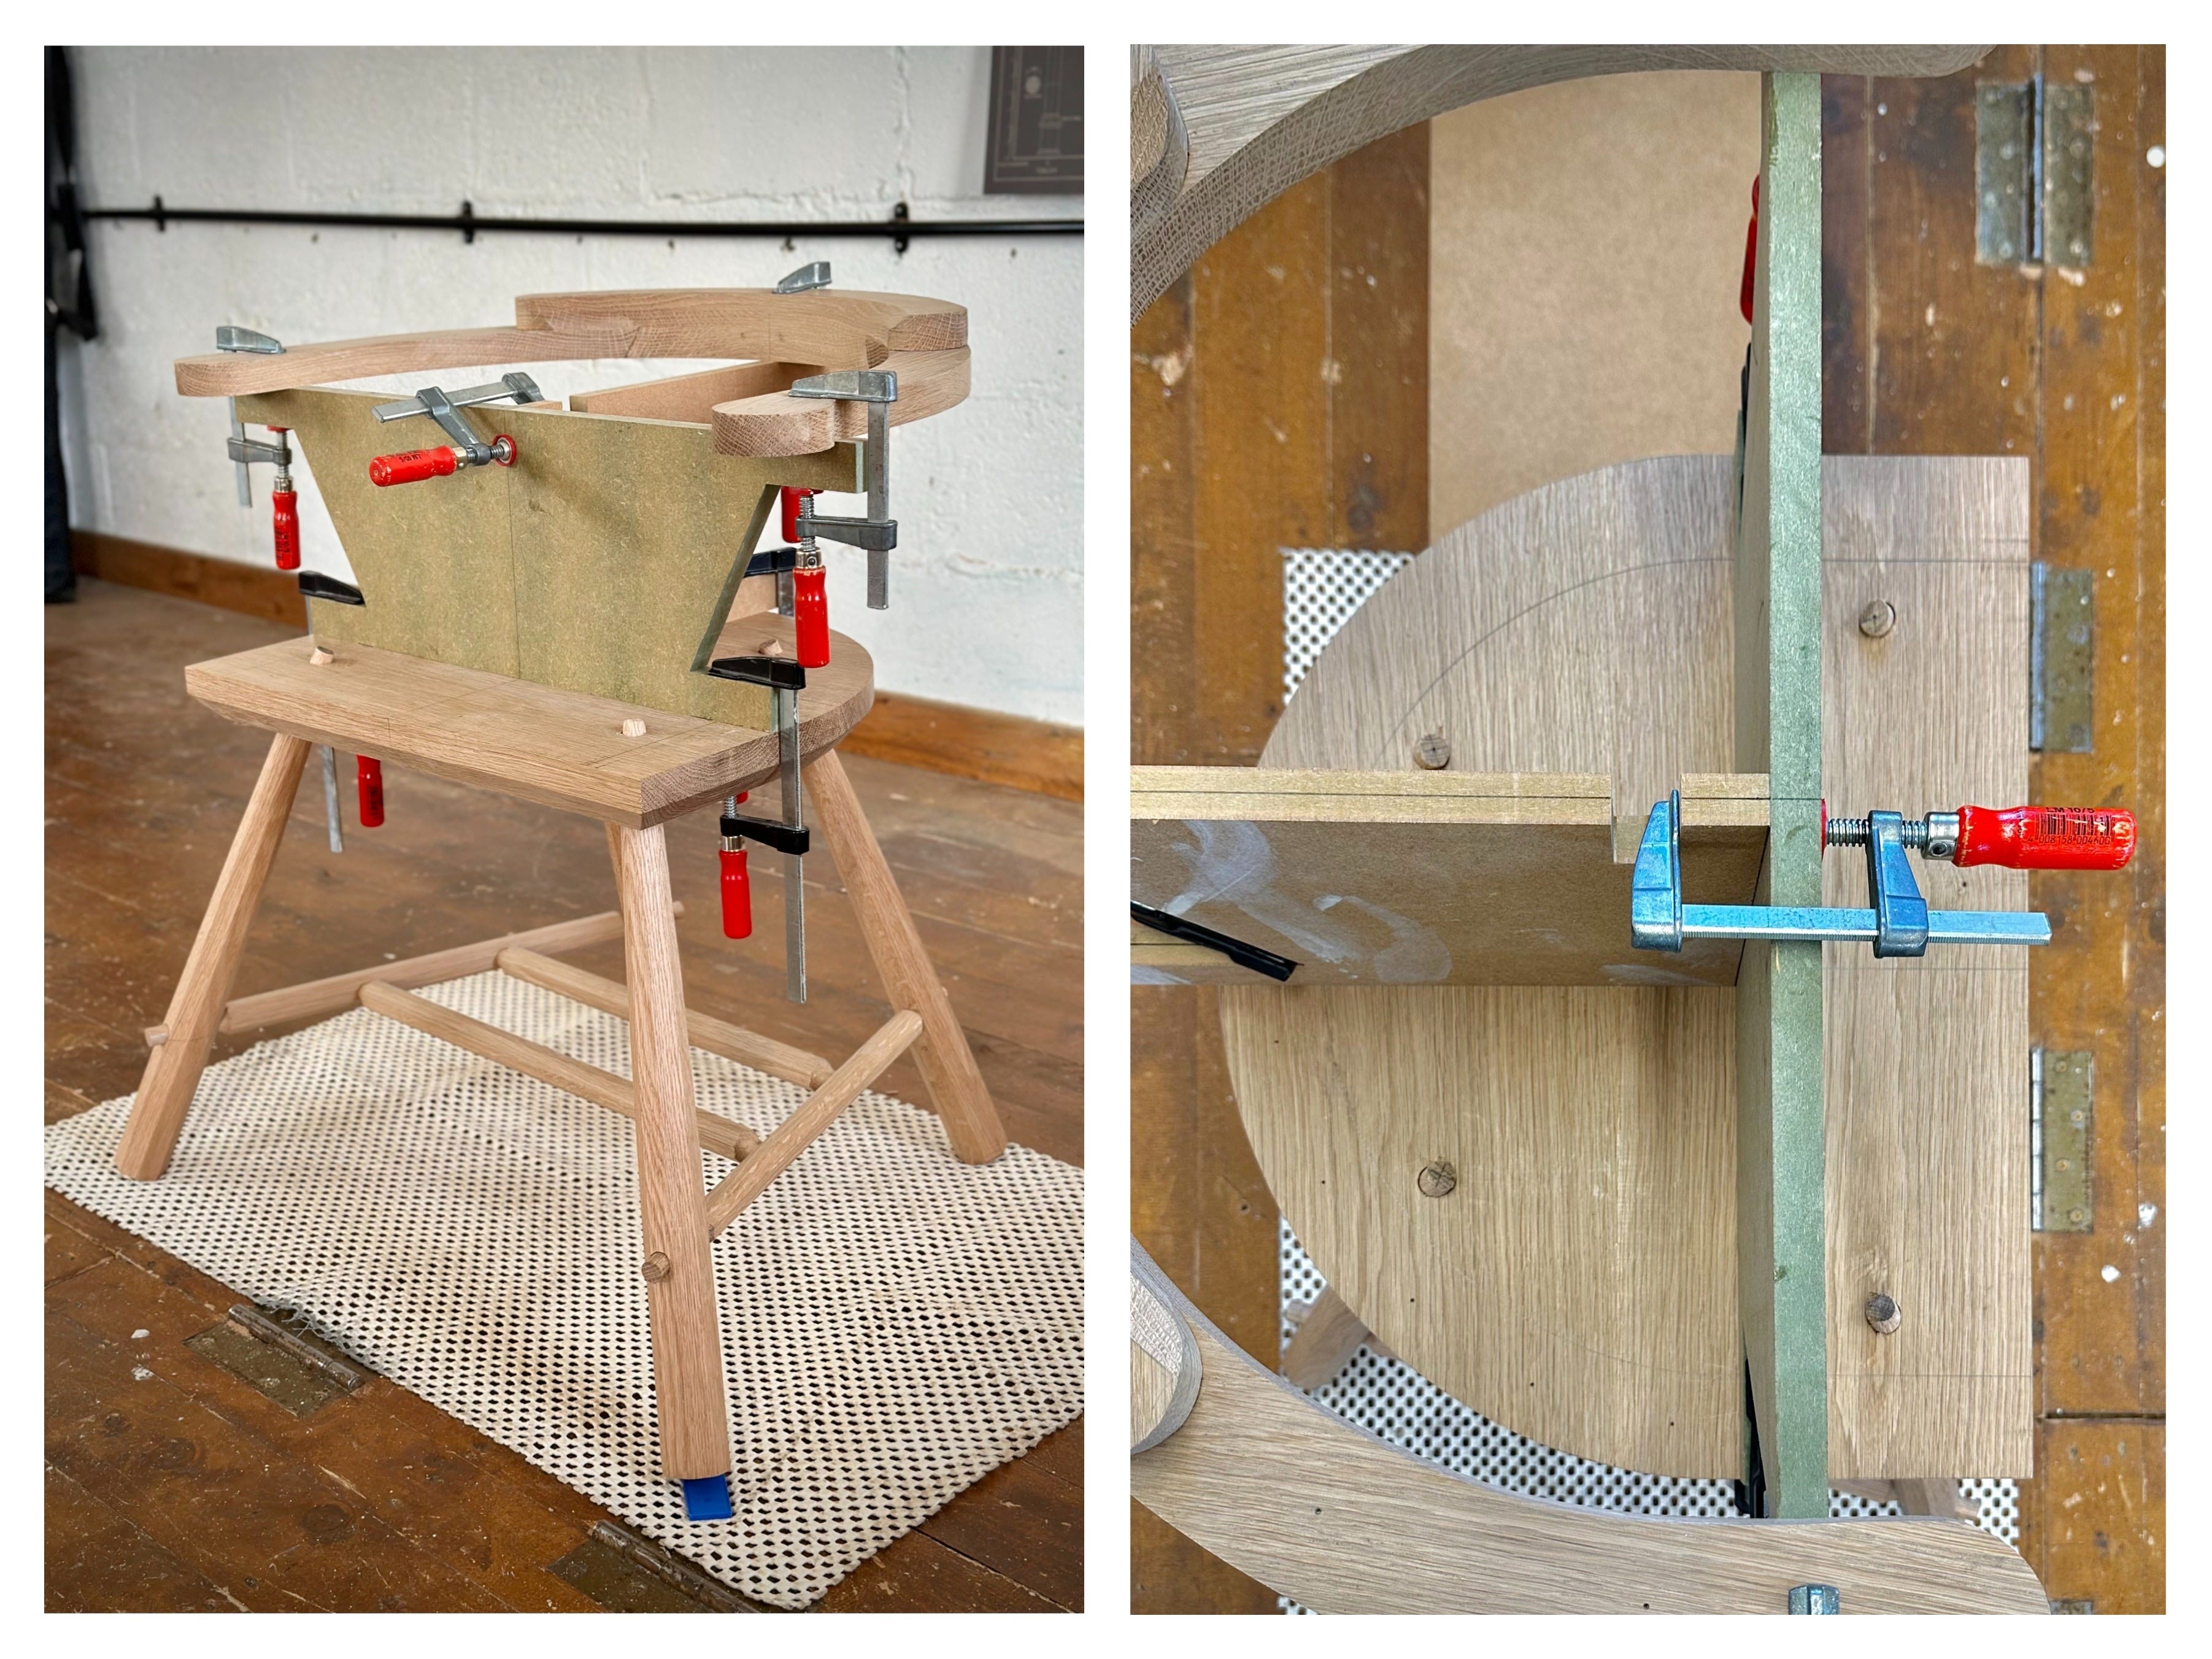
We are of course talking about the comb back of the chair, not whether I am sufficiently hirsute to need grooming. The critical step in creating the back structure of the chair is drilling the armbow and seat for the sticks. This is a pretty intimidating stage for beginning chairmakers, but is also one that’s easily conquered with some careful technique and a few helpful aids. The process is described in excellent detail in Chris Schwarz’s The Stick Chair Book, so I’m not going to try and recreate that here, I’ll just pick out a few highlights of mine

The Setup. I probably fuss with this too much, but I like to ensure that the arm and seat are perfectly aligned relative to one another. You can check this as many times as you like, because once you start drilling, you’re committed. It’s helpful to have the centre lines marked on the jig to take check measurements from. I also think it’s important that the arm and seat are held solidly so nothing moves during drilling. A fair bit of force is applied in the operation, so it needs to be robust. I’m using the drilling jig to Chris’s design from years ago, with just one modification. I like to be able to clamp the two bits together to make a more rigid T-shape, so the rear part of mine has a notch to allow that. I put the chair on a non-slip mat so it doesn’t move when drilling, although this only really matters if you’re using a laser.
Use a laser. Yes it’s another piece of kit to buy, but you’ll be grateful for every pound you spent on it when you’re drilling the holes. I’ve tried using a spotter, and a drilling jig and using a laser is hands down the most effective way I’ve found of doing this. You need to buy a laser that will function in an inclined position. I went for the Bosch GCL 2-50 G, which flashes periodically when inclined to warn you it’s not plumb, but is otherwise cooperative. And get a green one if you can afford it, so much better than the red laser I struggled with for years. I use a couple of plywood offcuts with a pencil line on to assist alignment of the laser to the hole position. When you’re over by the tripod adjusting the laser position it can be hard to see the holes otherwise. The laser needs to be perpendicular to an imaginary line connecting the two hole positions. The little bits of plywood make it easier to check this, as they provide the perpendicular line to see the beam against when viewed from above. With the laser aligned to the top and bottom holes, it’s simply a case of keeping the green line along the shaft of the drill and aiming at the lower hole. That might sound glib, but compared to using a power tenon cutter this is pretty straightforward.
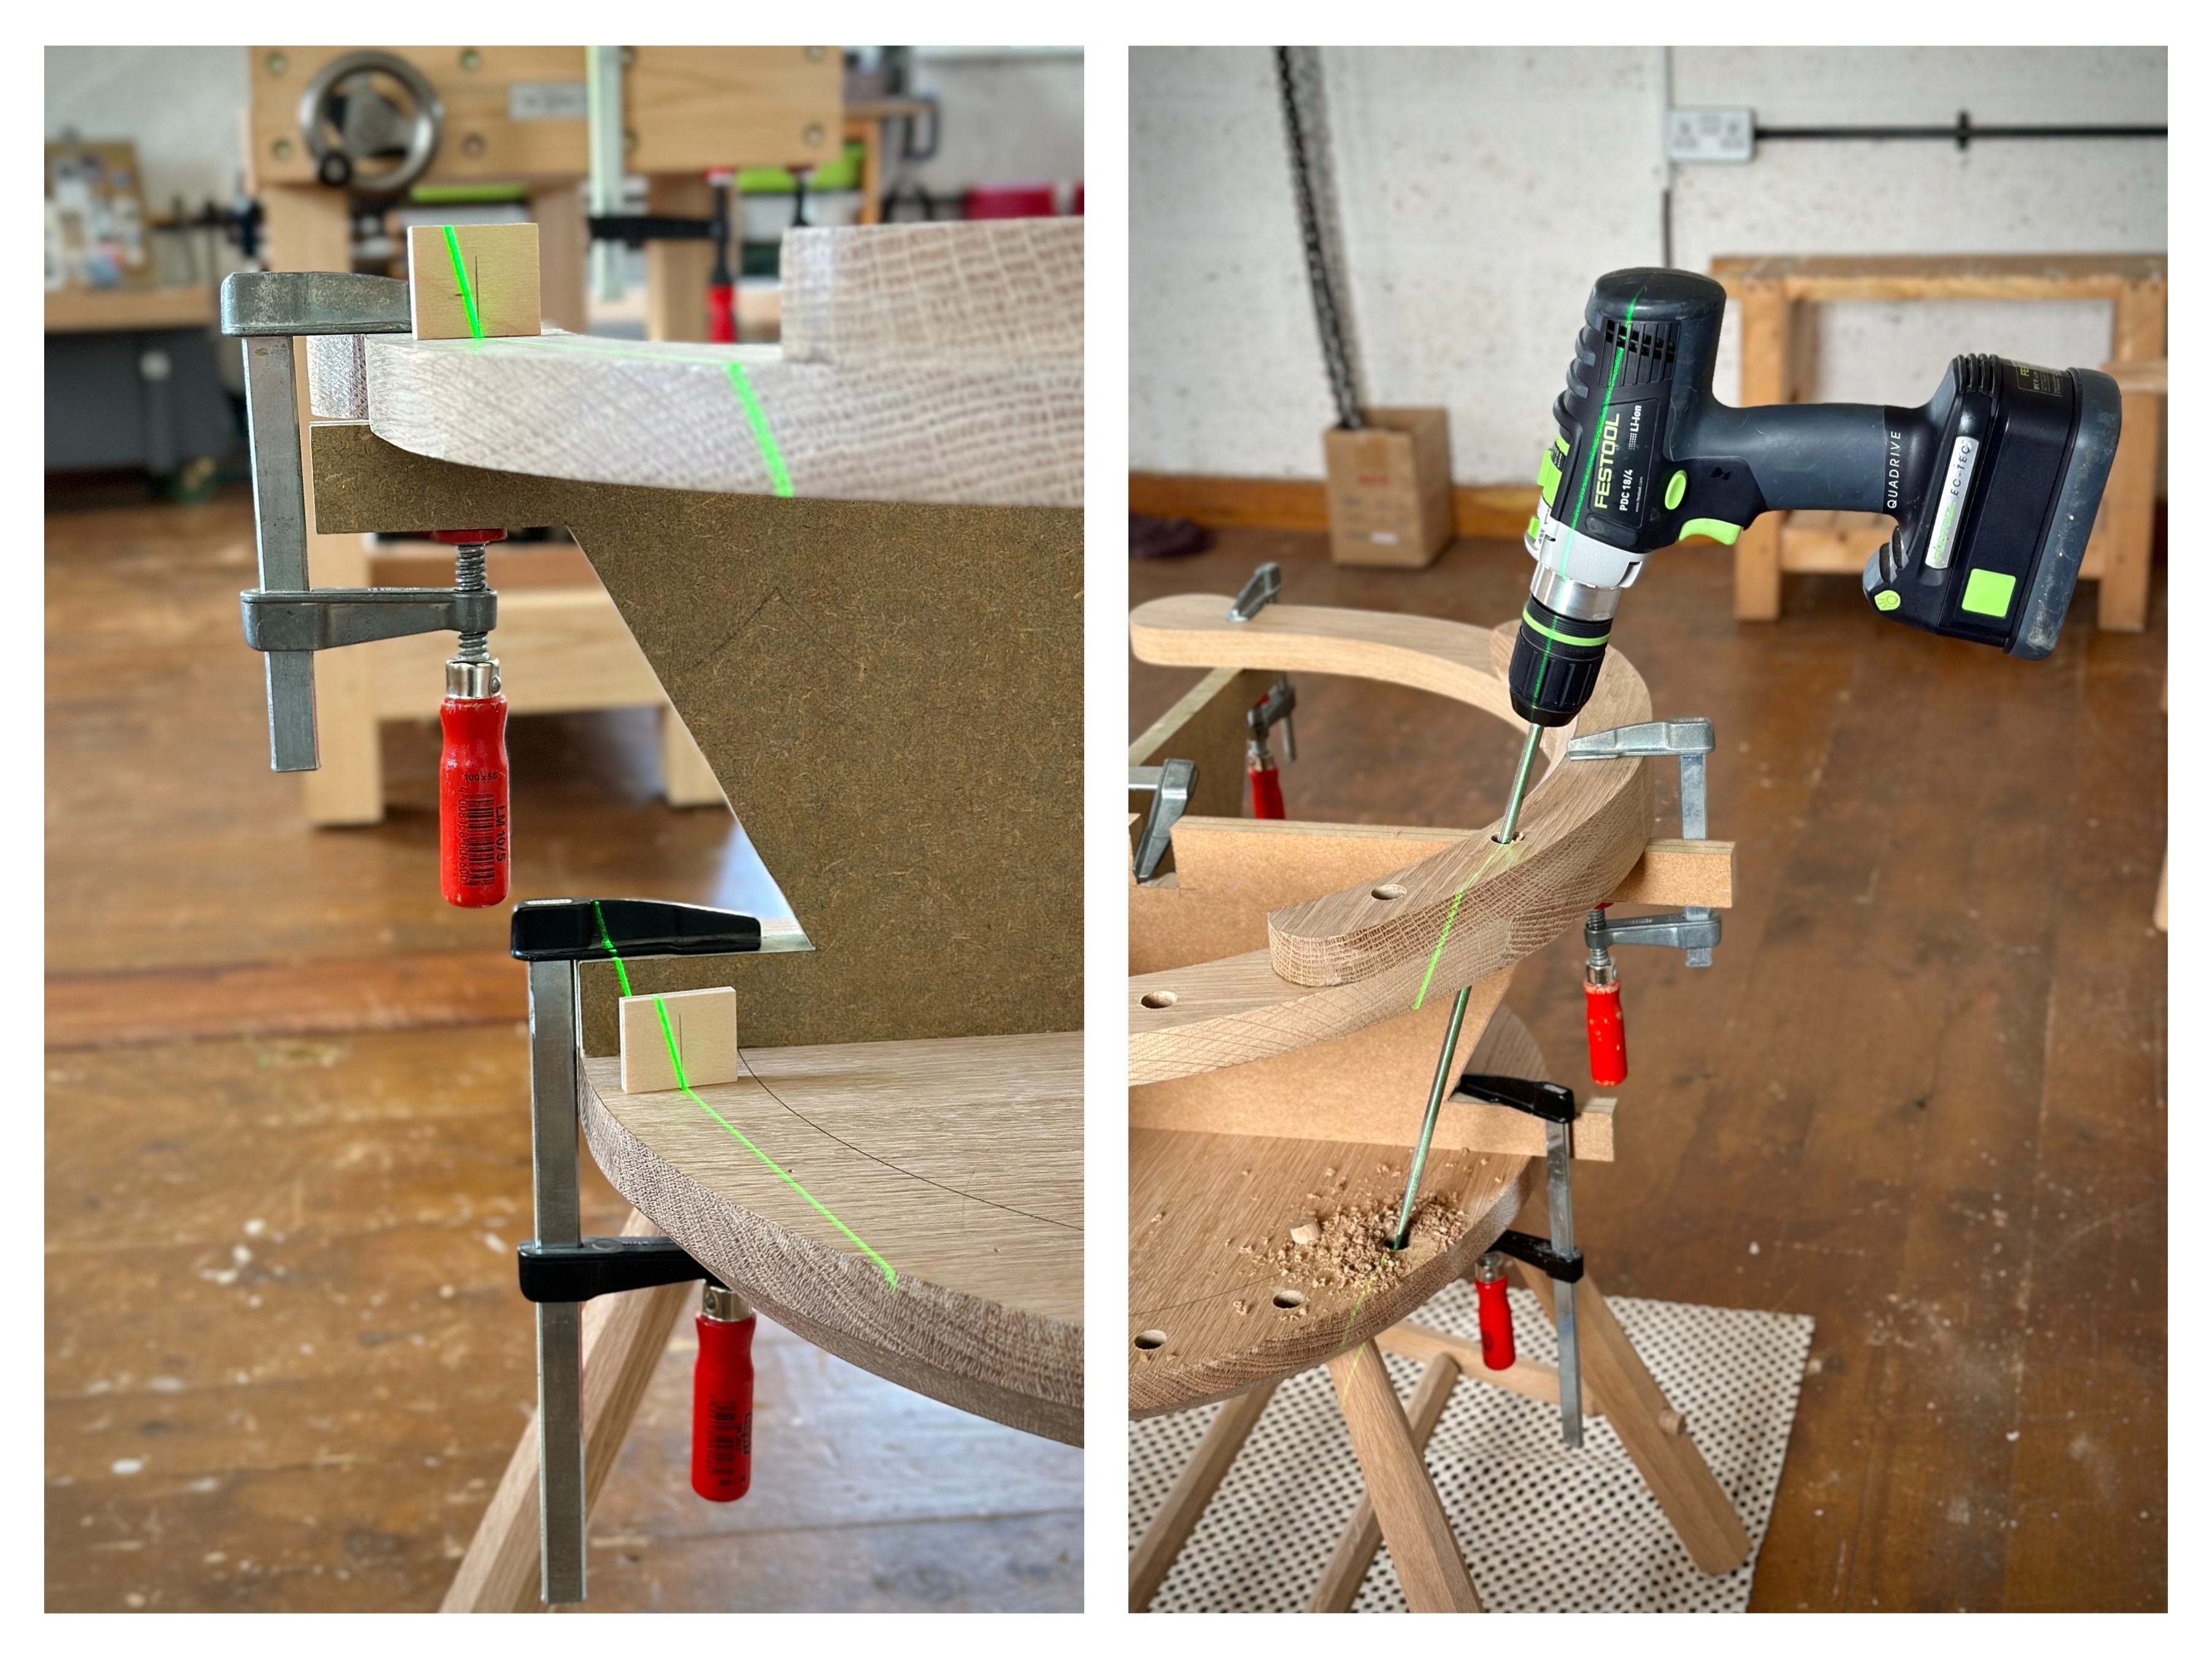
Get high. As previously discussed, I am five feet eight of pure creativity, and need a little elevation for some tasks. Napoleon was a short fella and you never know where your roots might trace back to, as I recently discovered. For this drilling operation to be comfortable you don’t want the drill too high against the body, so I stood on my 3” platform once more to gain some advantage. You can push with more power if the arms are a bit straighter. It’s also worth bearing in mind that the spade bits do a nice job, but they don’t last forever. This was the fifth chair for mine and it was one chair too many, meaning it was more effort to push than it should be. And more pushing means greater risk of inaccuracy, as the angle tends to wander about when more force is applied. So I reckon four chairs per spade bit is about the limit. I like the Heller brand which are made in Germany and seem to be widely available in Europe, but probably not in the USA. I get what they call “extra long” which is 400mm and works perfectly for this.
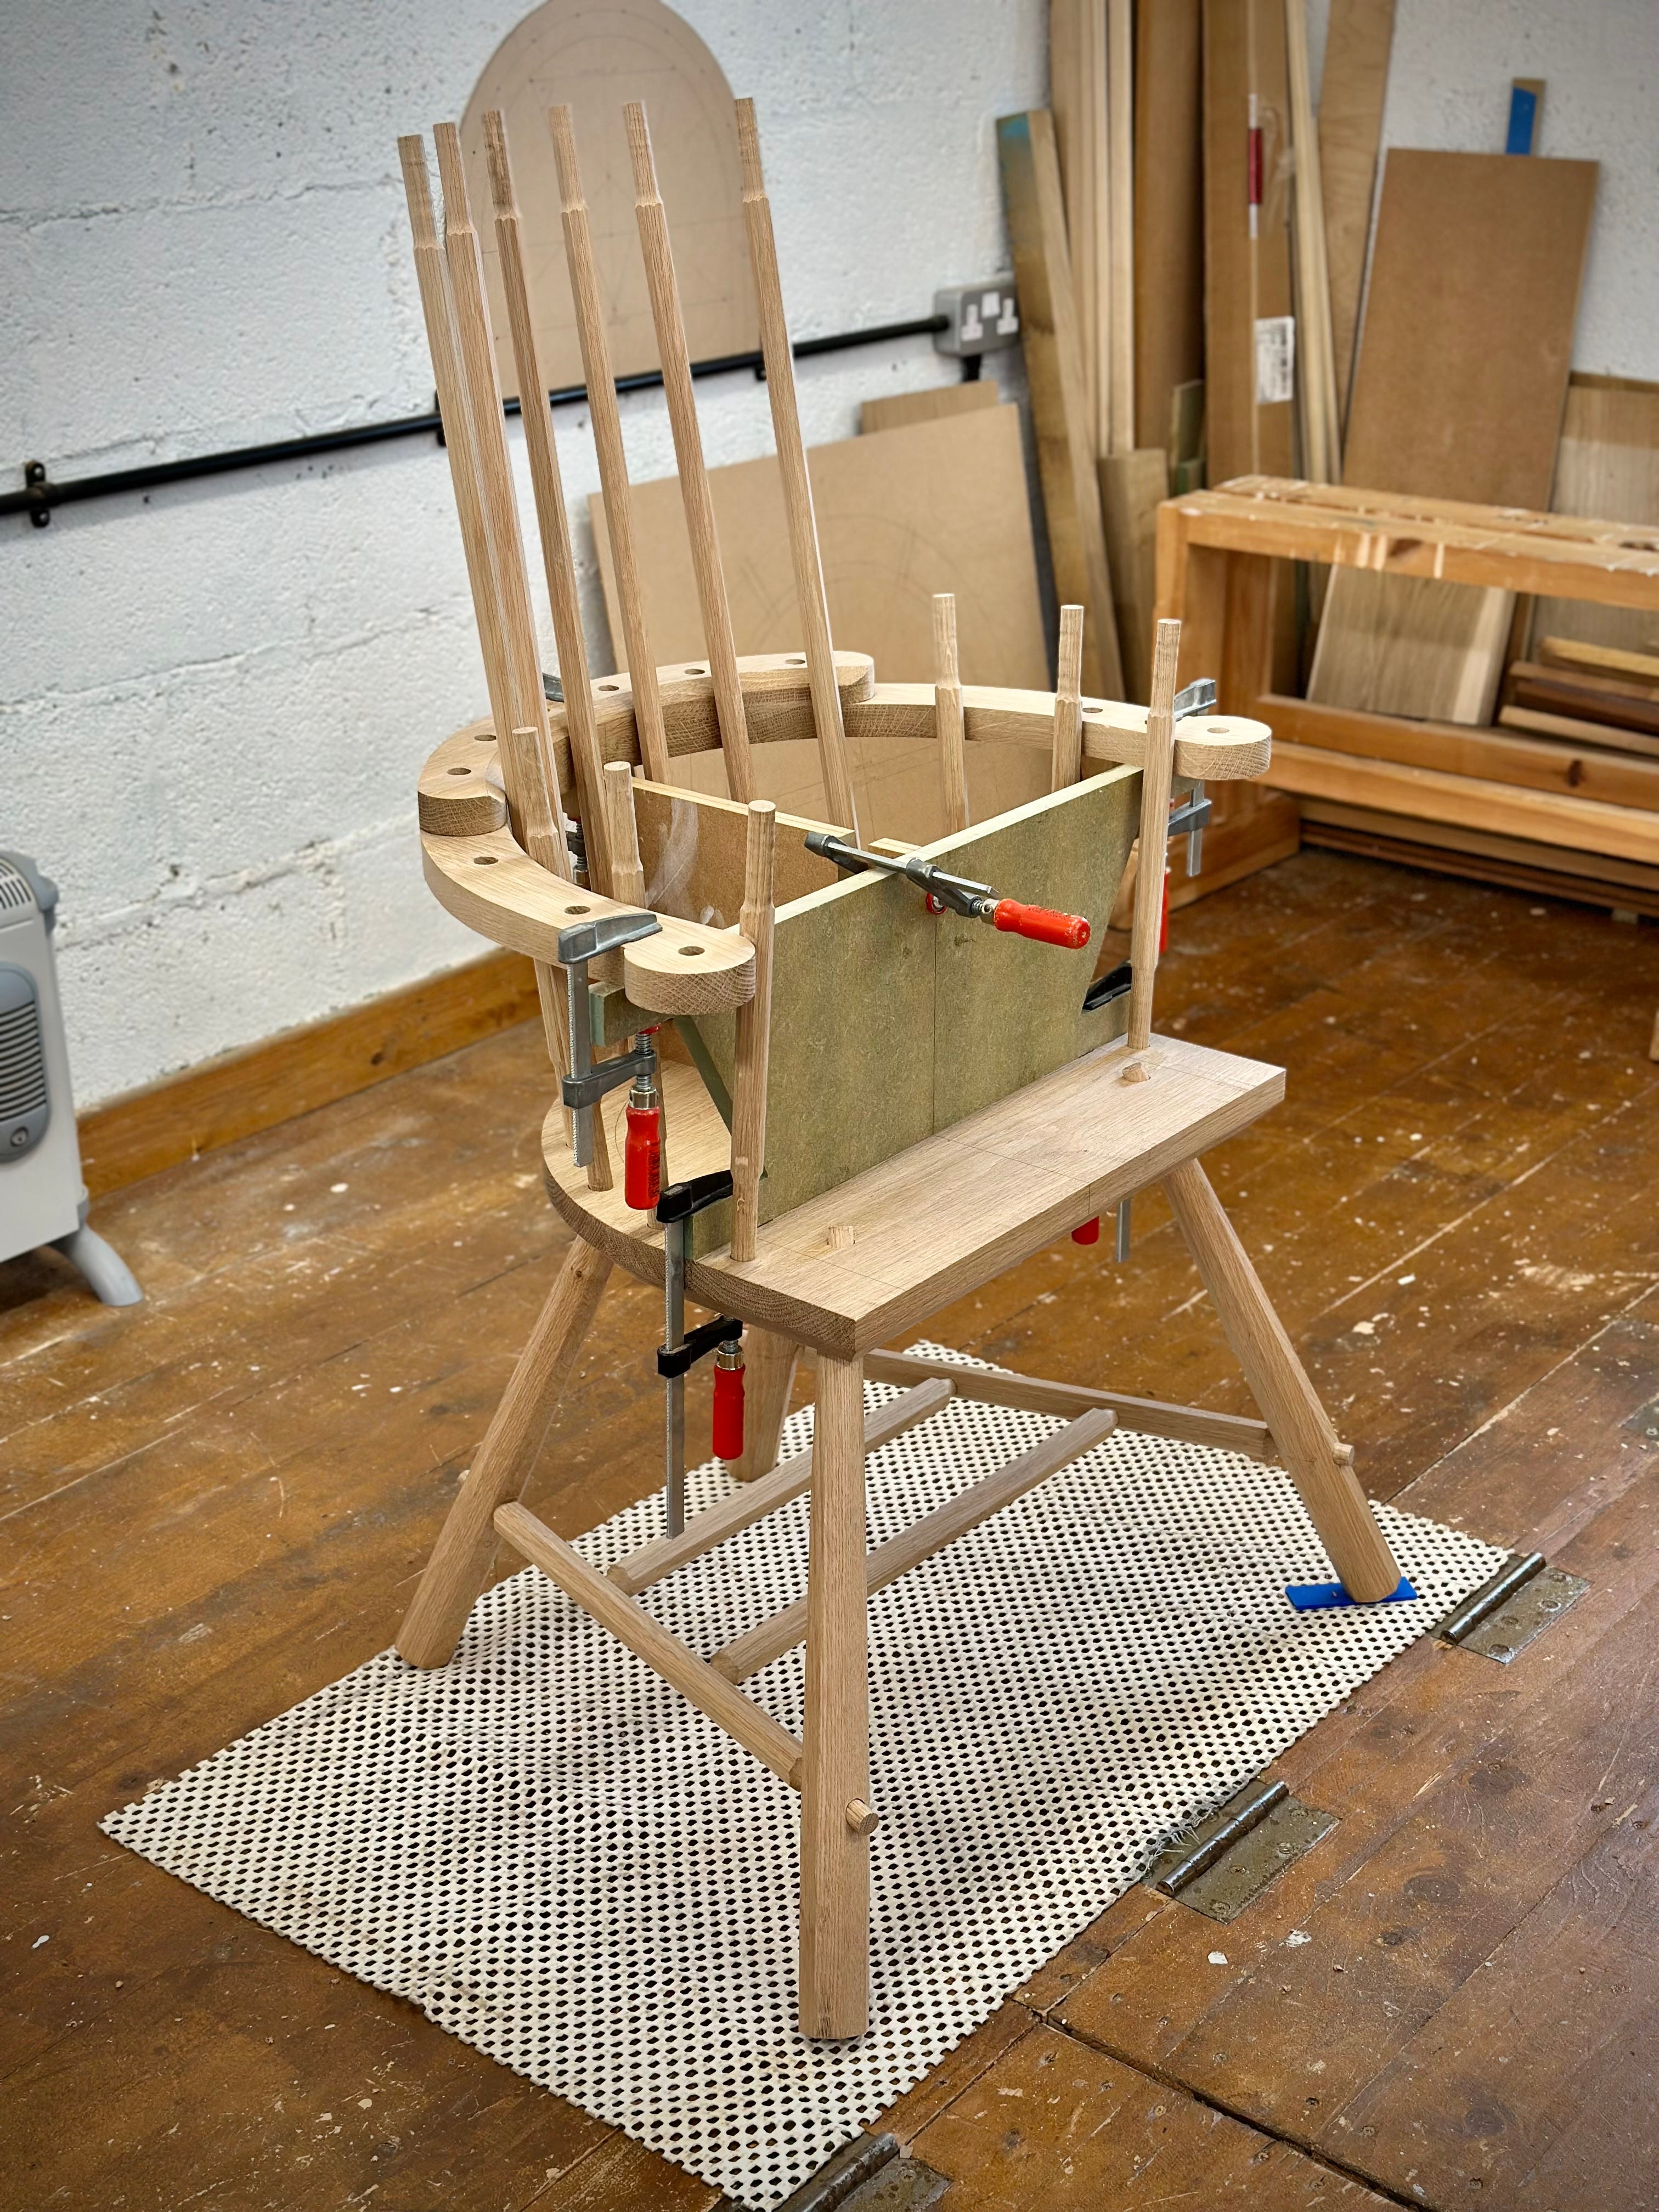
Next job is to shave the sticks from straight octagons to something a little more graceful. And so they fit through the holes. I’m undecided as yet what I’ll do to the stretchers, but my current thinking is to double taper them, keeping them octagonal.
Á bientôt mes amis. Gérard.
I really like the idea using the plywood scraps to line up the laser with the stick holes. Great tip! I have a question though. How are you knowing that you are perpendicular or 90 degrees to the holes you are lining up with? Thanks!
John Brown does it by eye with a brace and bit.
Do you do tapered holes Ed? A lot of Windsor chairs have tapered blind holes for the legs/seat but straight through everywhere else.