


Better Than Sex?
An adventure with round tenons (and Part Three of the Six-Stick Comb-Back)

How hard can it be to make a round tenon on the end of an octagonal stick with a power tenon cutter? Well it turns out, for me at least, to be really quite tricky. In fact I would go so far as to say it’s the one woodworking process in the last decade that I couldn’t master in a couple of attempts. Thankfully I got there in the end and I learned a few things along the way, including some that I haven’t seen mentioned by others which really helped me.
I realised today that achieving enlightenment in power-cutting round tenons is a lot like a young person’s journey of exploration into the sexual jungle. I think you’ll see what I mean as we get going. First attempts are likely to be messy, frustrating and probably not how you imagined they’d be. But in time you pick up a few moves and learn the required rhythms, then it all starts to come together. I haven’t reached the point where I want to do it all the time, but maybe that will happen later. At my age I might be starting a bit late though. First of all let’s see if I can keep this simile up for the rest of the post before we worry about keeping anything else up.
I cut a lot of practice tenons, anticipating that after a few attempts I’d crack it. But that didn’t happen. I realised I needed to try something different, so as I do in life, I offloaded my shit on my wife and talked the problem through with her. We came up with a few things that made all the difference, and here they are:
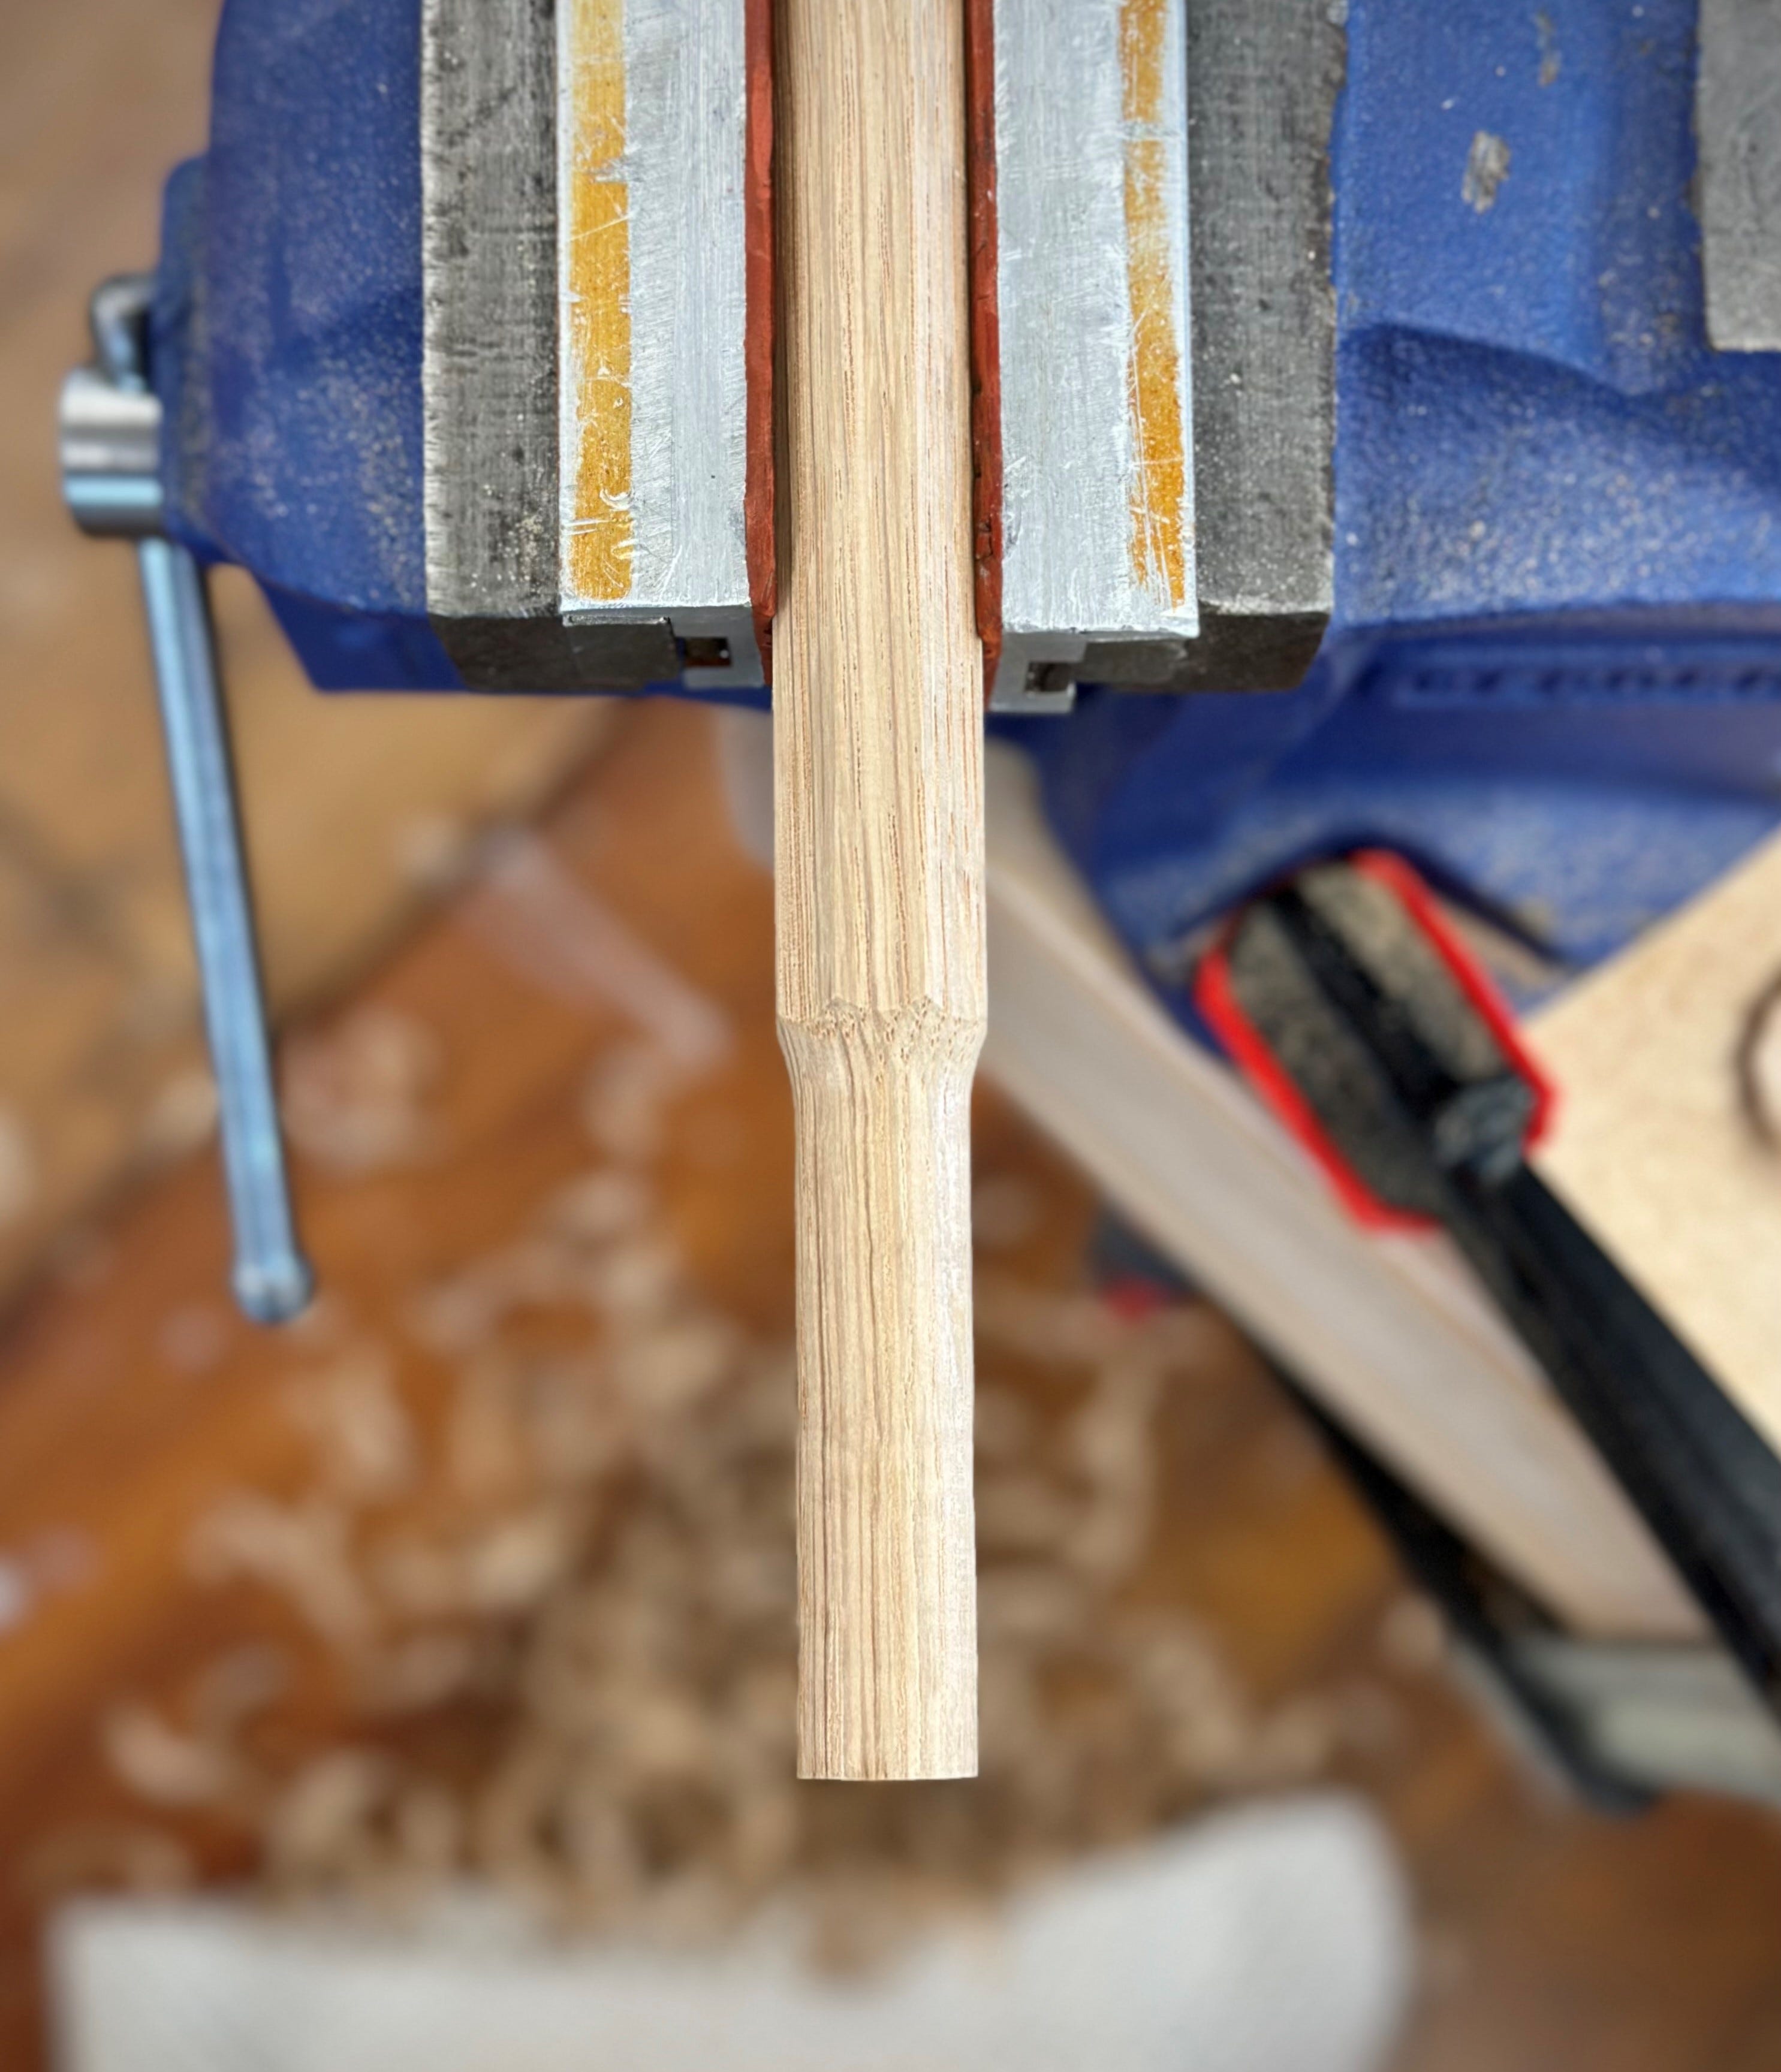
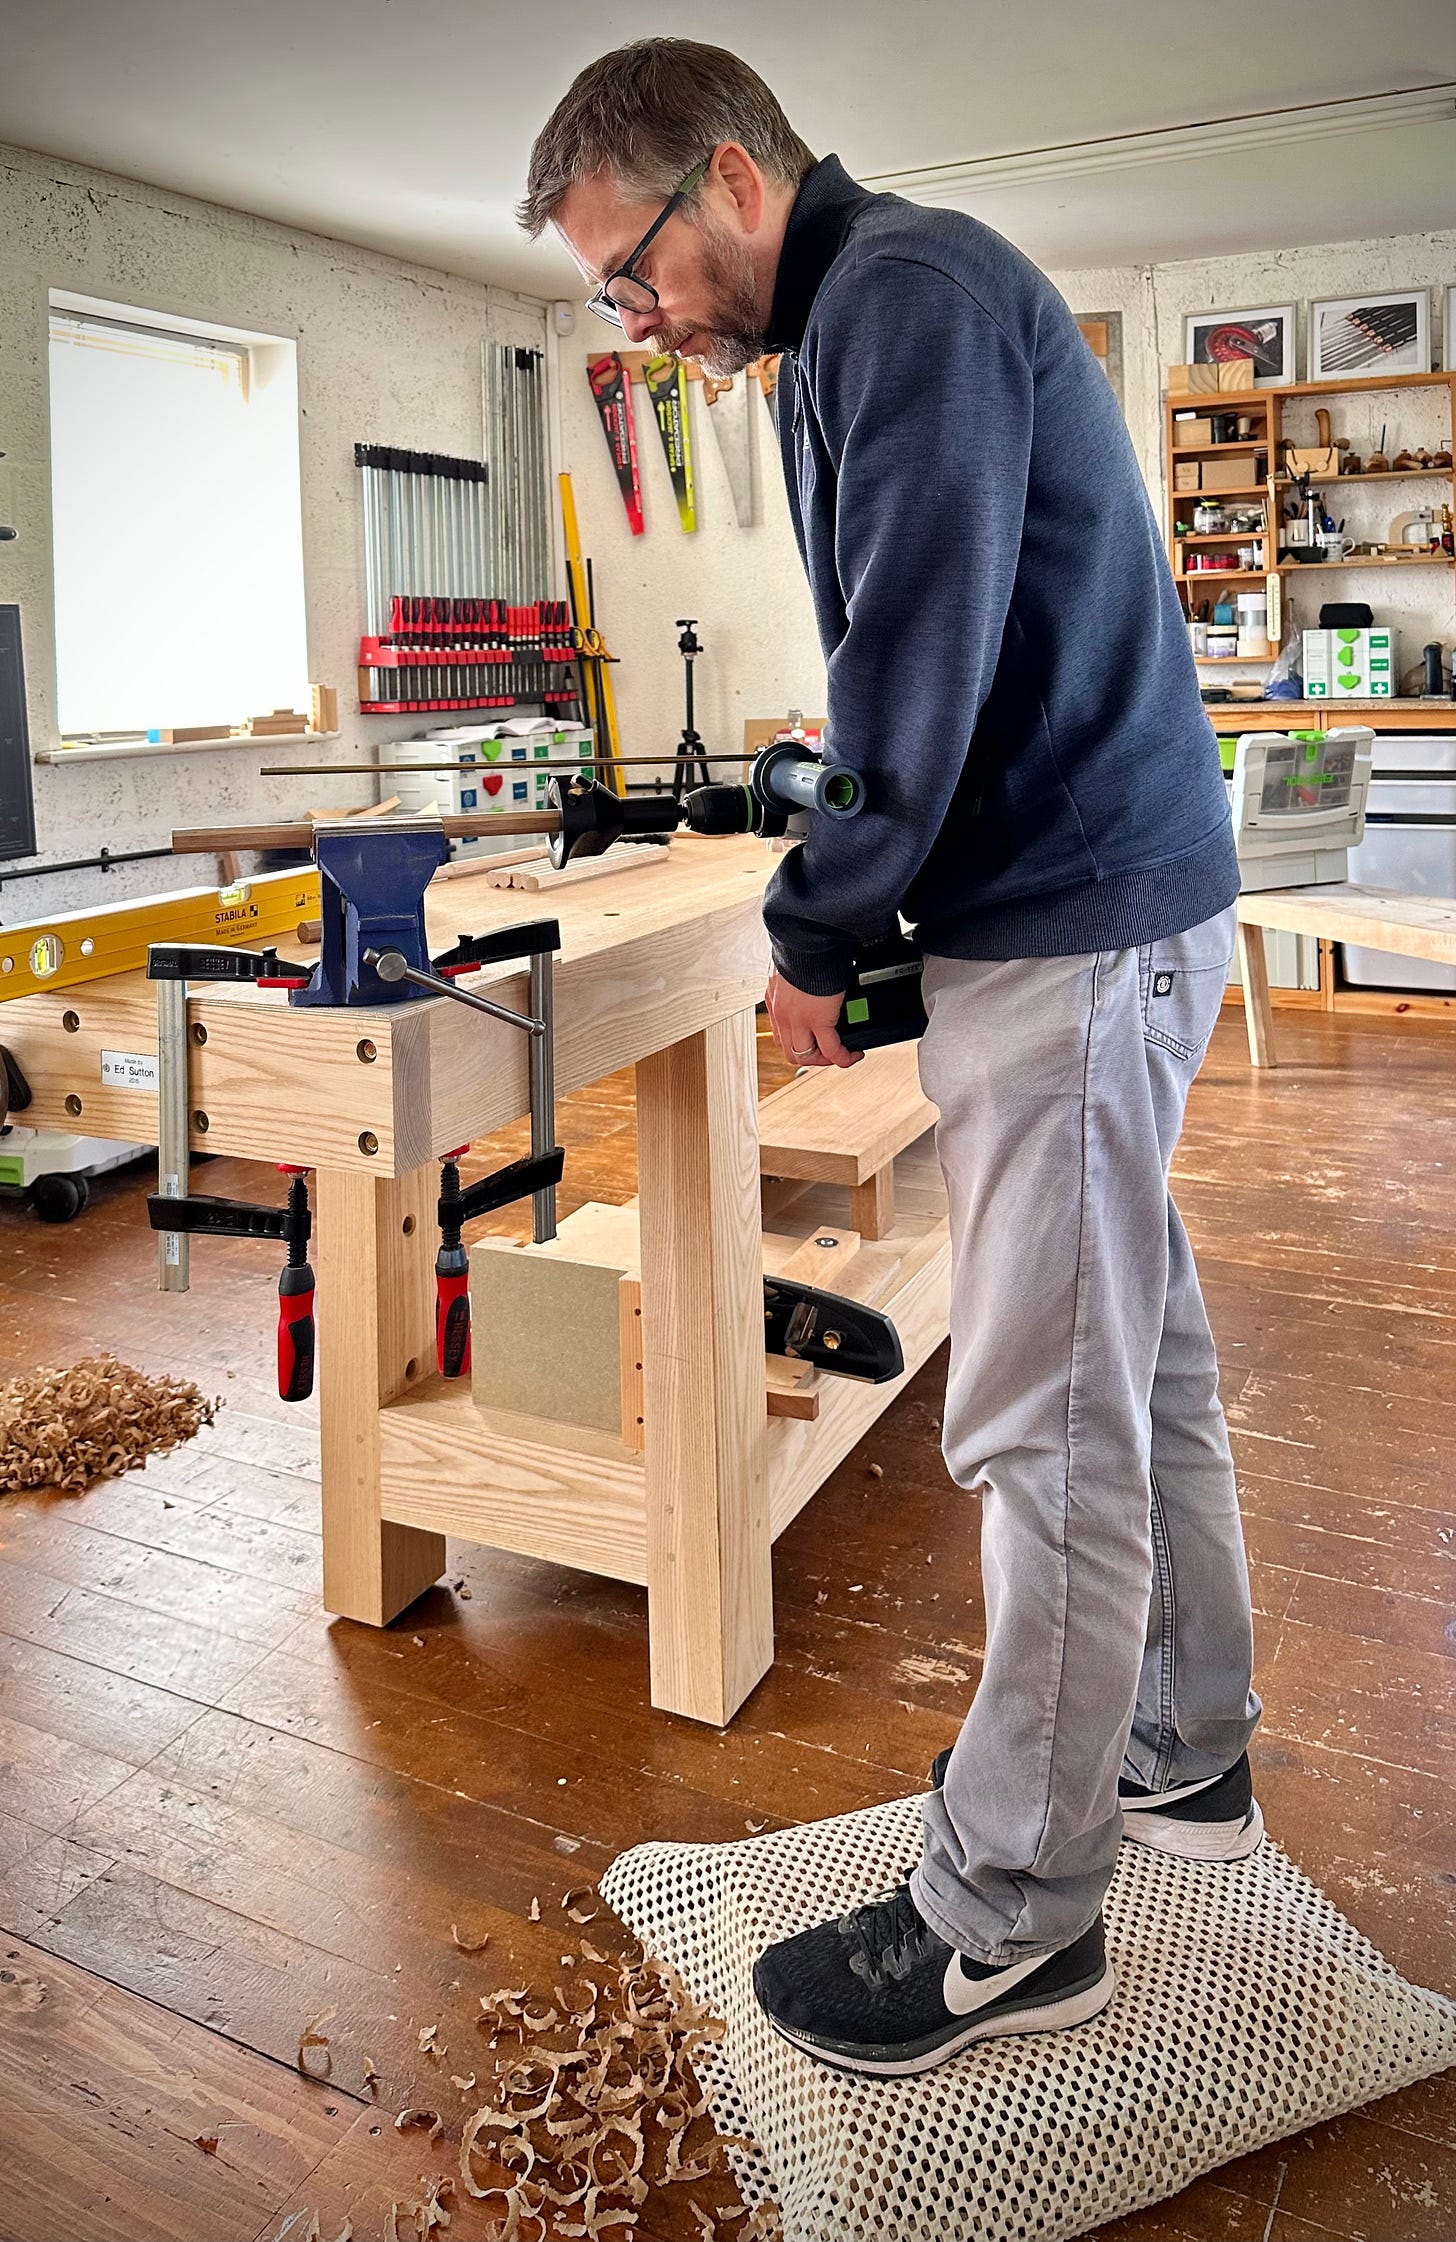
You need to get a rod on. On examining my cut off practice attempts I could see that I was controlling the up/down positioning fairly well, by reference to the bubble level on the cutter. The left/right control was another story and was all over the place. The movements that cause this deviation are really small, and for whatever reason I just wasn’t picking up on it. So I fixed a long brass rod in the depth-stop holder on my drill, which can be set to run right along the centre-line of the drill. In order to make it miss the cutter, the rod had to be inclined, but that doesn’t matter provided it is on the centre-line. The rod exaggerates the movements of the drill and can be lined up with the stick in the vice to keep you true

Choose the right position. I am not a tall man (5’8”) and I was finding that by the time I had the vice mounted on the bench and the stick in place, I didn’t have a good view of what was going on at the cutting end. You need to be able to see over the top of the cutter to properly judge what is happening. So I made a little platform to stand on that was probably 3” high and that helped a lot. It made it easier to control the up/down movement with the drill pushed into my abdomen. I also mounted the vice on the corner of the workbench so nothing obstructed the drill battery, as you’re out in fresh air. I’d recommend having as little stick protruding from the vice as possible. Too much and your corrections can just flex the stick instead of moving the cutter.
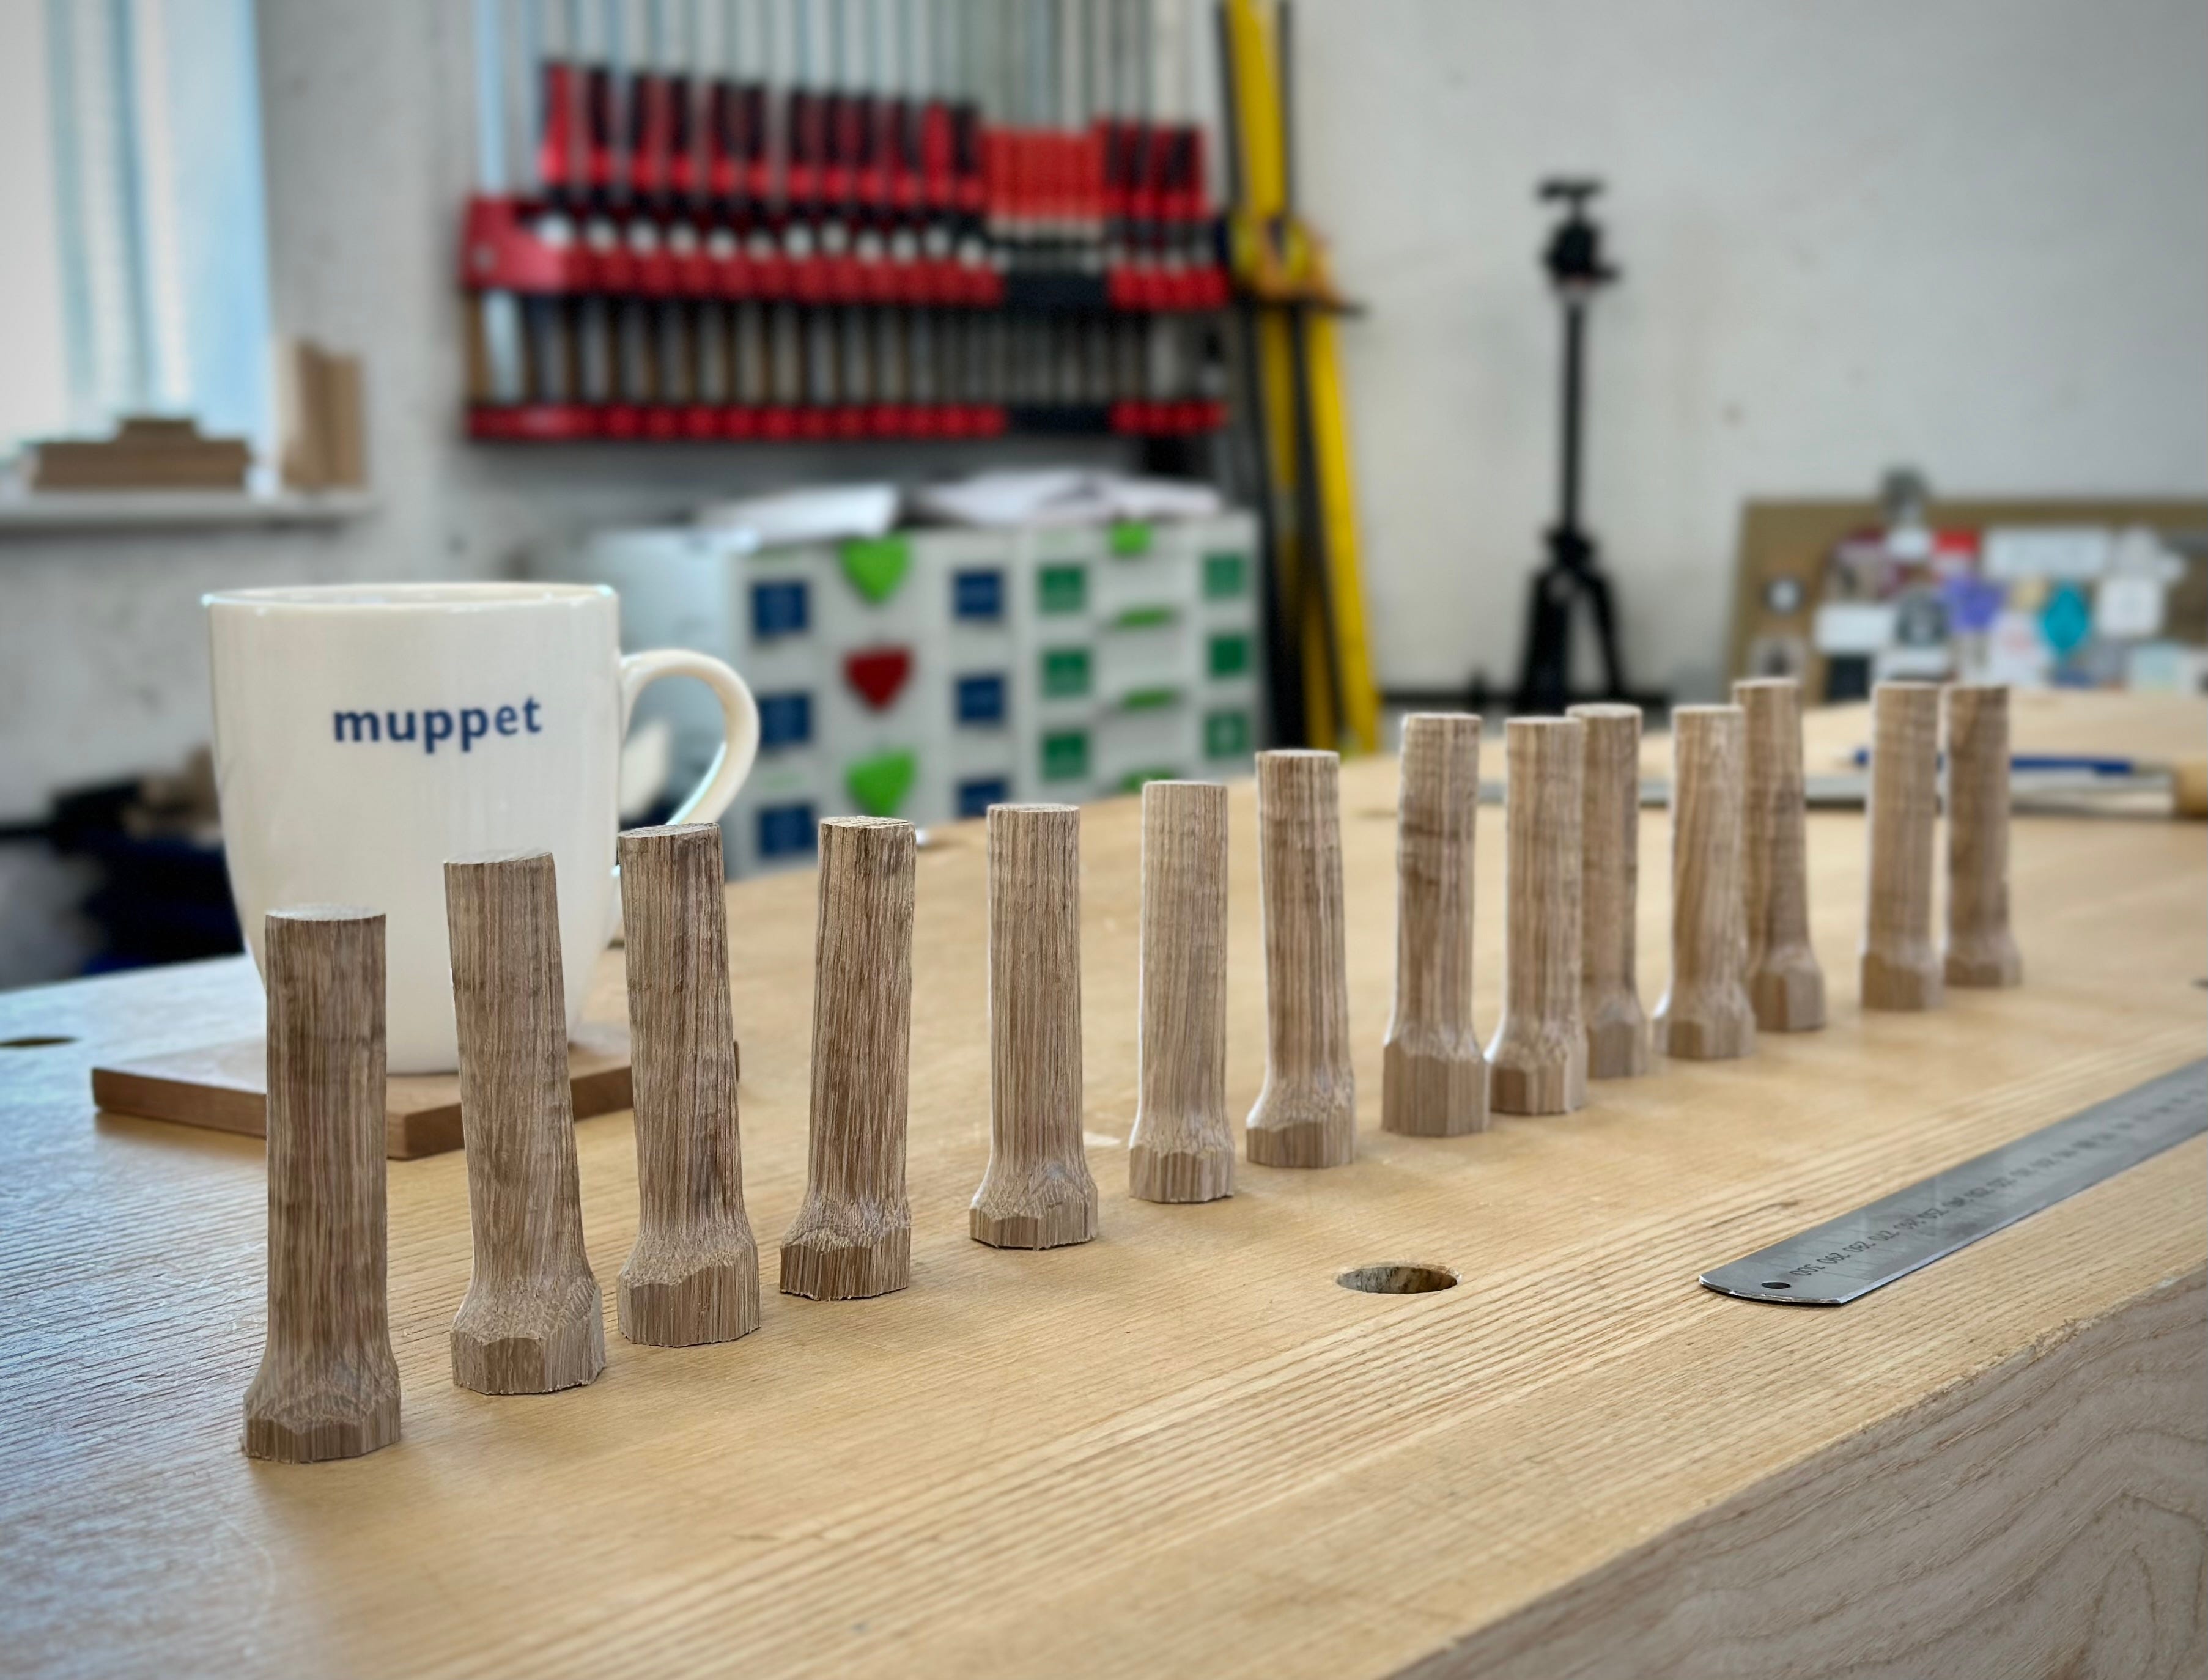
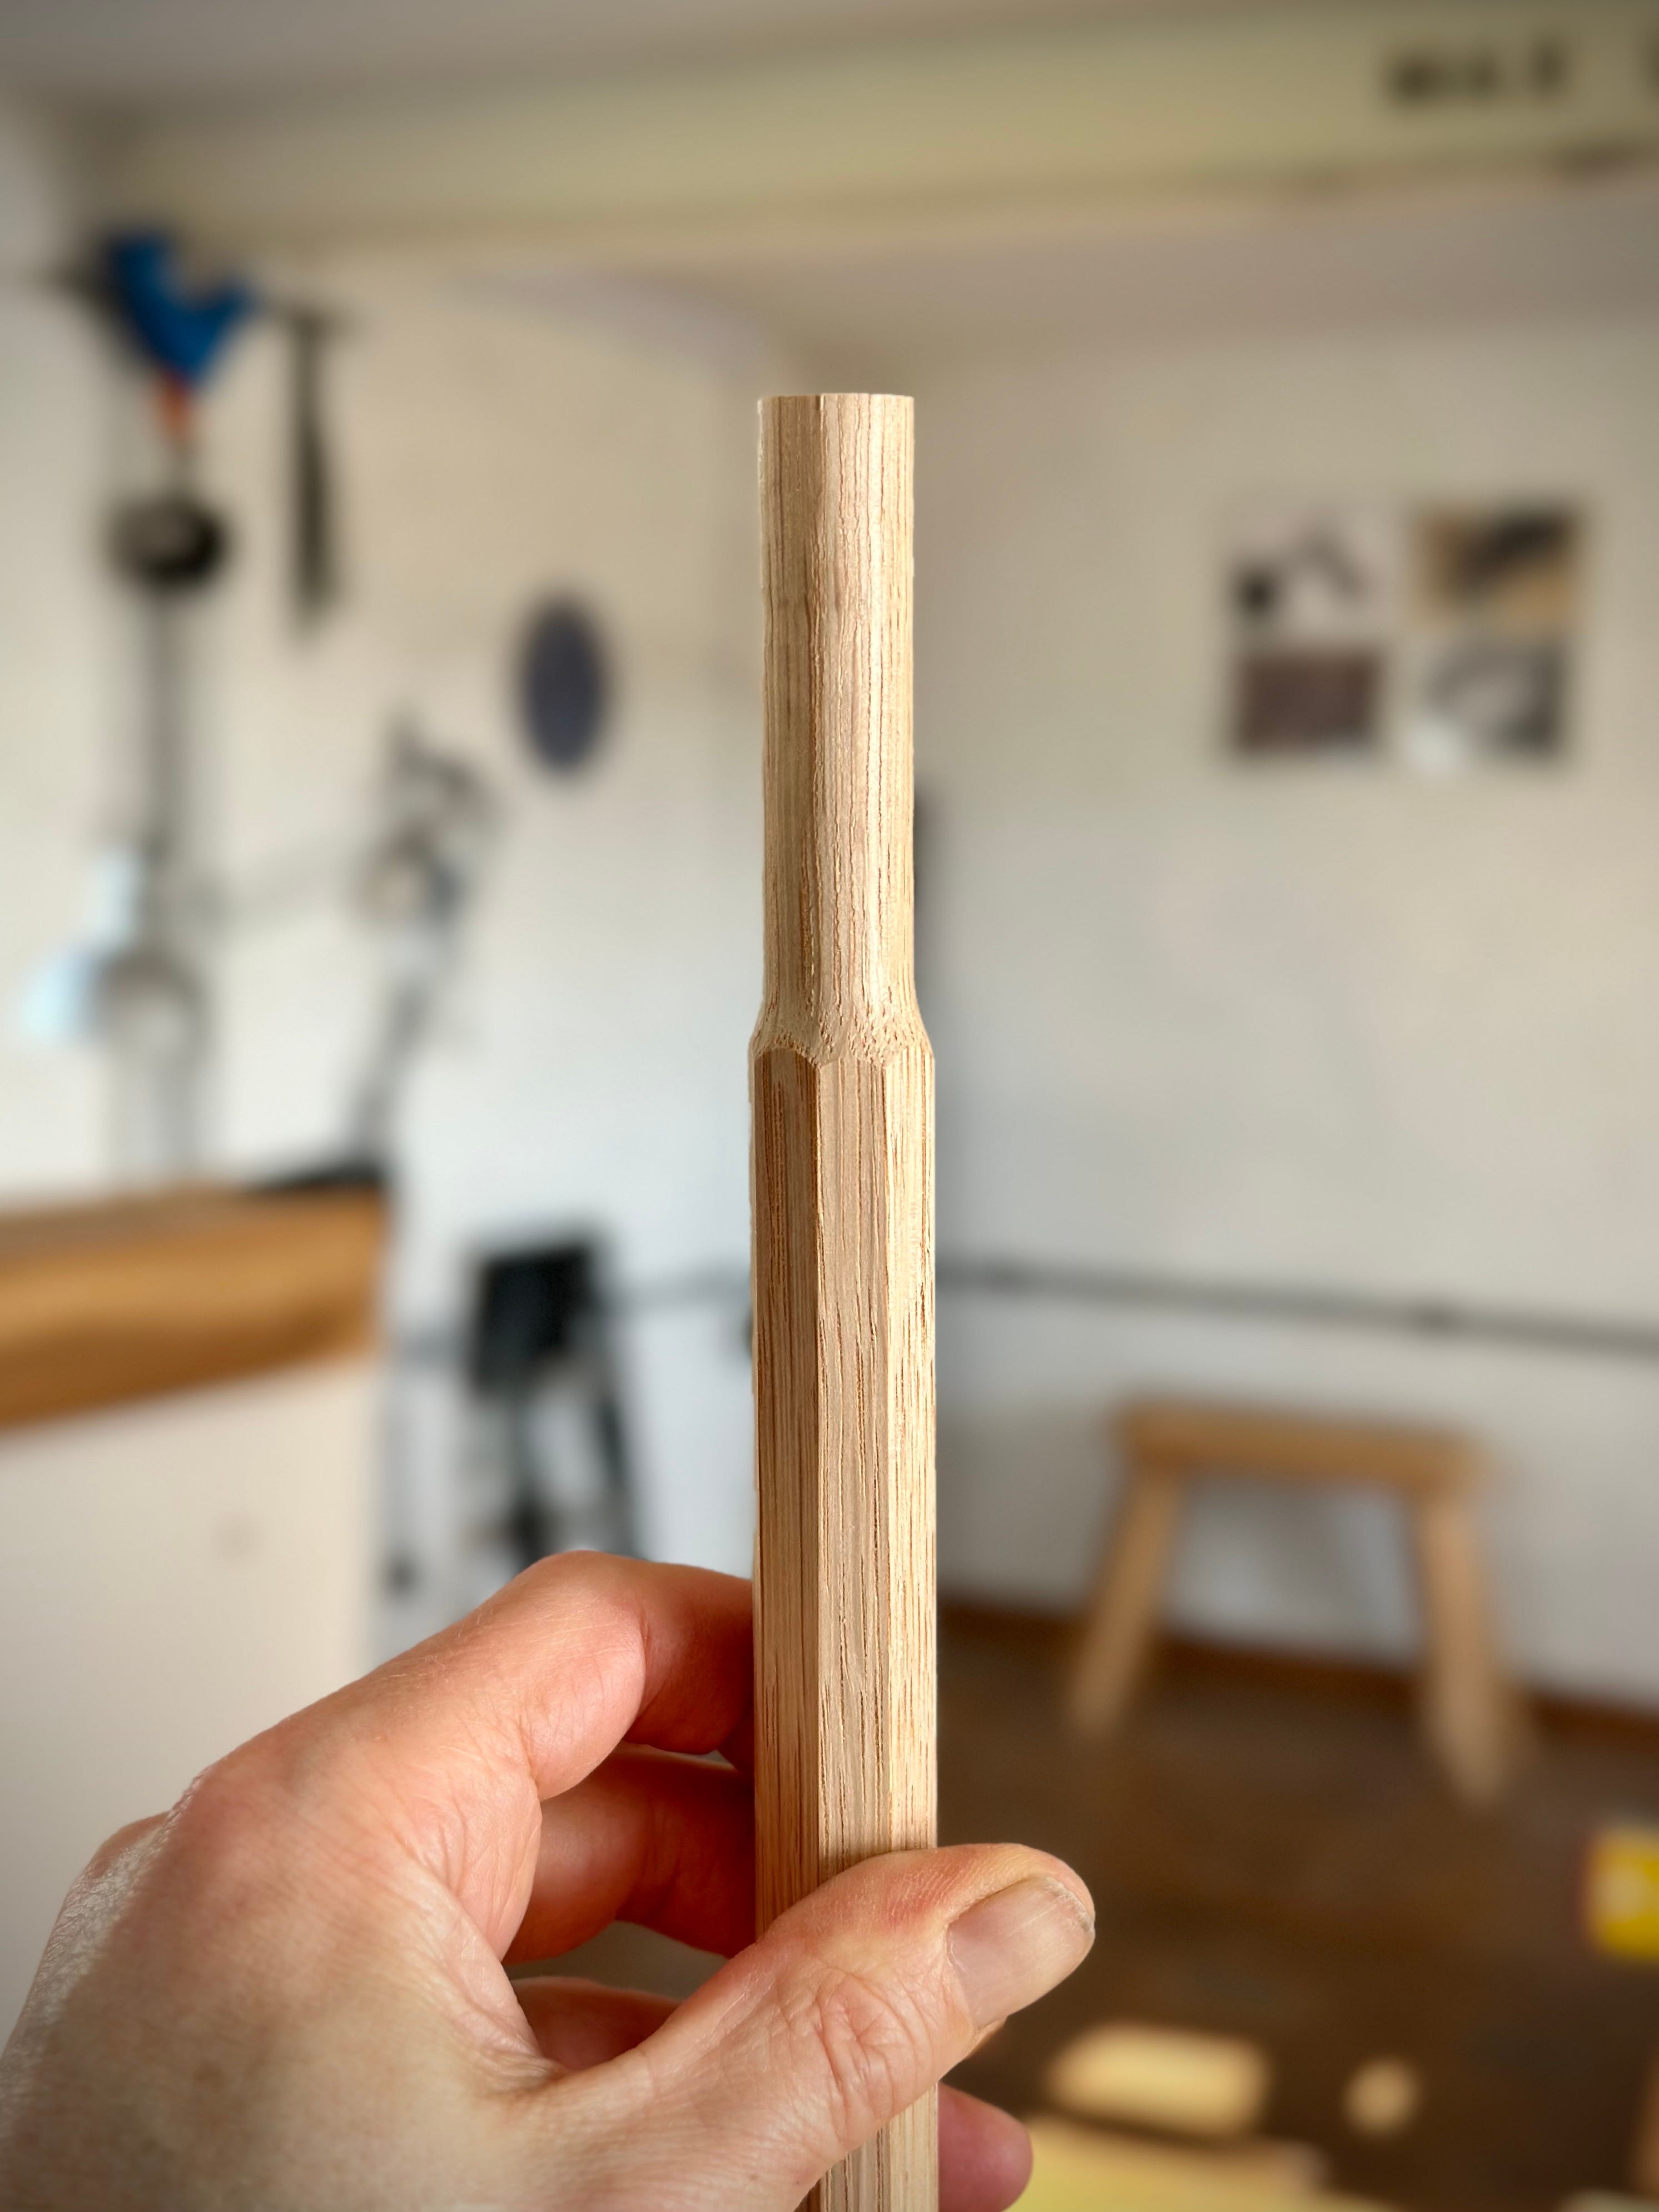
Use the withdrawal method. Once you get going on cutting you need to regularly check what’s happening. I found that all the tell-tales you need can be read on the shoulders of the tenon. So I frequently pull back the cutter and take a look at the shoulders to see what left/right correction I need. As I got more confidence, I kept the drill running as I did this, but initially I was completely stopping and looking. When a correction is needed it isn’t enough to straighten back up and go again. If you deviated left, you need to make a correction past the centre-line to the right first, then straighten up. If you don’t, you’ll just run parallel, but on the wrong line. I would say on a 2-1/4” tenon I was making 3 checks on average.
Slow and steady wins the race. Even after a few dozen tenons, I was still running the drill at a really slow speed. The cutter will cut wherever you point it and consequently things go south very quickly if you get trigger happy. Pace yourself and you are much more likely to get the result you want. There’s a great temptation to go off at a gallop and hope it comes good before you run out of tenon, but that really is a strategy set for disappointment.

Use firm, even pressure from the hips. If you push the drill with your arms alone it’s not only tiring, but it introduces the potential for unwanted lateral movement. Get the back of the drill firmly seated in your belly and lean into it to apply pressure. This is closely related to the position point above, because it is only when I got the height right that I found I could apply the required pressure.
Use lubrication. OK I admit we are scraping the barrel a bit here, but it is valid. I used a dry spray PTFE lubricant and it helps everything move against each other more smoothly. It also stops any annoying squeaking.


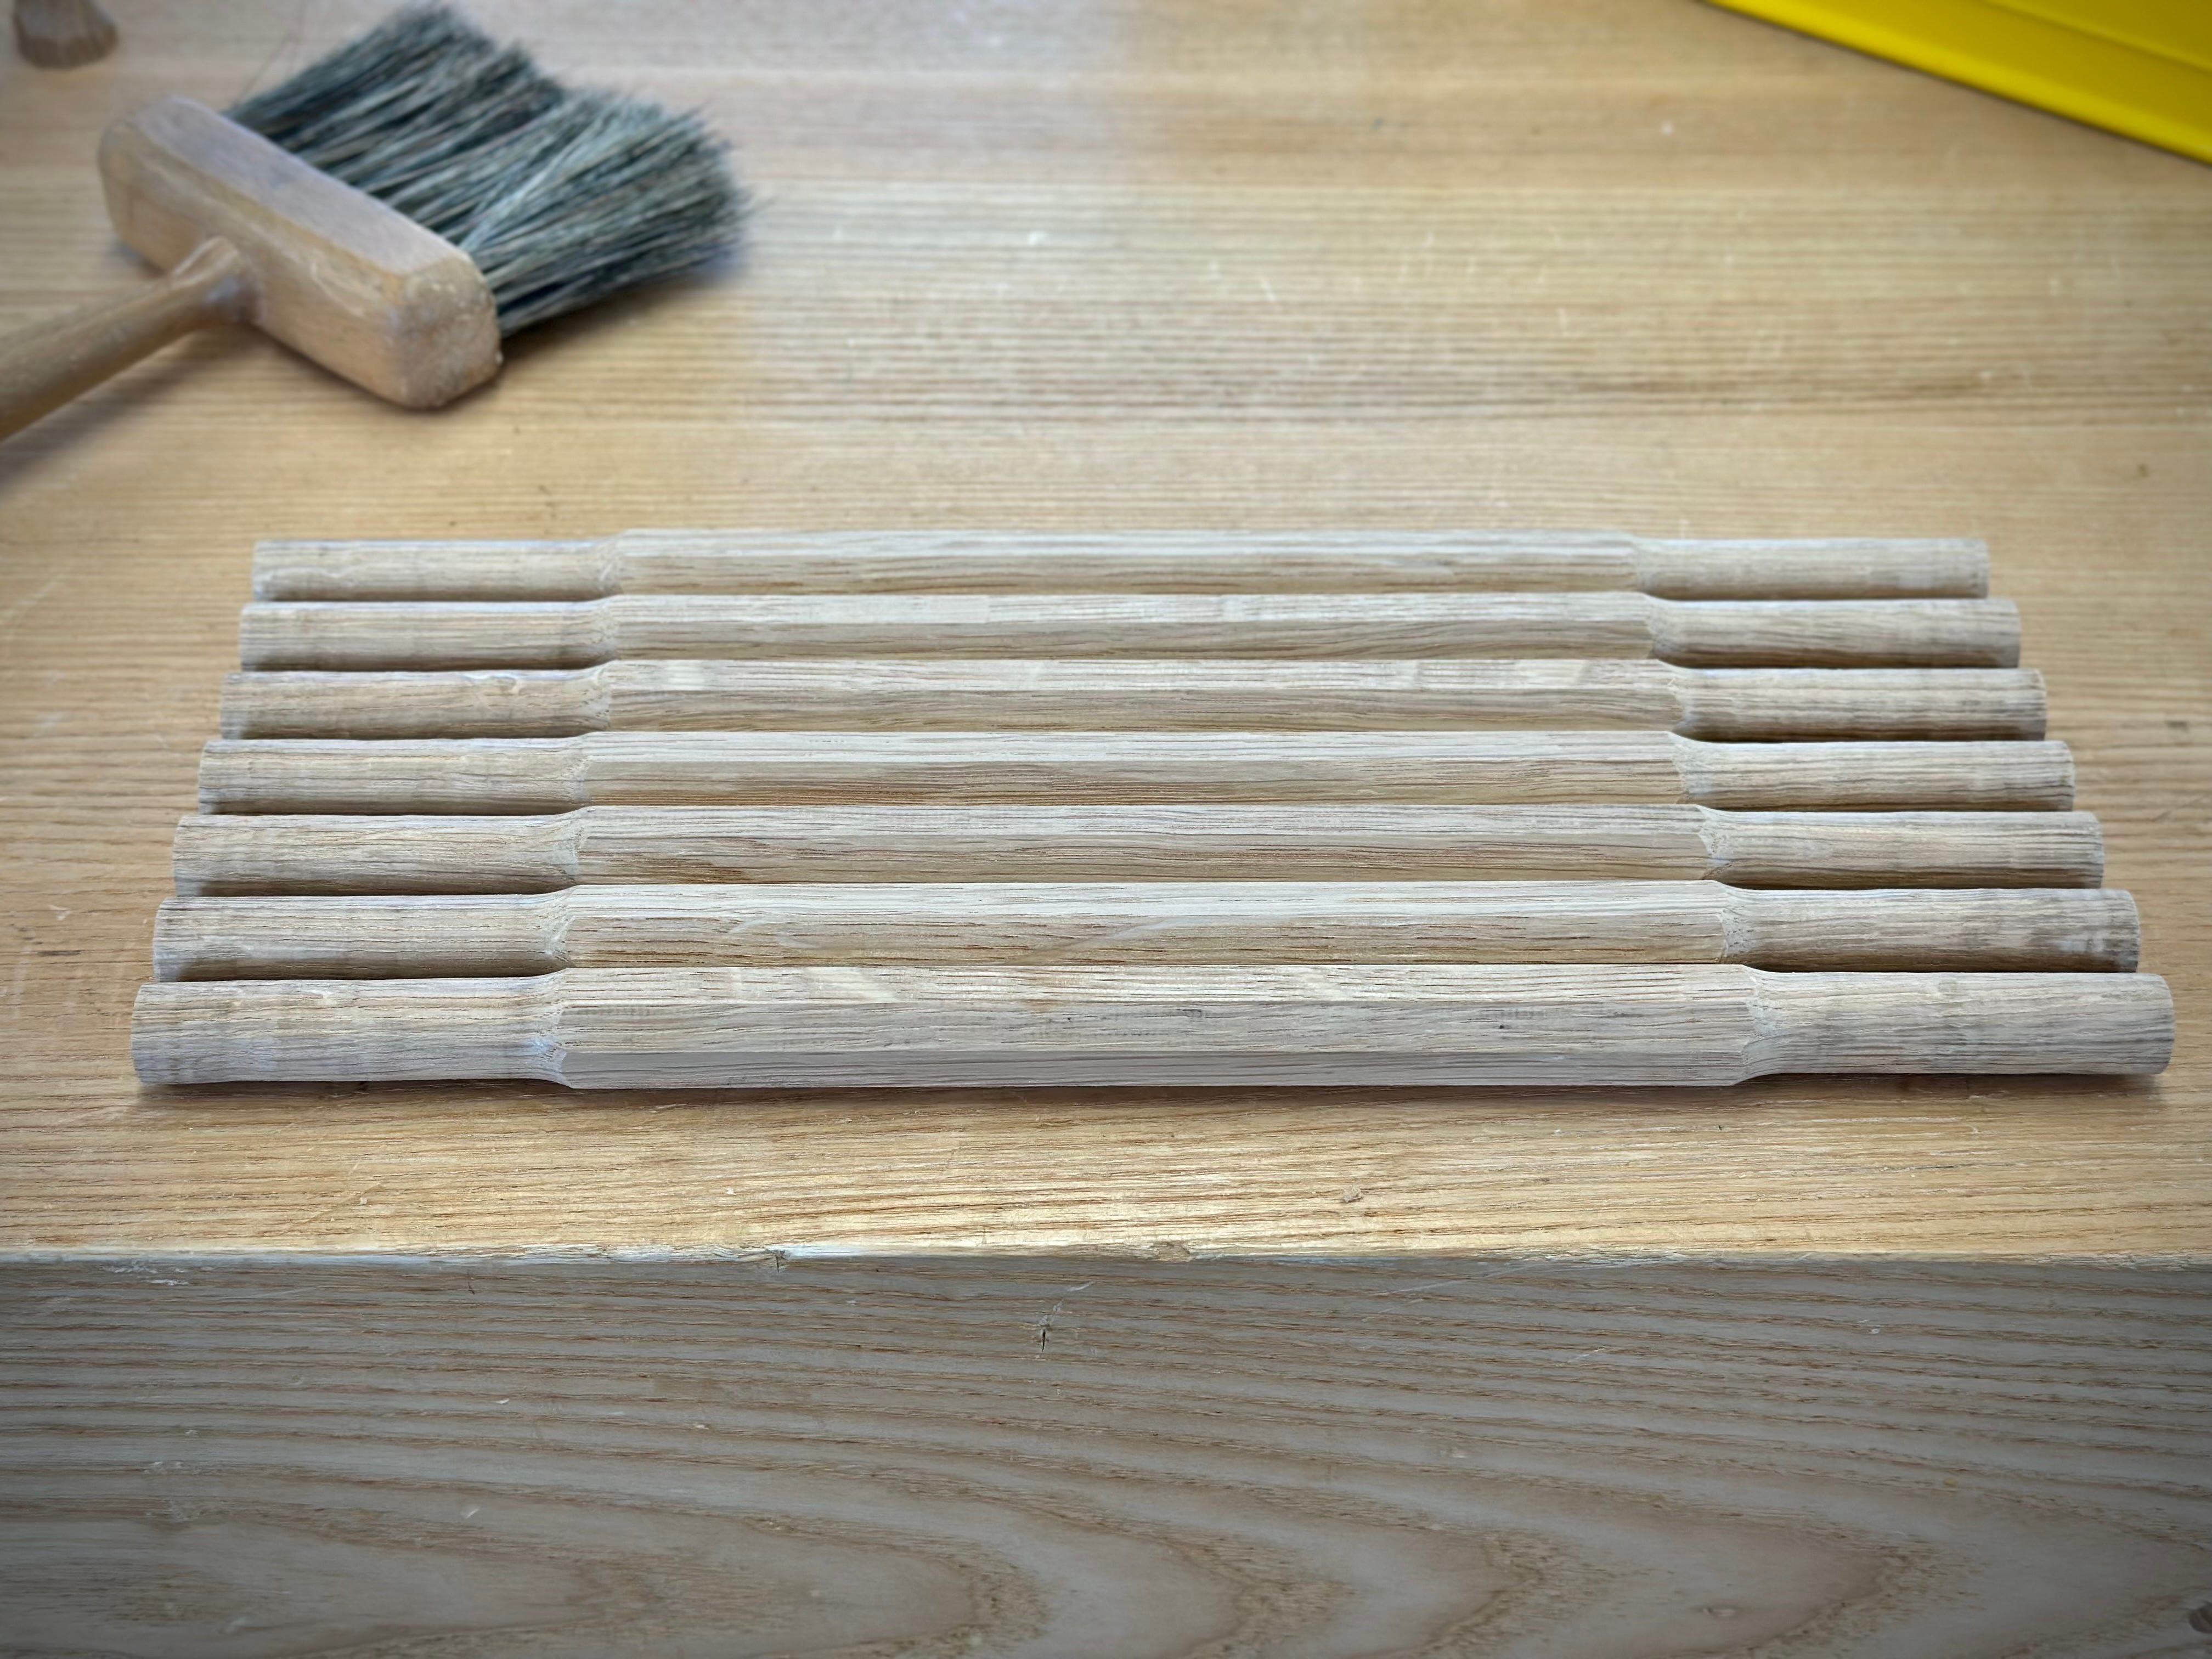
The funny thing is that I did get a euphoric feeling at the end when it all came together, and in 30-45 minutes I’ll be ready to go again. You see, I told you it was just like doing it.
It's all about the ride.
You've actually saved my life with this Ed. Day one of 5/8 cutter, I was looking for a brick wall at about head height before I saw this. I ended up putting mine in a brace, the extra control is welcome and it's no slower than the starty-stoppy, flip-I'm-off-where's-undo power drill business. Wholehearted thanks, am now looking for a rod that'll attach to a brace through just air.