

A Chairmaker's Plant Stand
A Chairmaker's Plant Stand
Or a bar stool for the rectally adventurous

At the end of The Schoolbox project I said I was planning to make another chair. A six stick armchair this time. As a warm up to that, I thought I would go back to complete a project I started a couple of years ago, which got abandoned when I drifted into my woodworking lost year/s. It was a bit of unfinished business that niggled at me every few months. Kind of like that hernia which reminds you it needs fixing. Just me? OK then.
I say started, in truth I only got as far as making the octagonal sticks for this plant stand, but I had the overall idea in my head. The plan was to approach it with chairmaking techniques, but to slim the elements down as far as possible to create a really elegant form with slender legs. I wanted to push things beyond the limits one would feel comfortable with for a chair or stool. Right to the point where you would feel extreme discomfort if you thought it was a chair and took the gamble of sitting on it. I actually did think about sitting on it when it was finished, just so I could record the fact I had. You know, just for shits and giggles as they say. Although I doubt there would be much giggling. The shitting part we can only imagine.
Whenever I’ve made chairs, stools or staked benches, which I guess must number just into double figures, I’ve had access to a bandsaw. Not so this time, therefore the plant stand was also a bit of a proof of concept for me that I can do this perfectly well without one. Should I have tried that before I got rid of the bandsaw? Probably. Do I have what is likely the best jigsaw ever made to use instead? Yes I do. Enter the Mafell P1CC - the jigsaw that Festool should have made instead of the piece of crap they actually released (yes, I had one and sent it back). As ever, not sponsored blah blah, this is just an excellent machine.
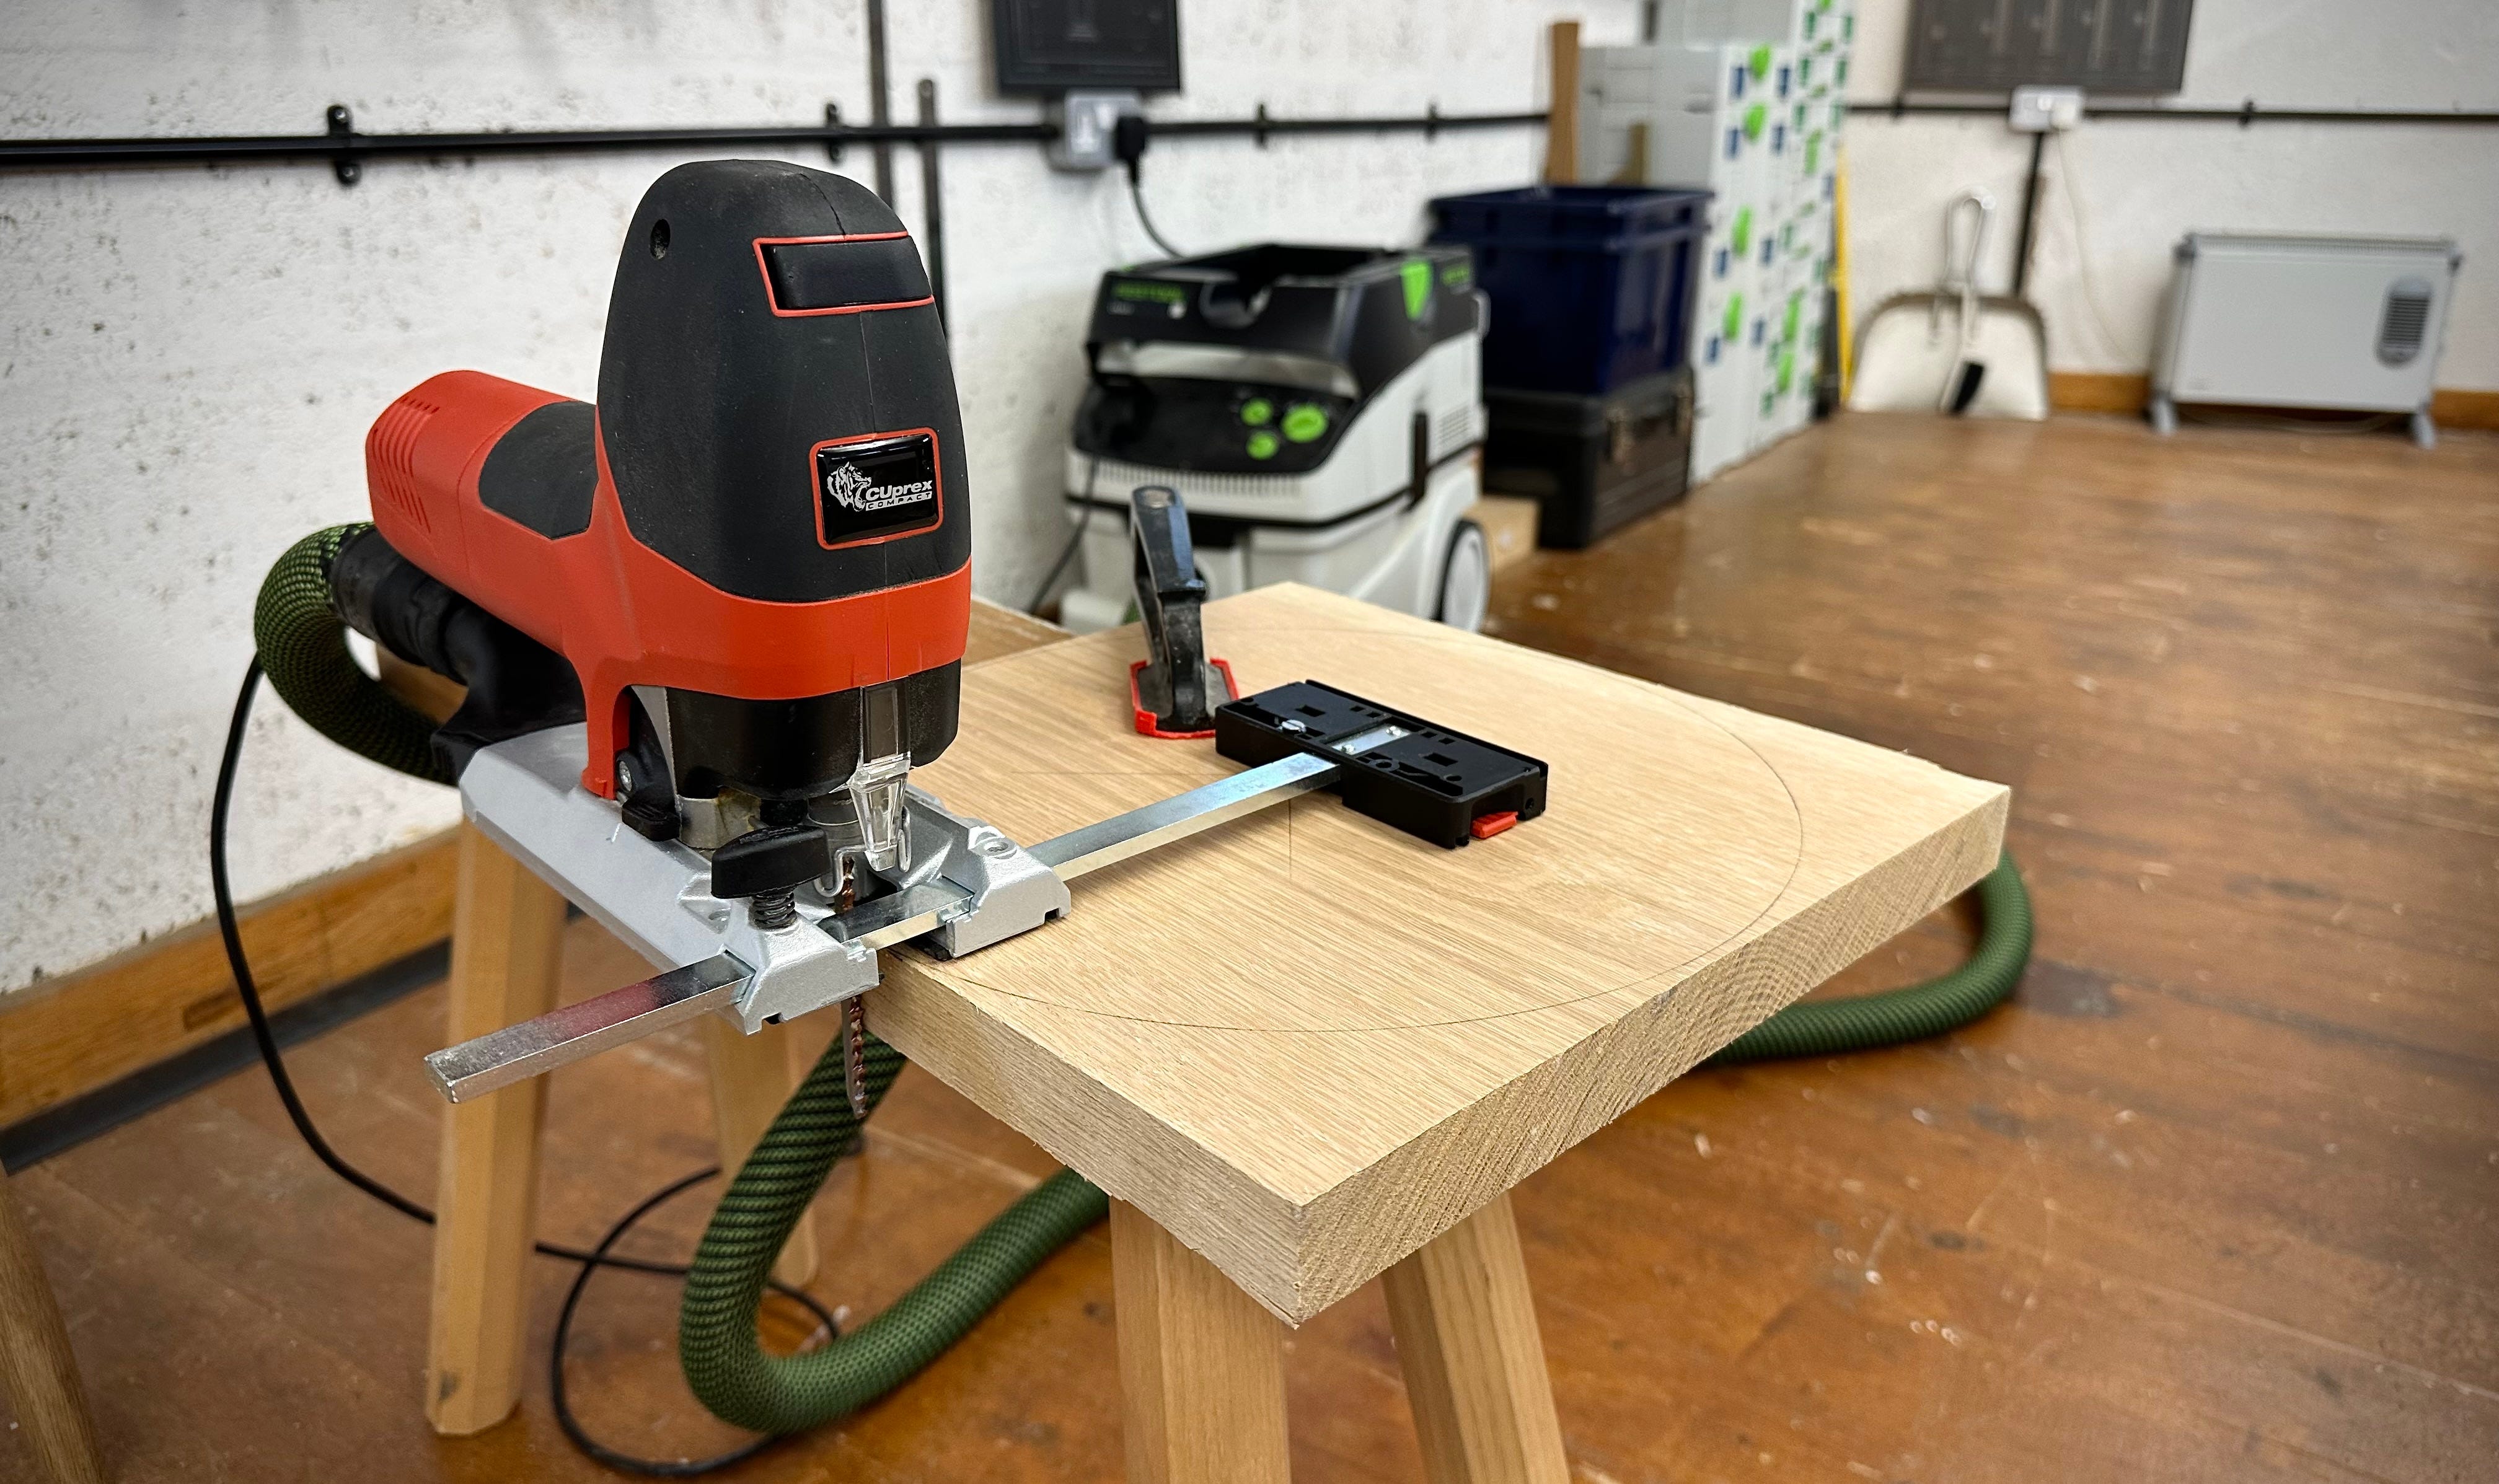
The reason it’s good, other than being well made, is that there are no guides or rollers to control the blade, that is all done within the head of the machine. It uses a special blade which is effectively two blades brazed together. These have a tapered back that allows far better curve cutting performance within the wider kerf the saw leaves. The bases are interchangeable so the angle cutting base can have a far larger and more stable footprint (see later photo). To be honest I should be getting sponsored with this kind of copy, but it is good. The downside is you need to cash in a kidney to buy one - it costs the same as many small bandsaws would. There, I think that balanced things up a bit.
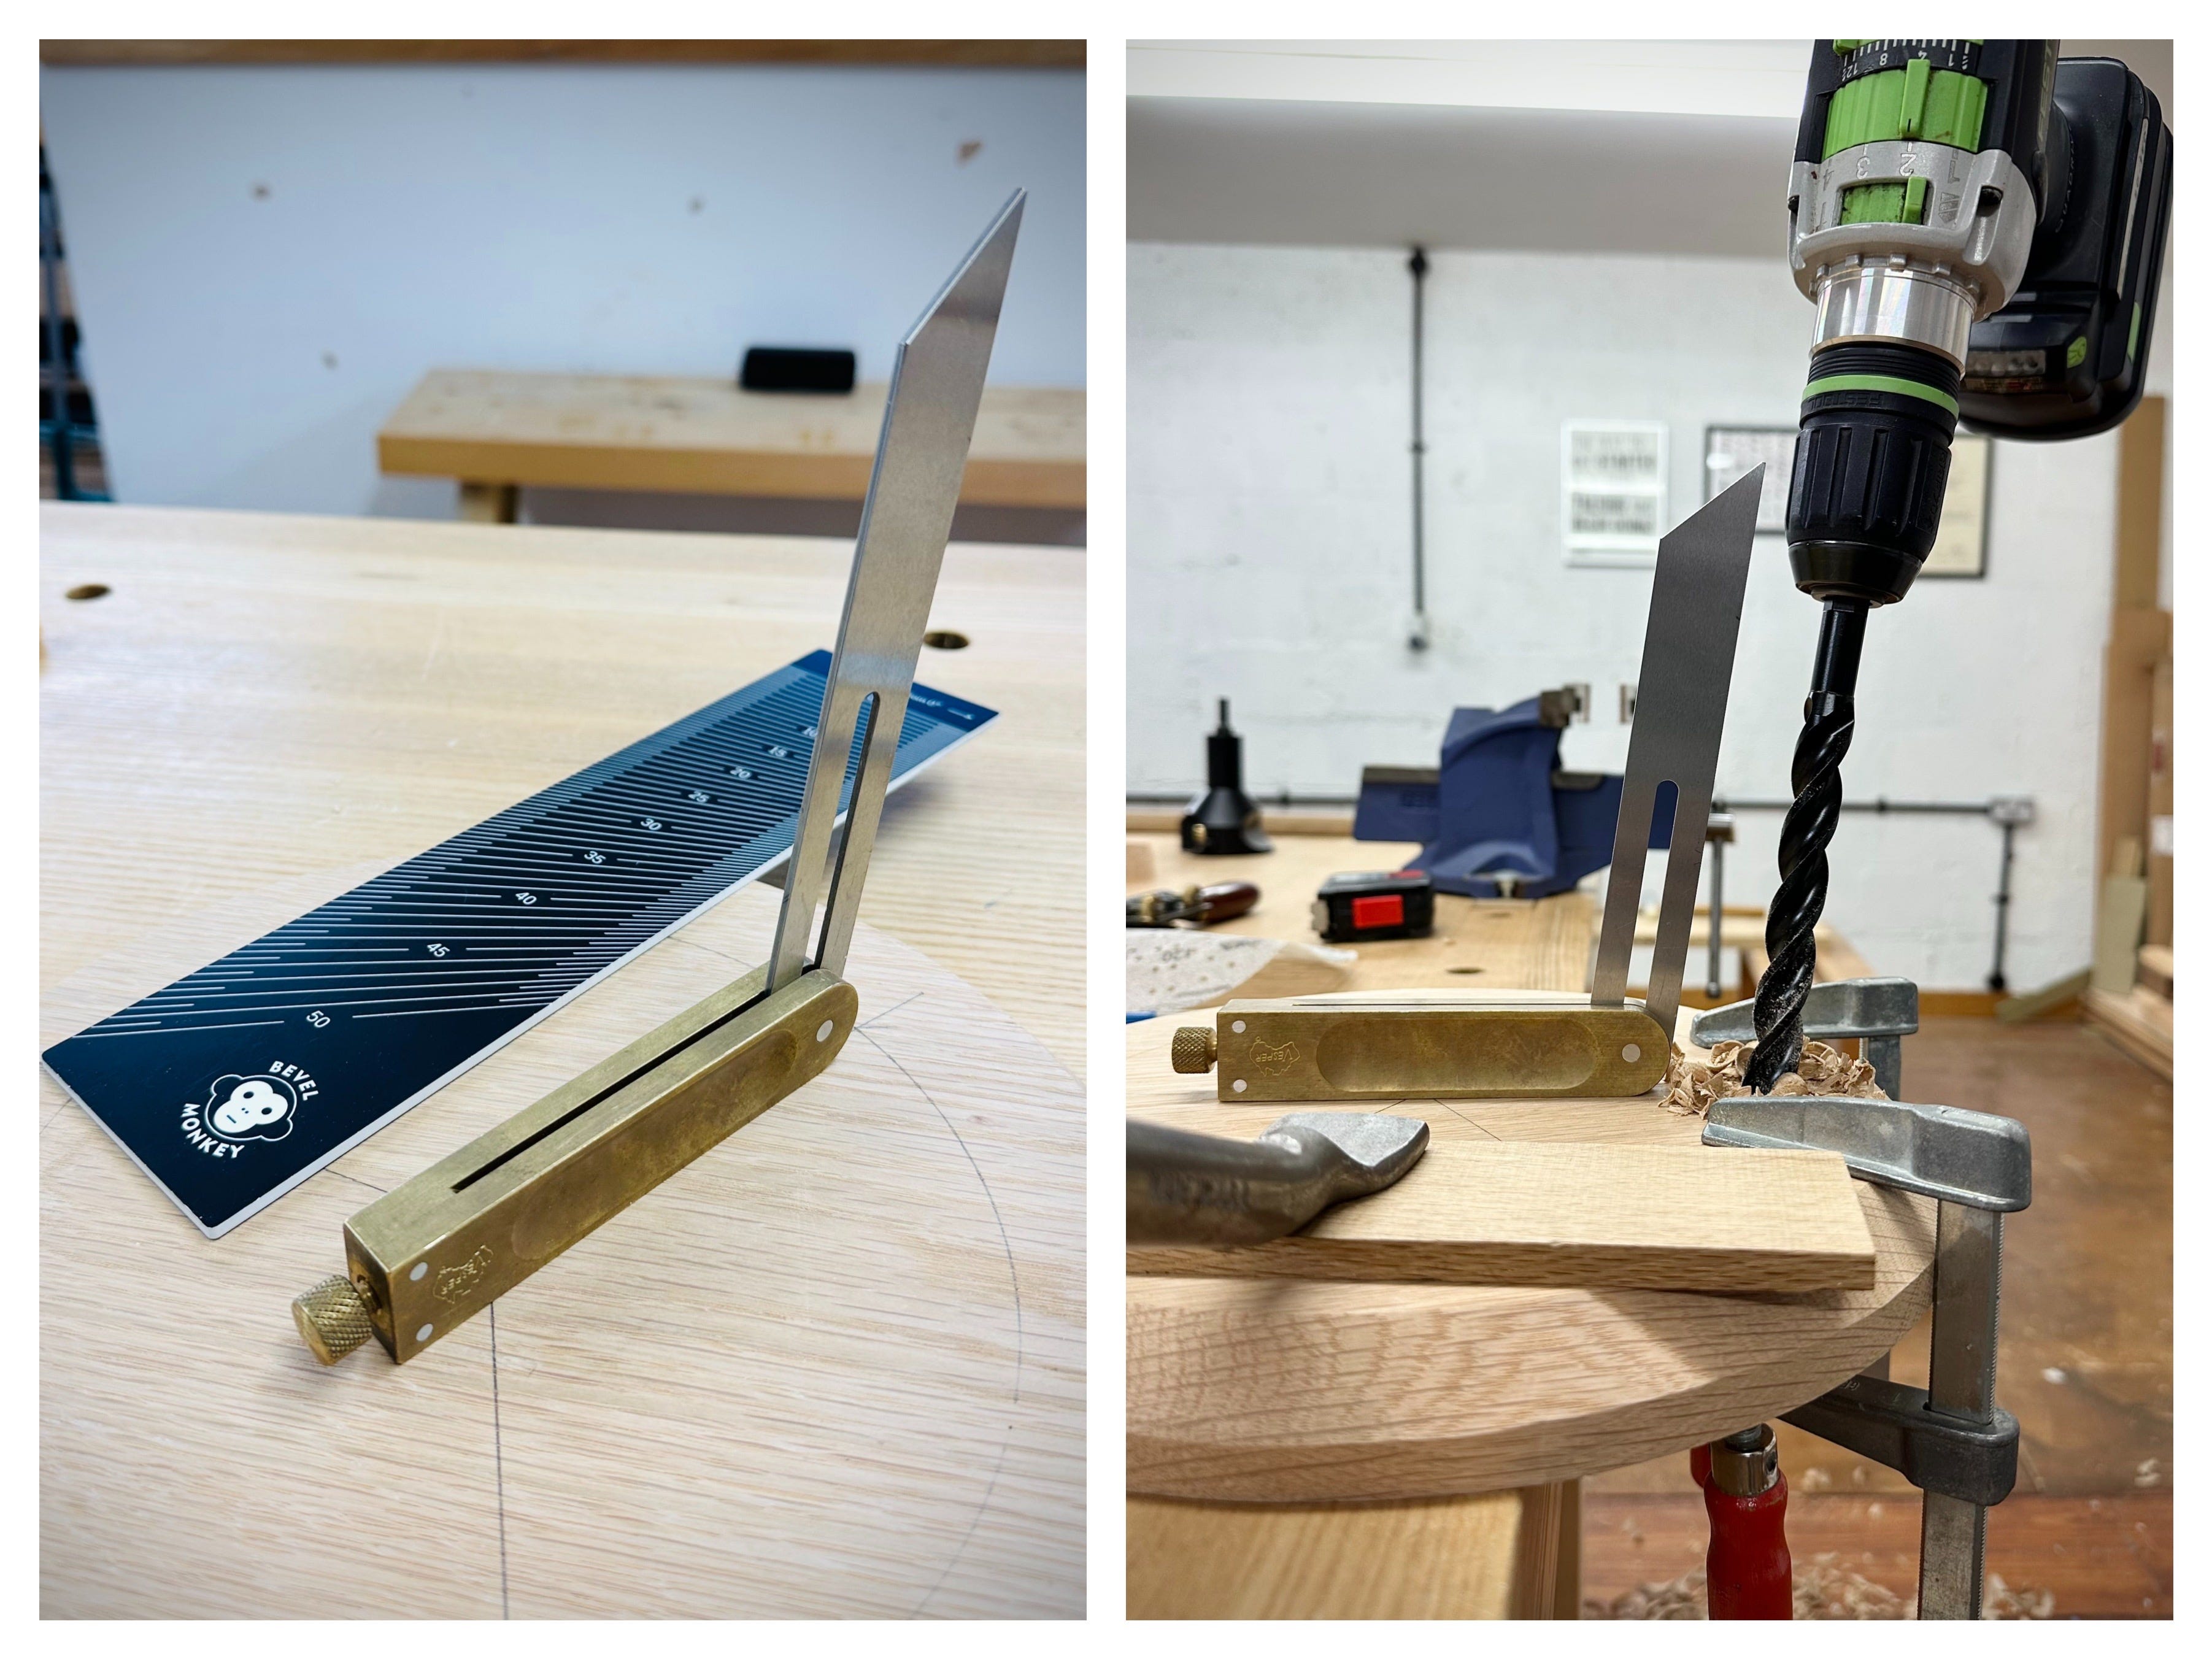
The design of the plant stand, such as it is, is really just that of a three-legged stool. But one that’s been through the taffy puller and come out strangely tall. It’s all made from 1” material, with the octagonal legs coming out at around 7/8” across the flats. I worked to the the maximum I could get from a 1” plank. The top is about 11 1/2” diameter, with the three legs equally spaced around it. It stands at about 31” tall and the legs rake at 8.5 degrees off vertical. This angle was partly chosen for aesthetics and also to give a base dimension that was ever so slightly broader than the diameter of the top for stability. The stretchers are 2/5 of the way up, as that looked right to me.
I wanted a heavy bevel around the edge of the top to present a thinner edge, so I kept the guide screwed to the centre point and set it for a slightly tighter radius. As you can see in the picture, there is no end to the bevel on a circle so you have to slide the tool inwards whilst cutting until you reach the desired setting, then lock it off. This felt slightly hairy initially, but I think with practice it would become second nature. I was able to quickly produce a consistent 45 degree bevel that just needed cleaning up with a spokeshave.

The legs are placed equidistant around the circumference, a couple of inches in from the edge. The holes are 5/8”, chosen to match the tenon tooling I planned to use. As ever, the WoodOwl bits did the business quickly and smoothly.
For the leg tenons I tried out a new tool - the Veritas 5/8” power tenon cutter. This is a really quick way to form a tenon. And also a quick way to cock one up as well. I had some length to spare, so I had a few goes and quickly trimmed off those shameful initial attempts before making the final versions. The straight tenons were a pretty tight fit straight off the tool, but rather than adjust the cutter I chose to reduce them with a light 80 grit sanding. It took very little to make them fit, so it was the right choice.
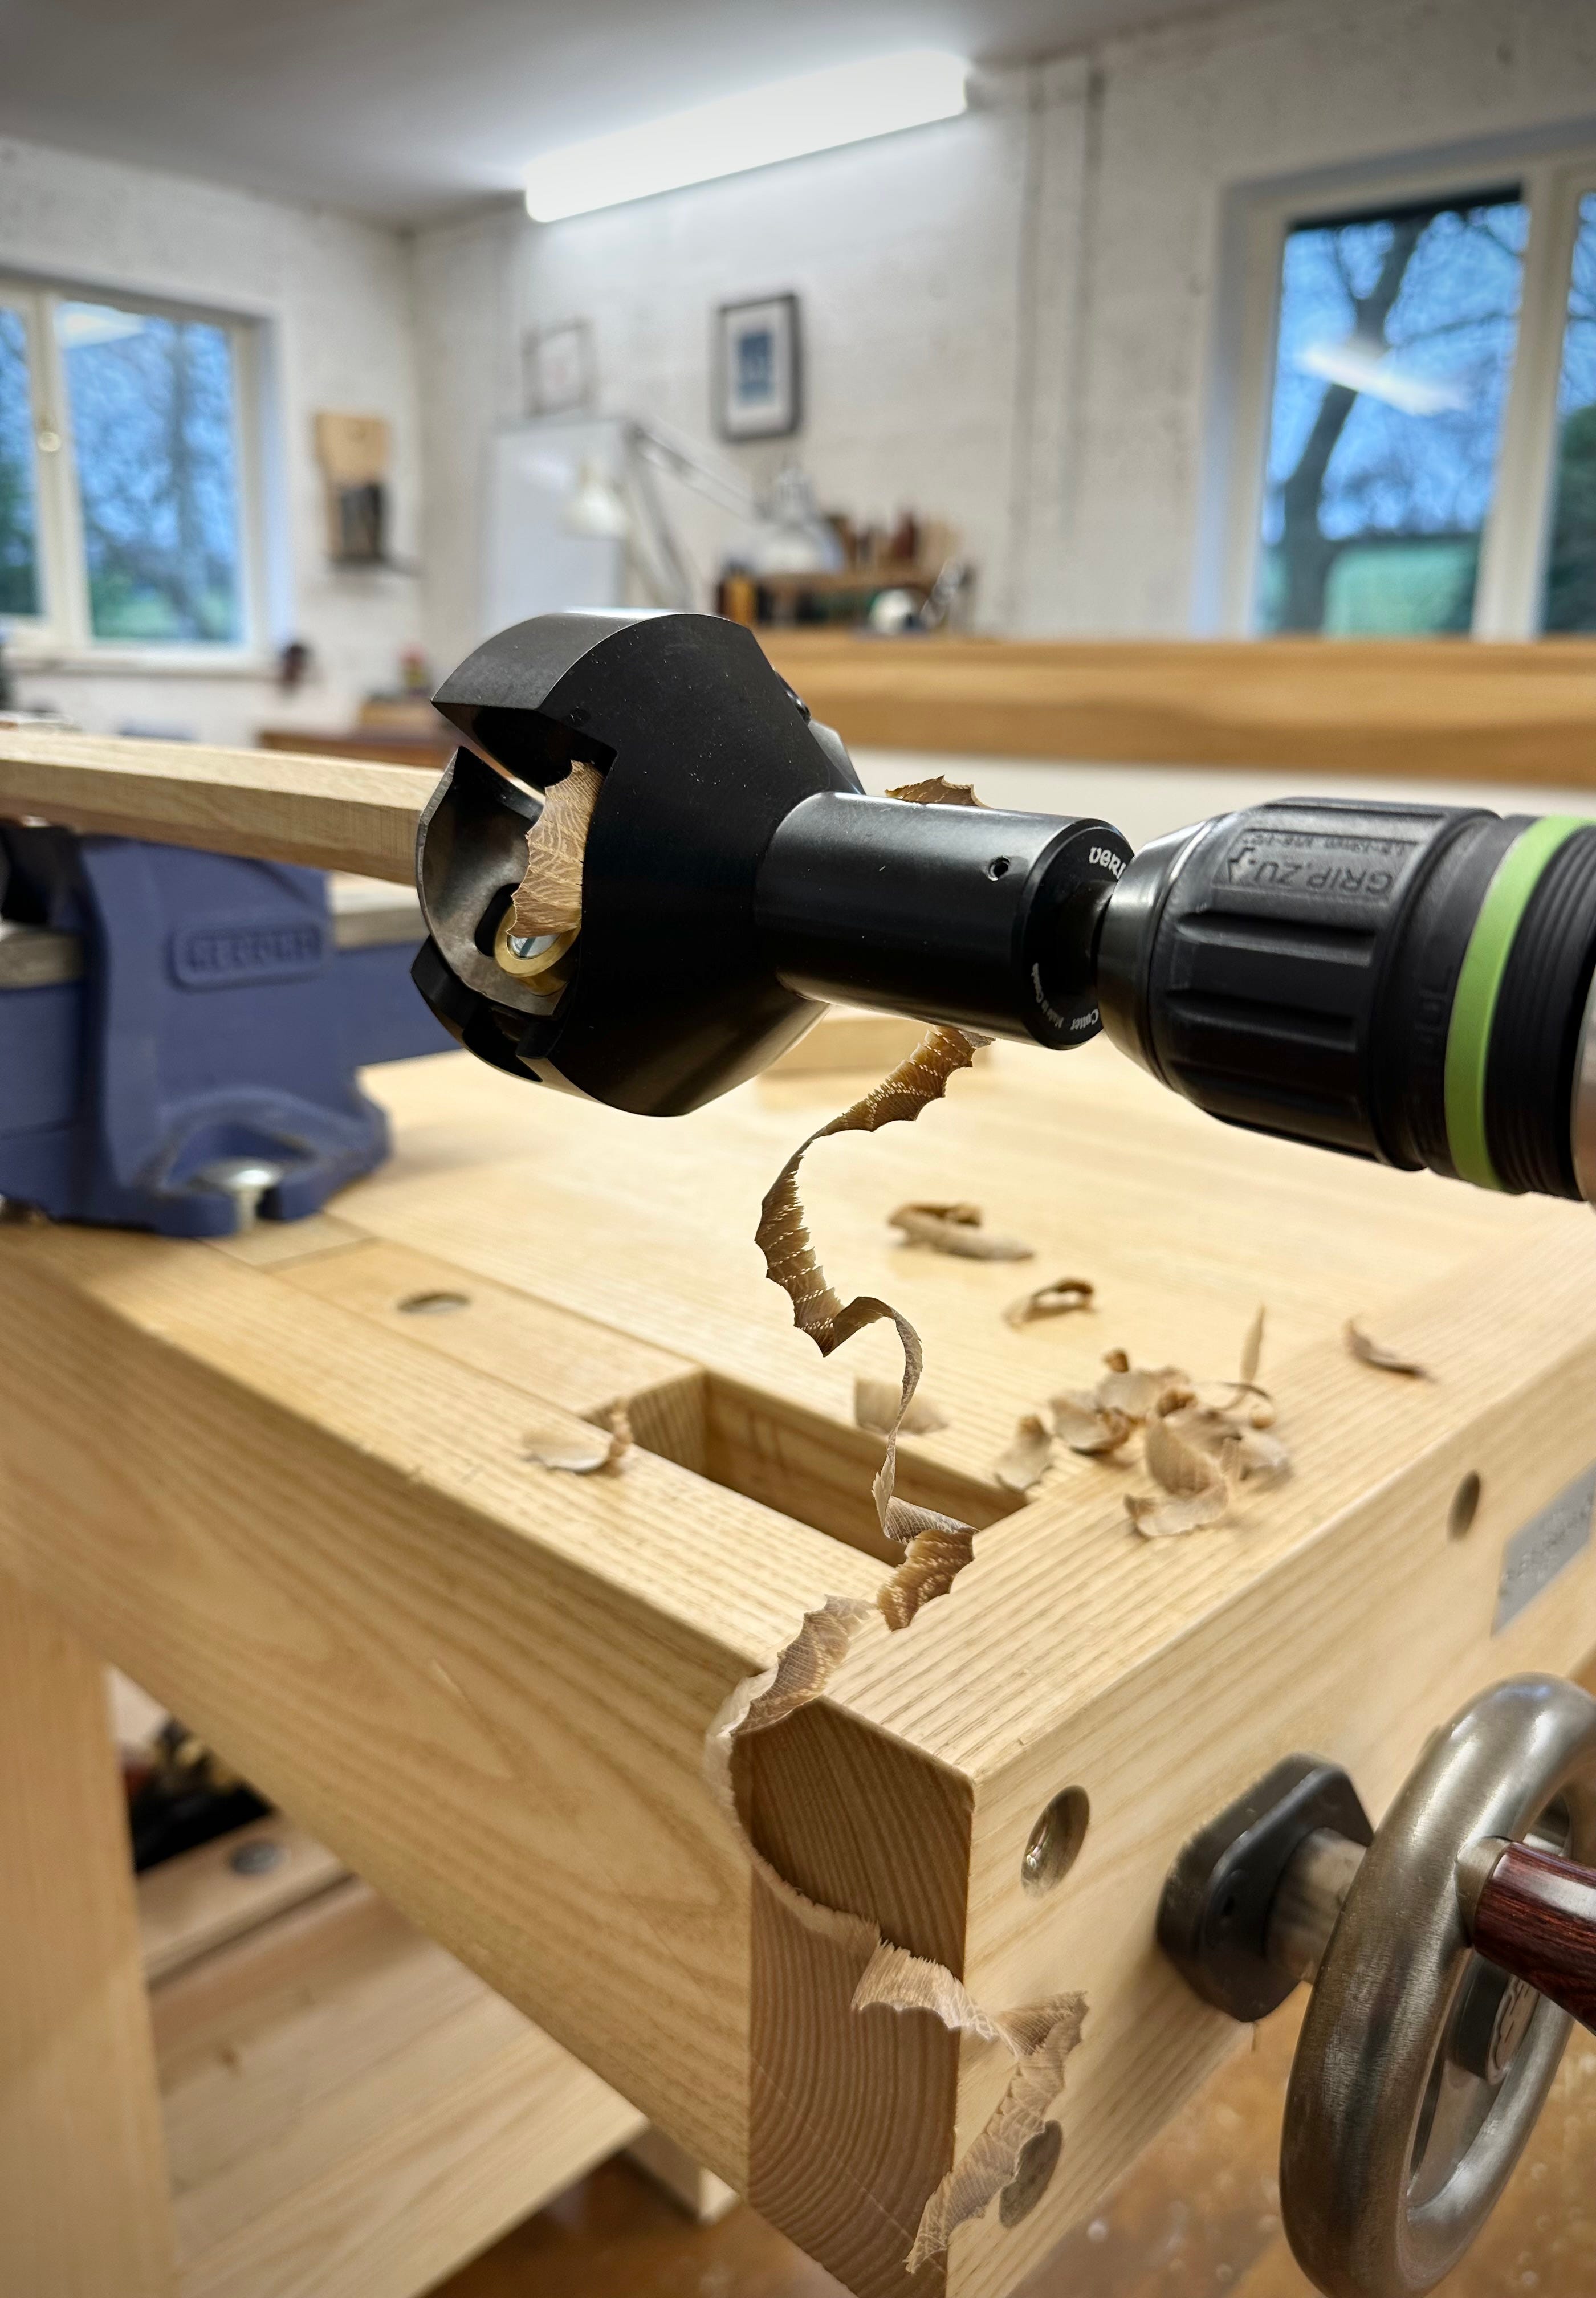
I will say there is a definite knack to using it. Even pressure with low speed seems to be the key, making small corrections if you drift off level. To my hypercritical eye all three of my final tenons were slightly off centre, but not to an extent that affected the final appearance of the piece. To be honest, I thought they were as good as it was going to get at that point, so I ran with them.
I had originally intended the stretchers to be in the same octagonal material, but with the legs in place I realised that would look too heavy. I also didn’t fancy drilling 5/8” holes for the tenons through the 7/8” legs, as there didn’t seem enough meat left around the holes for that. Just hold that thought for a while though, we will come back to it. My alternative was to use 5/8” oak dowel that I had in stock, which could be reduced down to a 3/8” tenon on the ends using the Veritas tapered tenon cutter / dowel maker. It does a brilliant job and, to my eye at least, leaves a reasonably pleasing tapered transition down to the tenon itself.
The holes through the legs were straightforward. My approach is to mount the bit in an extension long enough to overlap the second leg. This allows the alignment of the extension with the second hole position, such that the line of drilling connects the two holes. I have found that the sideways deviation caused by the extension being to one side of the second leg is irrelevant in the finished alignment. The tricky one was where the stretchers met at their T junction, as this required a 3/8” hole through a 5/8” dowel, leaving only 1/8” either side at the thickest point. The same margin I was concerned about on the leg, just in different (thinner) material. At the point of no return, I ploughed on.
The hole was off centre on my first go, but the second attempt was bang on. However my plan to wedge these through tenons soon consigned the second one to the scrap bin too. The third time’s a charm, so un-wedged tenons it is (I pinned them with kebab skewers instead). In this low load situation they will be fine without wedges.
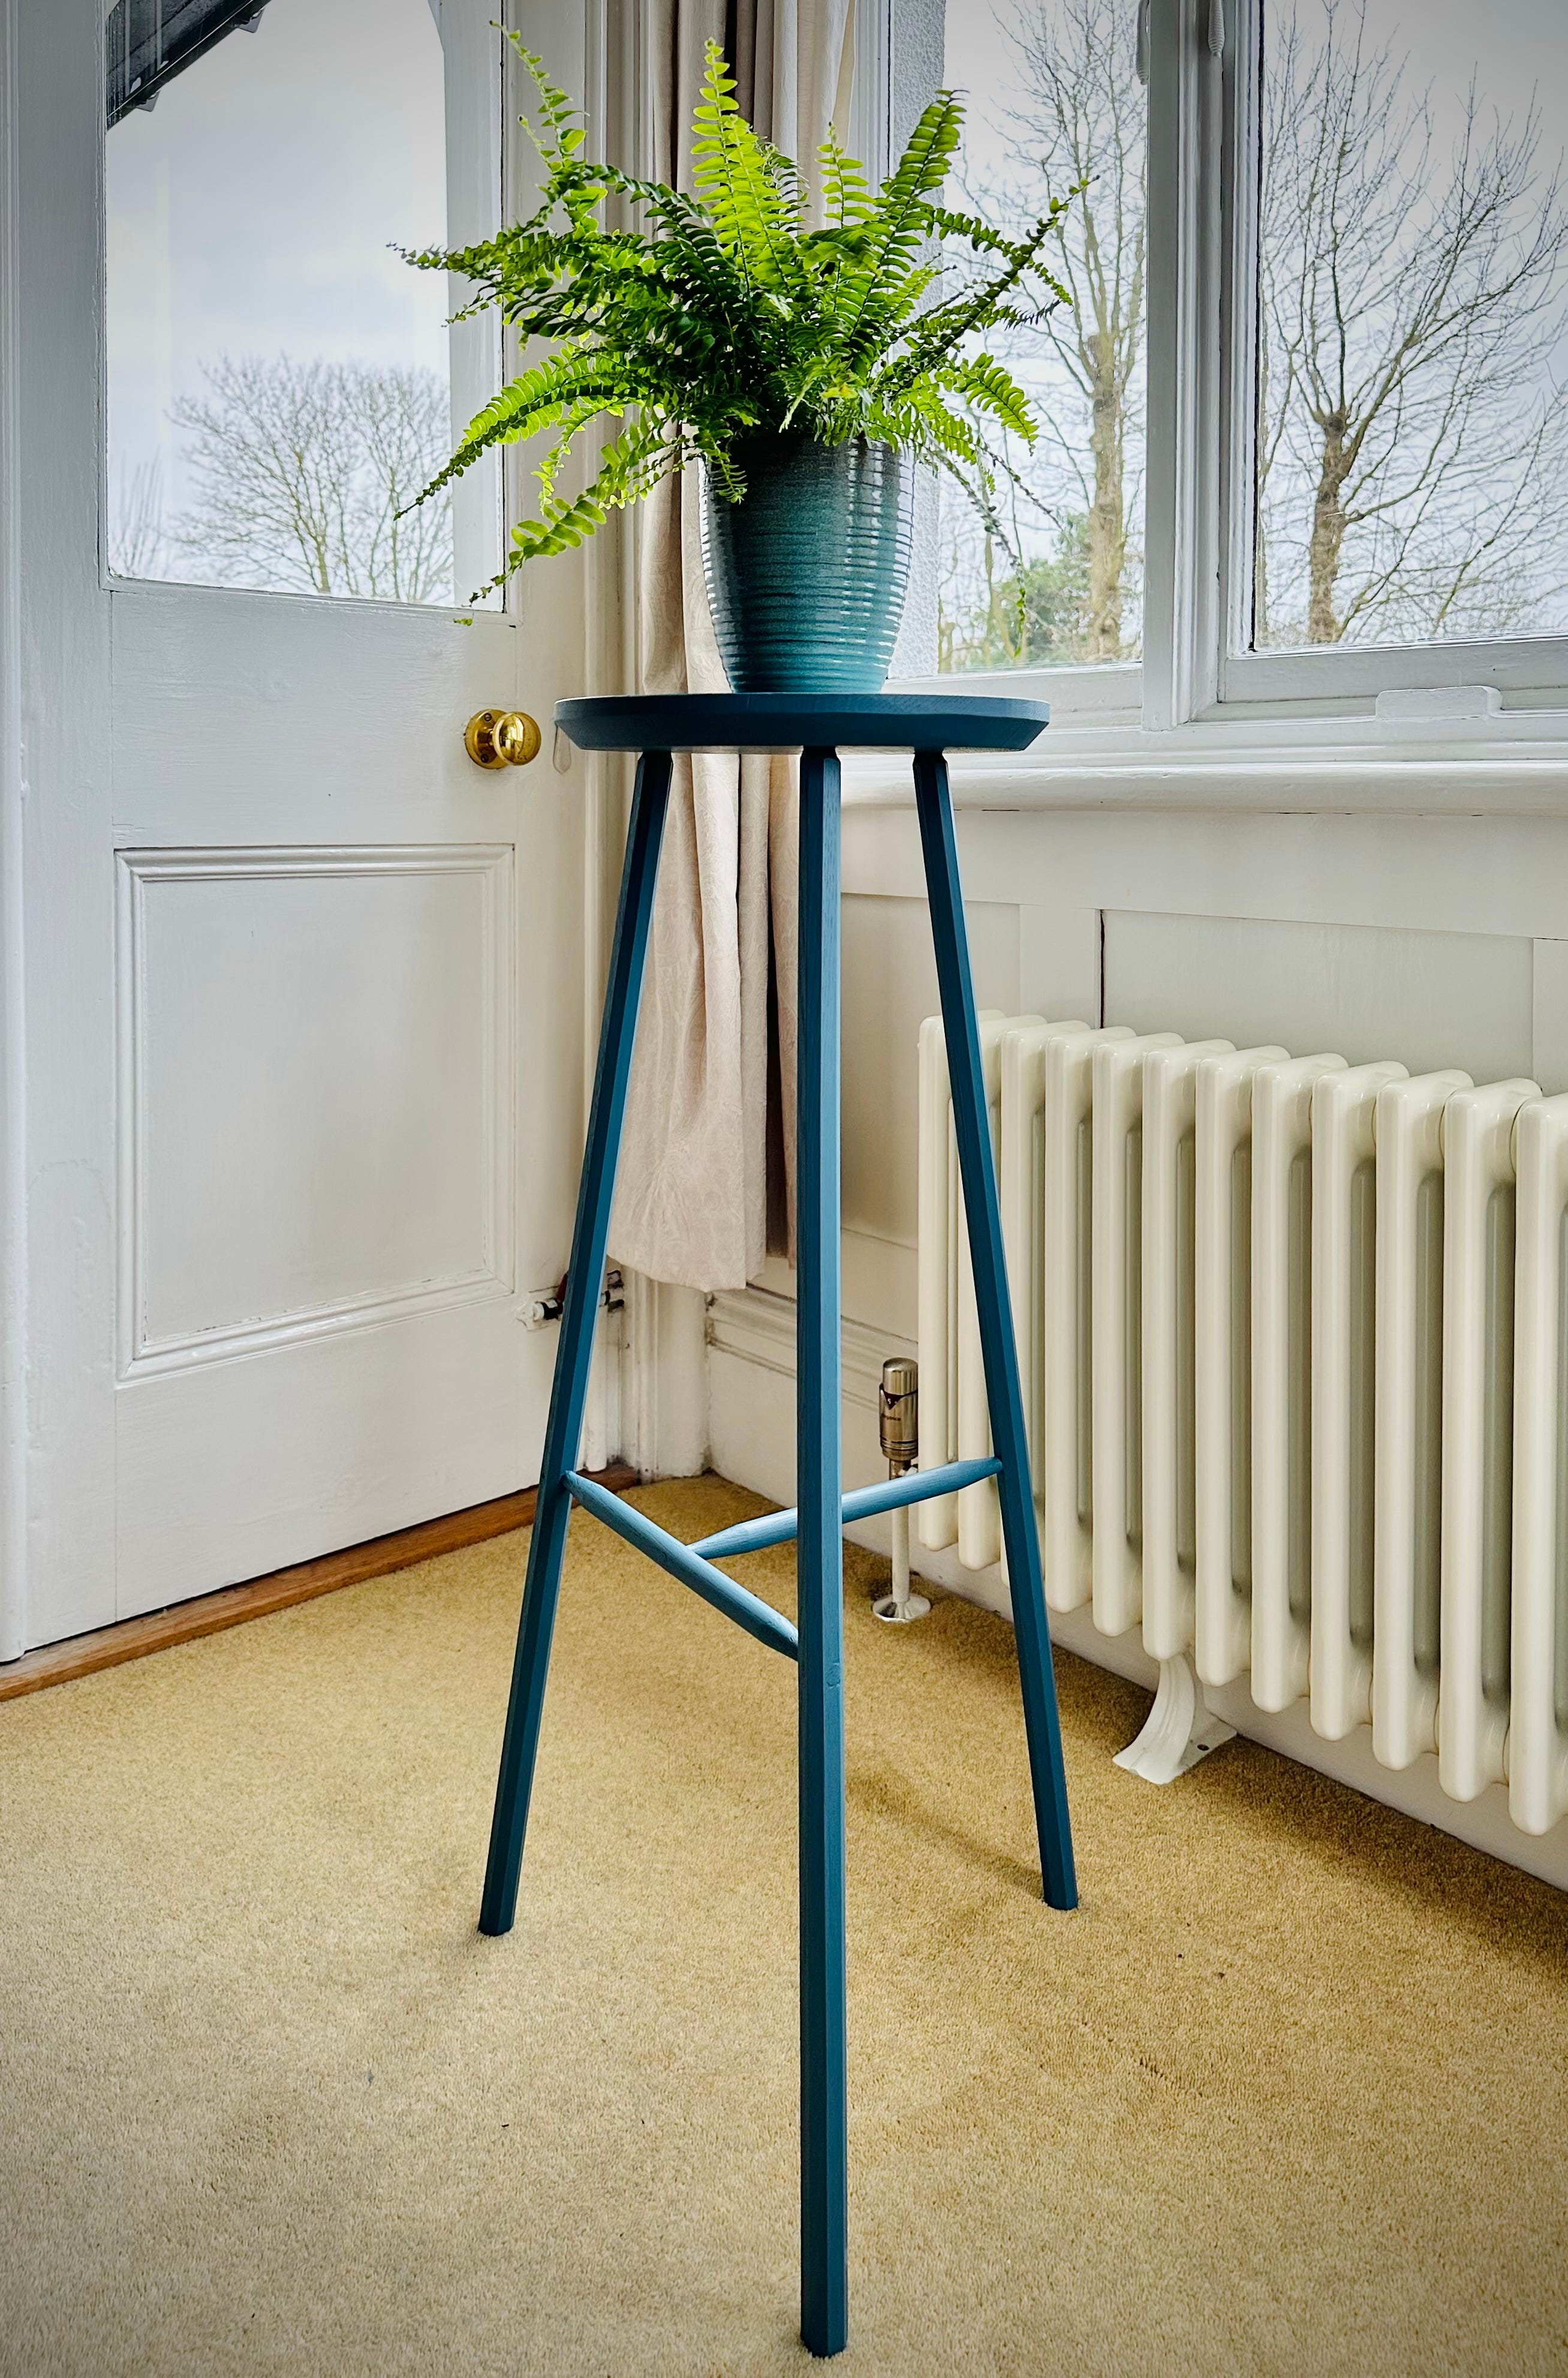
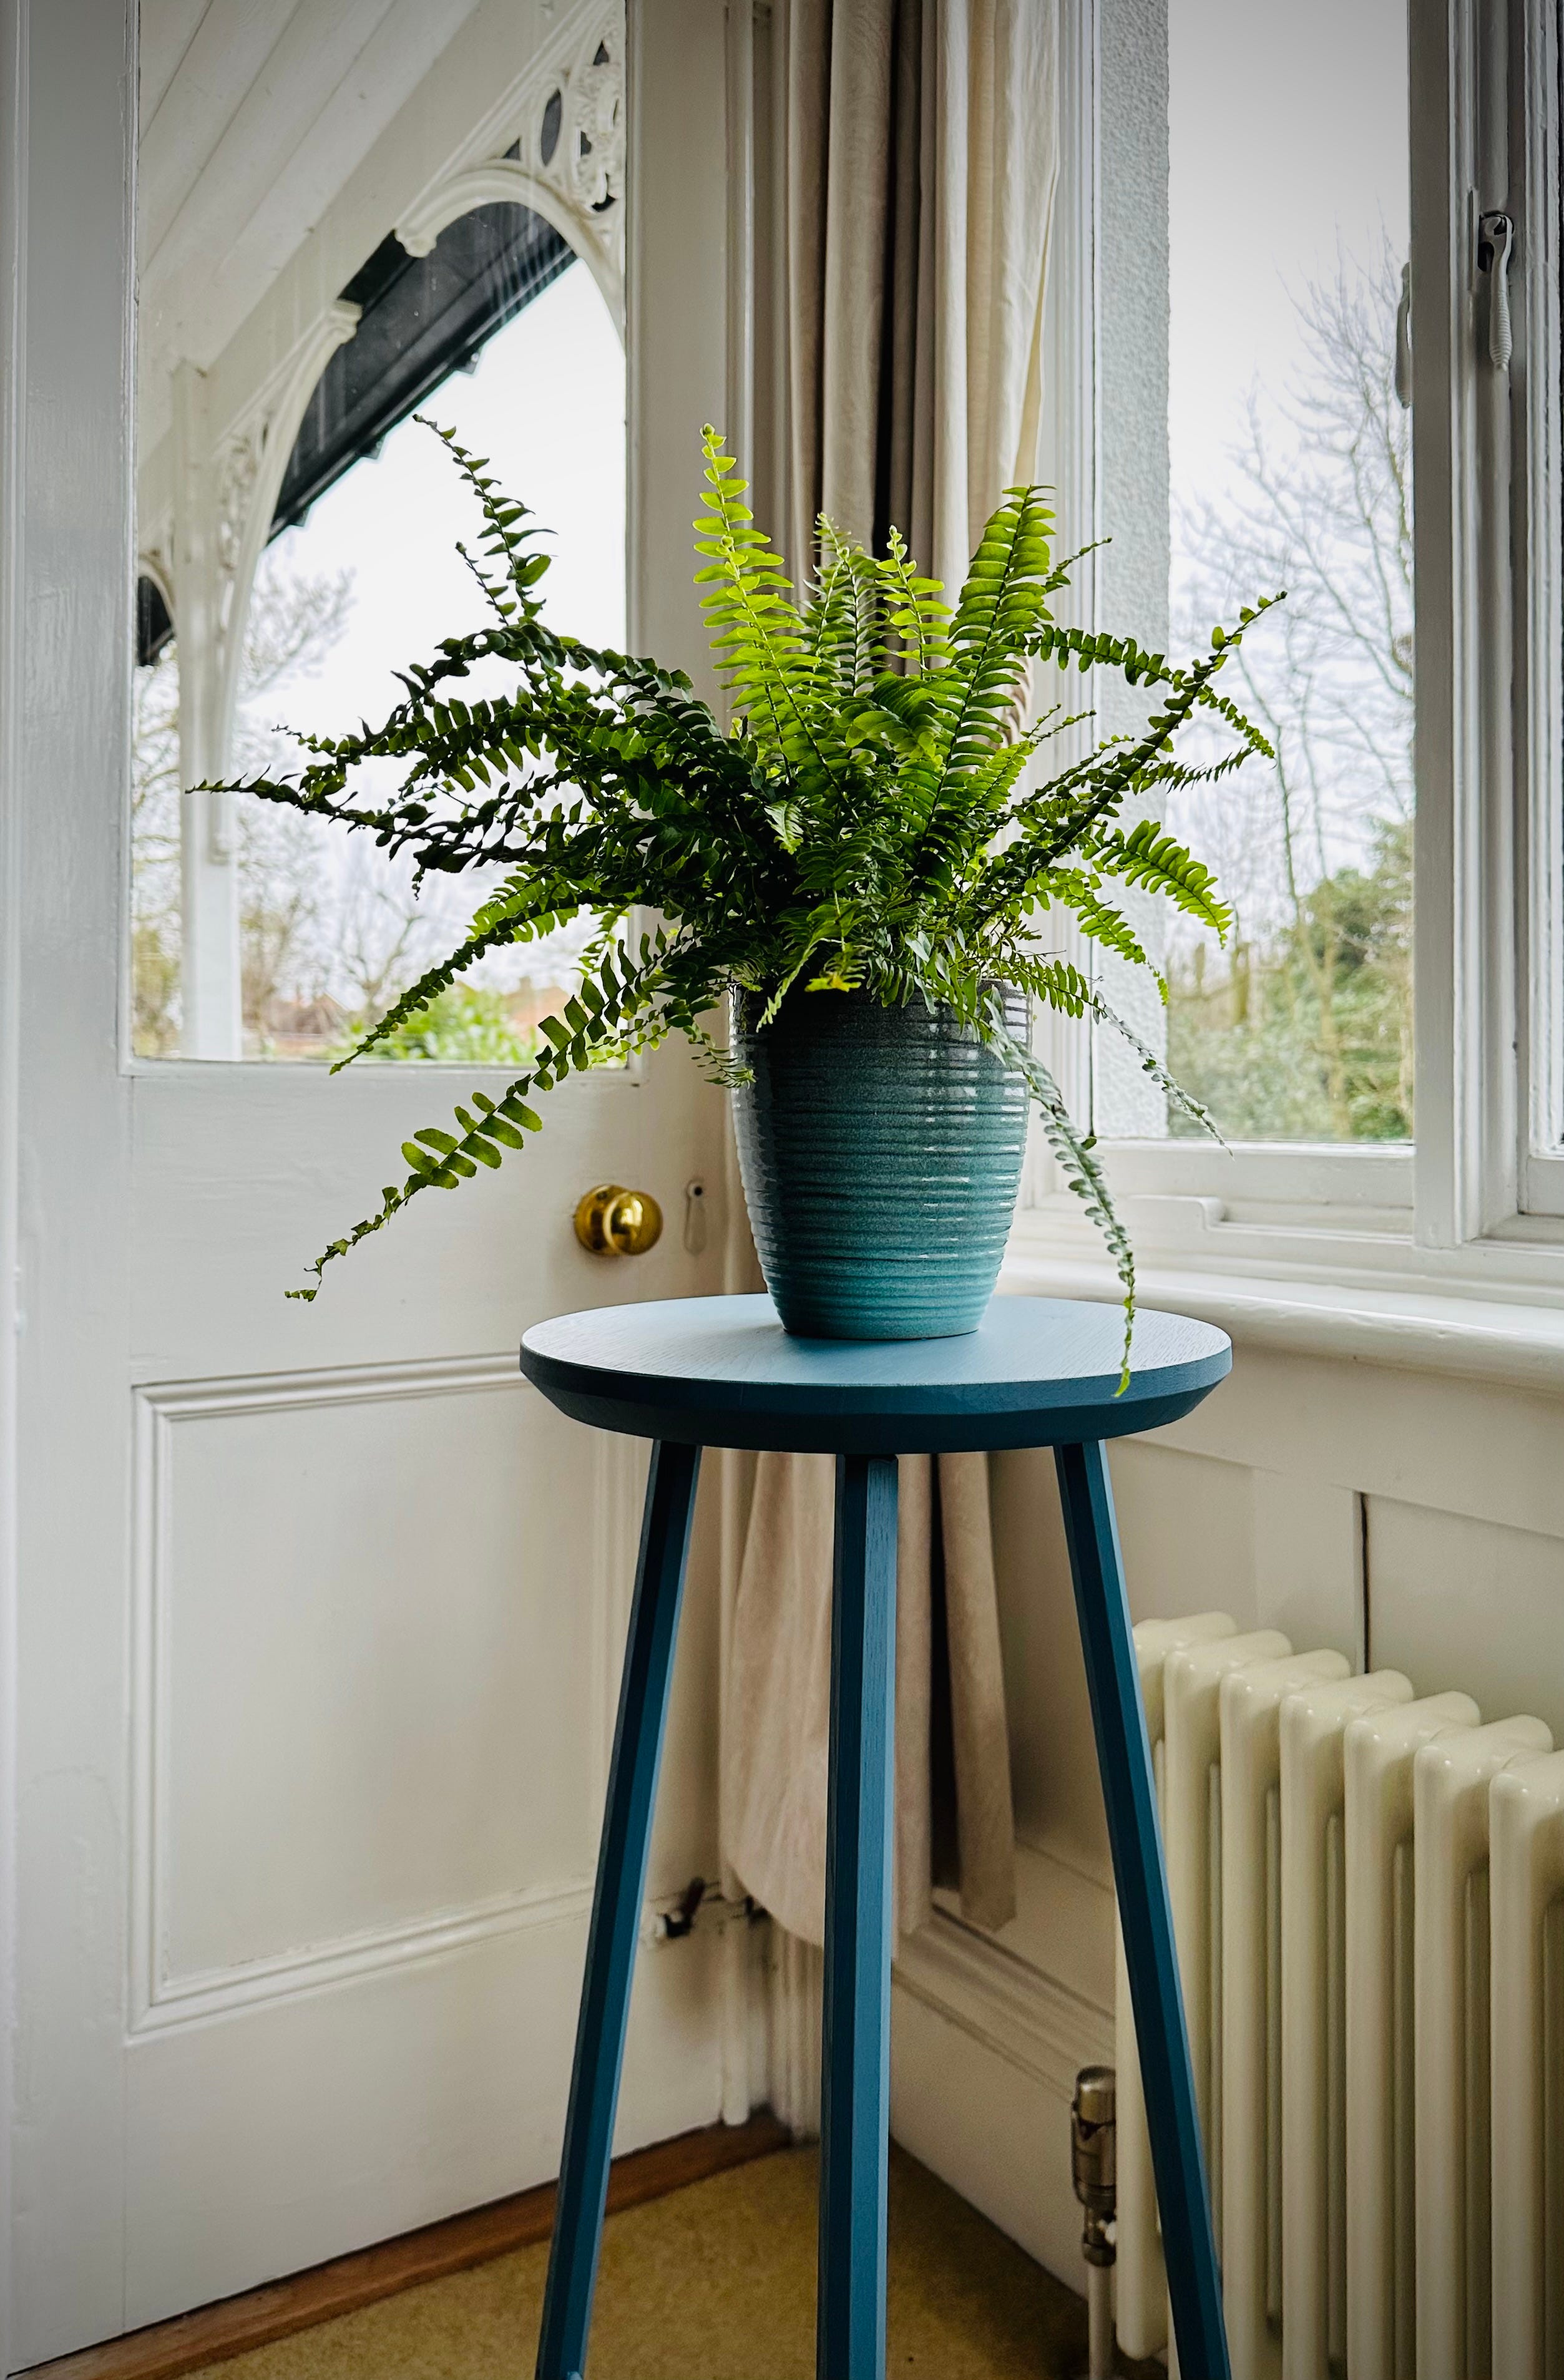
So that’s it. A quick and easy project to brush up on chairmaking techniques. All finished off in General Finishes Blue Moon Milk Paint, in memoriam of the fact this is now a discontinued colour. Which reminds me, I must order another tin before UK stocks run out.
Very nice work. Ive been planning to make a 3 legged, backsplated side chair as an experimental piece to play with 6 degree tapered tenons. A plant stand is a great idea
Lovely plant stand and I appreciate all of your details about its making. Thank you.
Cheers, Michael